7 Tips for Finding Hardwood Floor Installation Near Me
You’re ready to upgrade to hardwood, but the right local installer will make or break the project. Set a realistic budget, then narrow options to licensed pros with relevant experience. You’ll learn to read reviews wisely, verify credentials, and compare materials and methods. Miss one step, and you could overpay or compromise quality.
Set Your Budget for Hardwood Floors
Start with three numbers: materials, labor, and surprises. Price the species you want, then add underlayment, trim, thresholds, adhesives, and fasteners.
Measure rooms precisely, including closets and hallways, and add 5–10% for waste and future repairs. For labor, use square footage times a realistic local rate, then include removal and disposal of old flooring, subfloor prep, furniture moving, and finishing.
Don’t forget taxes, delivery, permits if needed, and tool rentals if you’re tackling minor prep. Now set a contingency of 10–15% for delays, moisture fixes, and schedule changes.
Compare your total to available cash and financing; align scope accordingly. If costs exceed comfort, adjust species, plank width, grade, or finish. Lock your ceiling number before requesting bids.
Document quotes, receipts, and revisions for tracking.
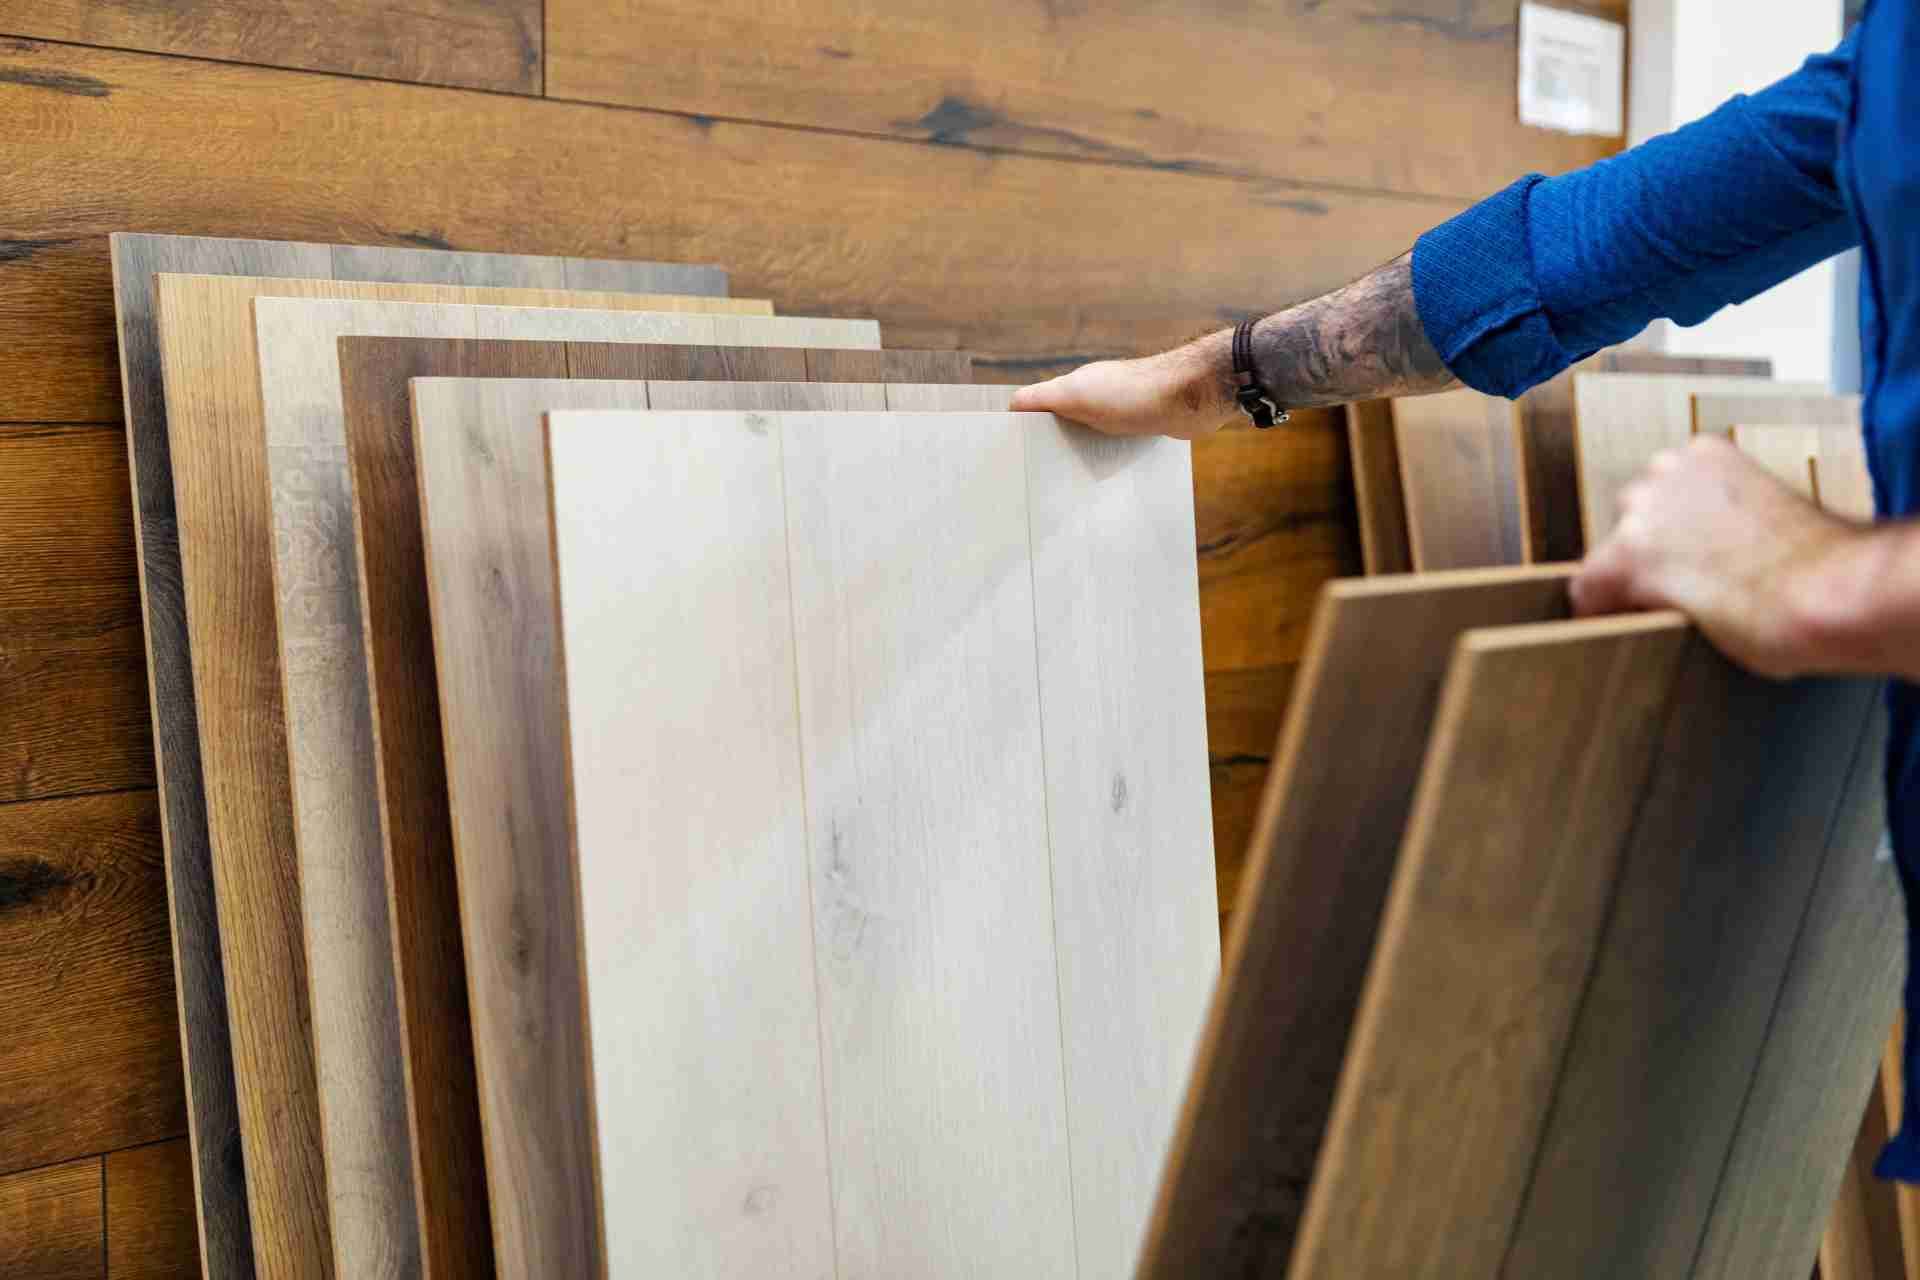
Shortlist Local Hardwood Installers
Aim for a shortlist of 3–5 local installers with solid credentials.
Prioritize licensed, insured pros who can provide certificate copies and license numbers. Look for NWFA certifications, manufacturer trainings, and lead-safe credentials for pre-1978 homes.
Confirm they specialize in your species, plank width, installation method (nail, glue, float), and subfloor type. Ask about moisture testing, acclimation practices, and dust-control systems.
Review recent project photos and request a sample scope from comparable jobs. Verify they offer written warranties on labor and honor manufacturer requirements.
Gauge responsiveness: do they return calls promptly, answer technical questions clearly, and offer an on-site assessment?
Request preliminary, itemized estimates that outline prep, materials handling, waste disposal, and timeline windows so you can compare apples to apples.
With clear decision criteria.
Read Reviews the Right Way
How can you separate signal from noise when scrolling reviews? Start by filtering for your floor type, project scope, and city so feedback actually matches your needs.
Scan recent reviews first; they reflect current crews, pricing, and practices. Prioritize specifics: subfloor prep, moisture testing, acclimation time, dust control, timeline accuracy, and post-install touch‑ups.
Beware patterns: repeated issues with gaps, cupping, squeaks, or missed deadlines matter more than lone rants. Read three-star reviews; they’re often balanced.
Click photos and note lighting, trim lines, and transitions at doors and stairs. Compare owner replies—prompt, solution-focused responses signal accountability.
Weigh volume plus rating, not rating alone. Finally, cross-reference platforms and ask reviewers’ names in portfolios to confirm consistency.
If details seem vague or copy-pasted, lower their weight significantly.
Verify License, Insurance, and Certifications
Three documents protect you before a single board goes down: a current contractor’s license, active liability and workers’ comp insurance, and relevant manufacturer or trade certifications.
Ask for a license number and verify it with your state or local licensing board; check status, classifications, and complaints.
Request certificates of insurance sent directly from the insurer, not screenshots. Confirm general liability limits, workers’ comp coverage for all on-site labor, and policy expiration dates.
If the installer uses subs, ensure they’re covered, too. For certifications, look for NWFA, Bona, or manufacturer credentials; validate them on the issuer’s site and note recertification dates.
Keep copies in your project file. If anything’s missing, expired, or unverifiable, move on. Good pros welcome this scrutiny. It protects you and budget.
Compare Materials, Finishes, and Methods
With the right pro vetted, it’s time to choose what goes underfoot: materials, finishes, and installation methods.
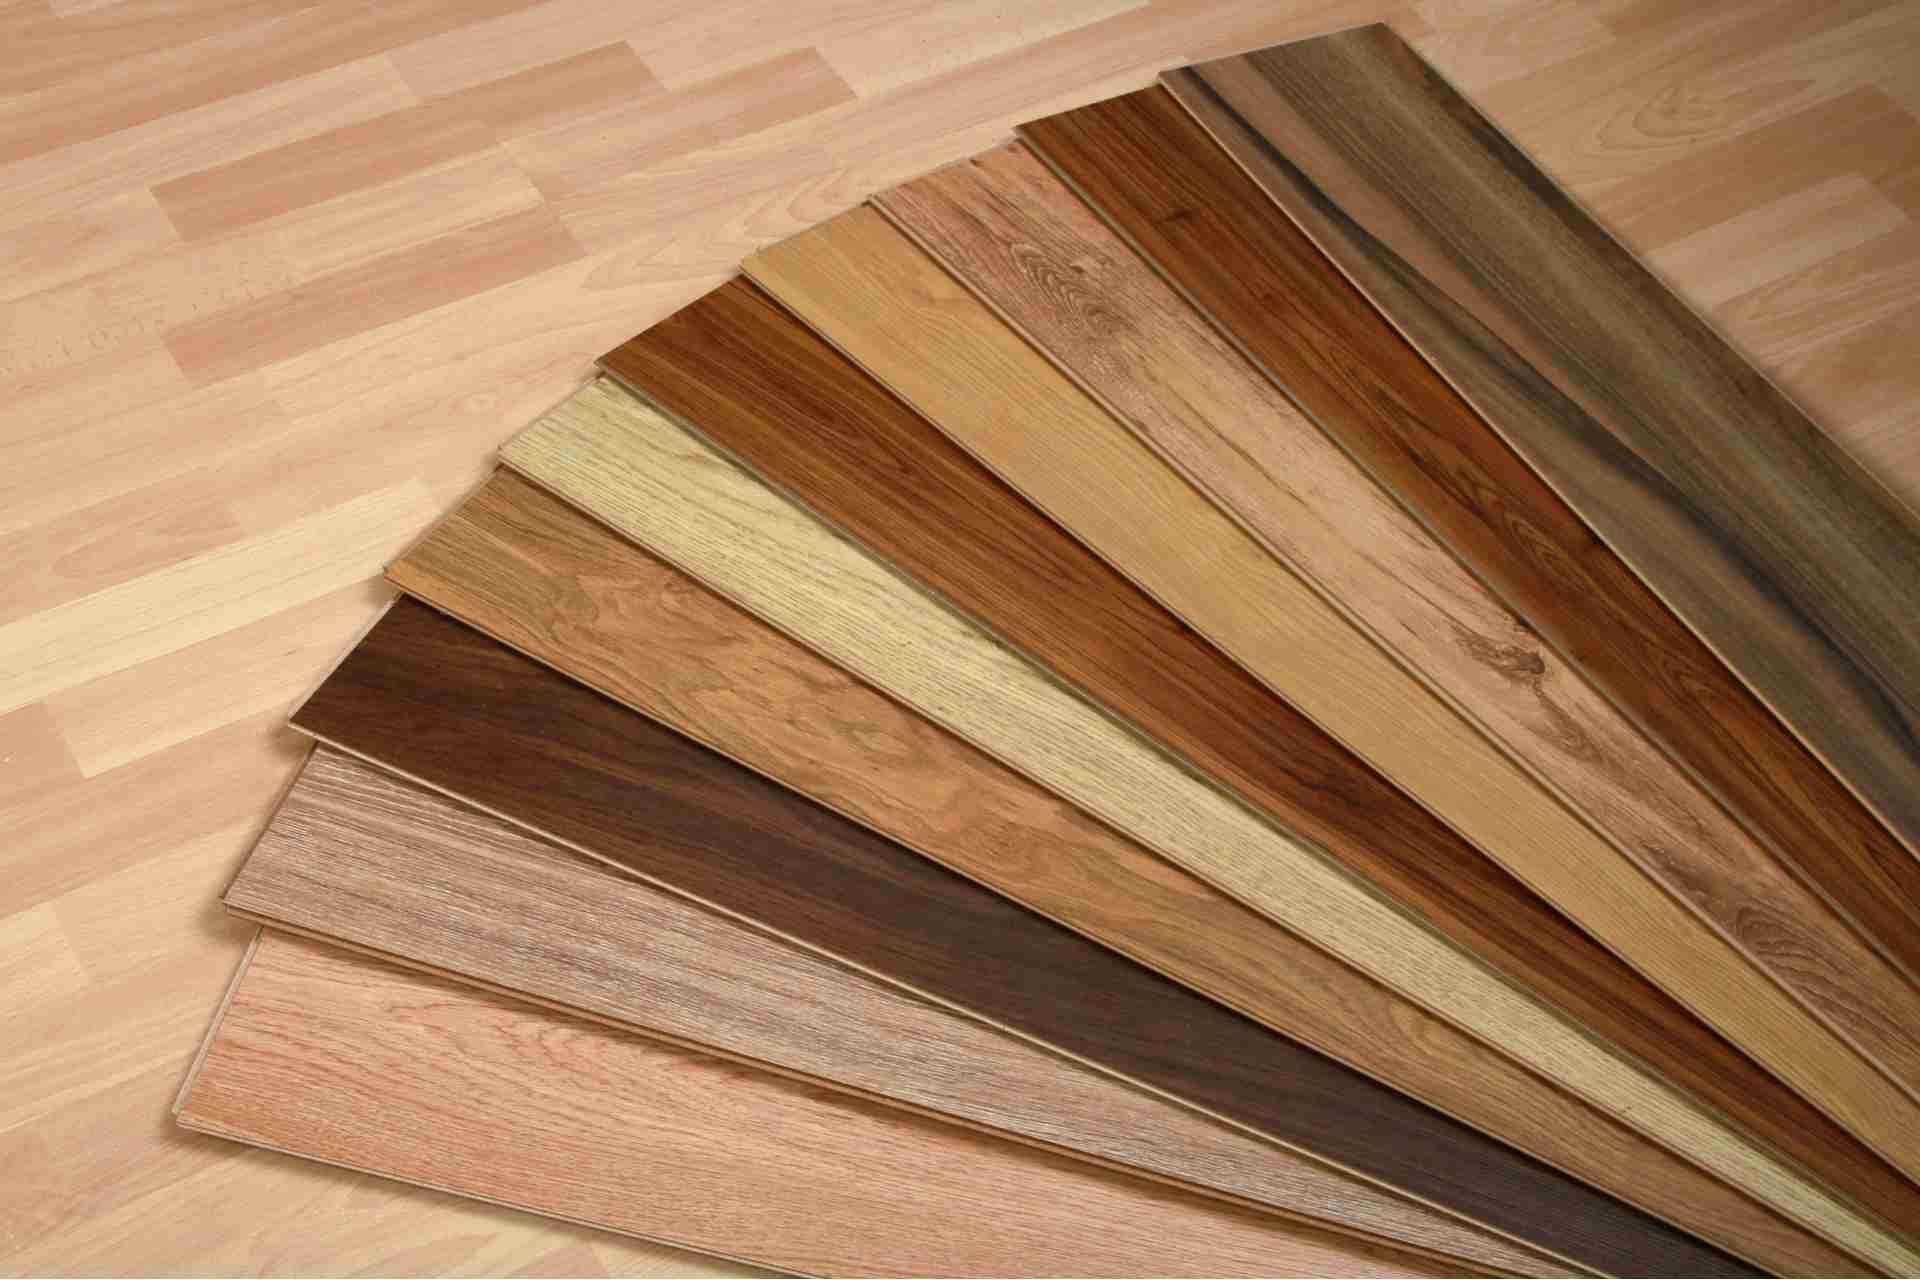
Compare solid vs. engineered hardwood based on moisture, subfloor, and longevity; solid allows more refinishes, engineered handles basements and radiant heat better.
Check species hardness and look—oak, maple, hickory, walnut—balancing durability with grain and color.
Evaluate board width and grade for stability and character.
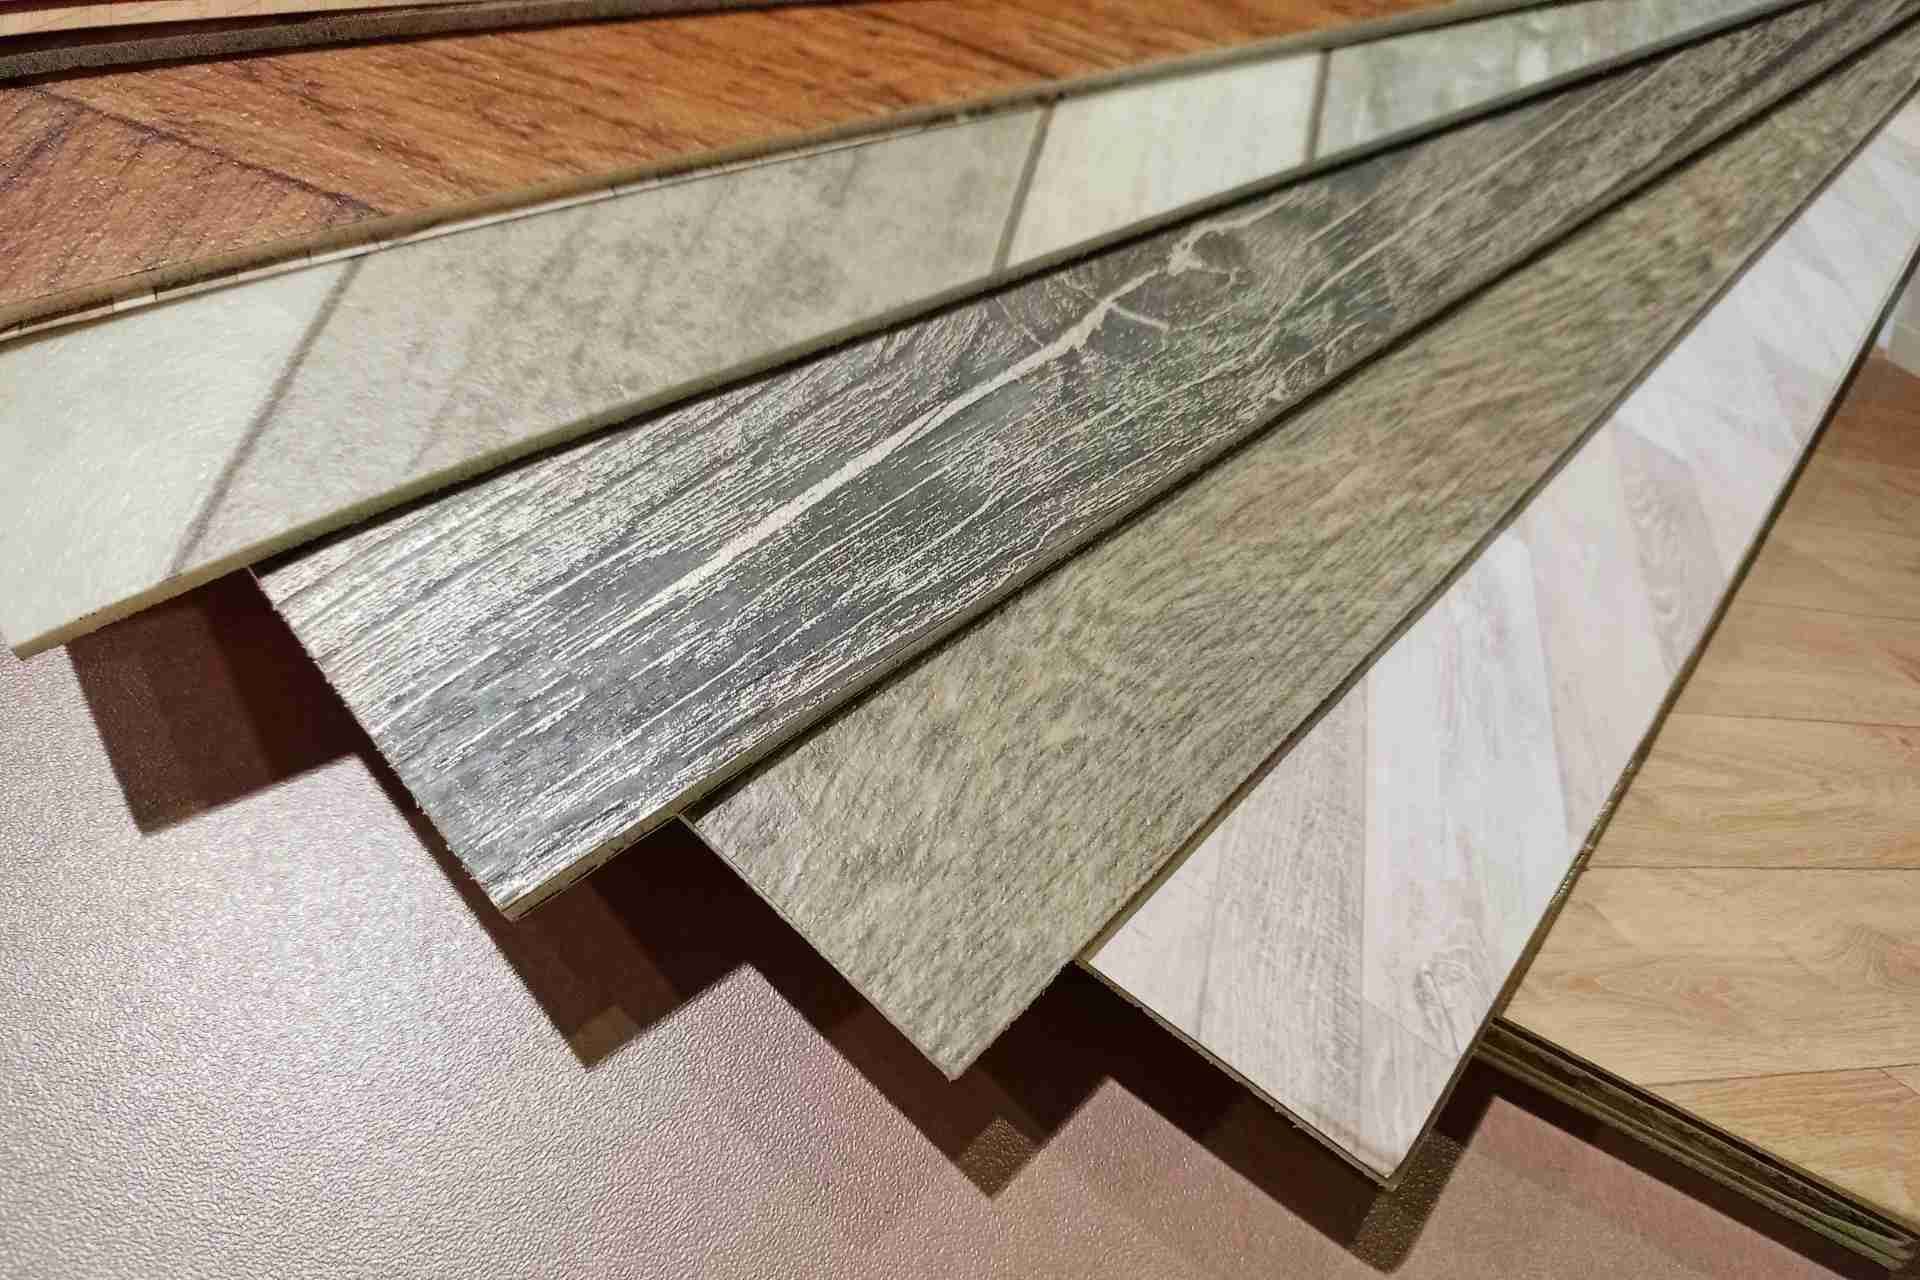
Weigh factory-finished (fast, consistent, low VOC options) against site-finished (custom stain, ultra-flat).
Ask about finish types: waterborne polyurethane, oil-modified poly, hardwax oil, aluminum oxide—each differs in sheen, cure time, repairability, and maintenance.
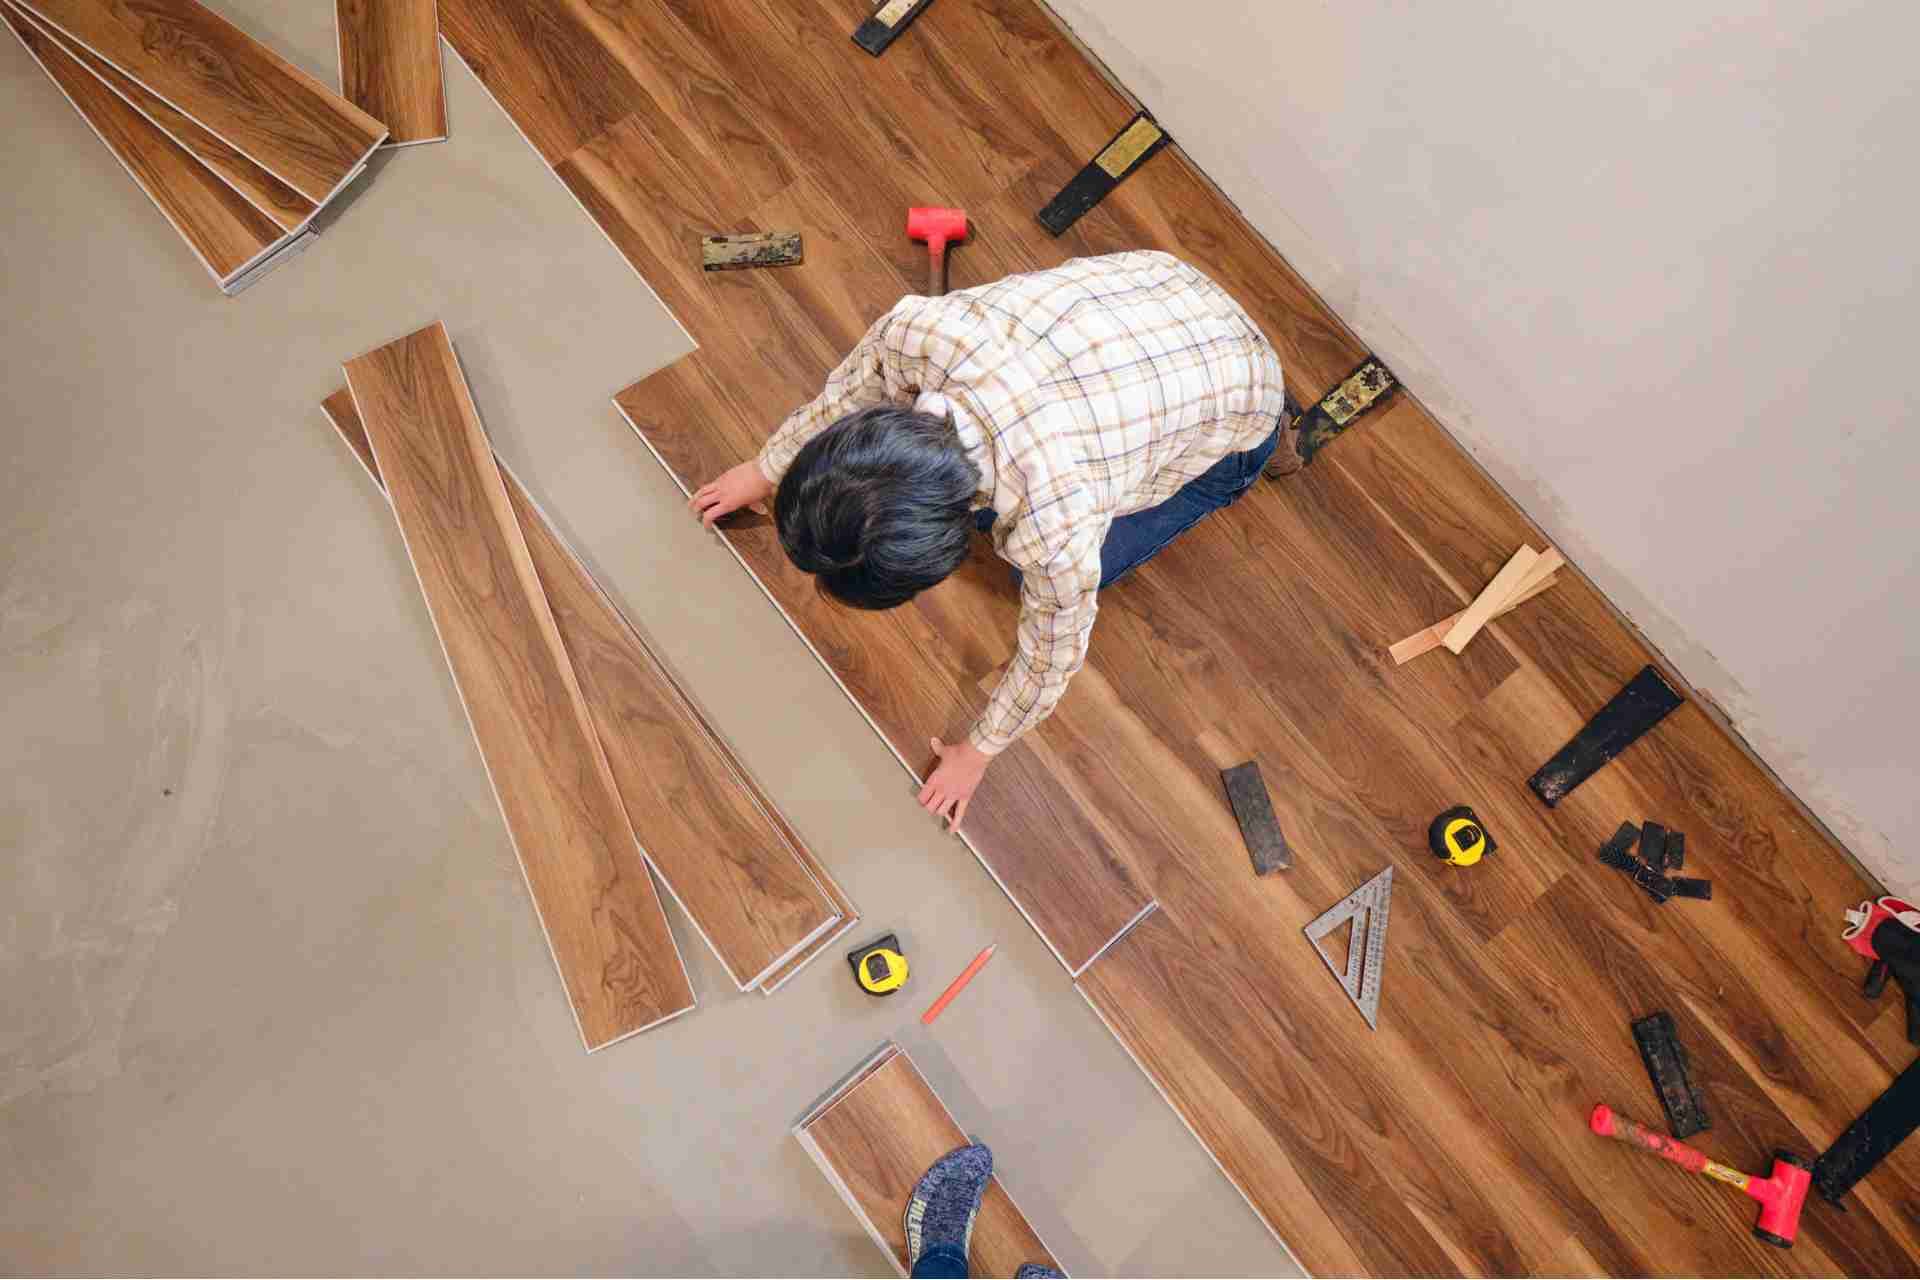
Match installation to conditions: nail-down over wood, glue-down for concrete or wide planks, floating for speed and movement control.
Confirm moisture testing, acclimation, and expansion gaps under doors and around transitions.
Request Itemized Quotes (Scope, Labor, Extras)
Why settle for a lump-sum bid? Ask for an itemized quote that breaks out scope, labor, materials, and extras.
Define the square footage, rooms, subfloor prep, moisture testing, acclimation, and trim details. Request separate lines for demolition, disposal, leveling, underlayment, adhesives, fasteners, stair treads, thresholds, baseboards, and moving furniture.
Insist on the labor rate, crew size, projected hours, and schedule. Have them price materials by species, grade, thickness, finish, and waste factor, plus delivery.
Flag add-ons: floor repairs, sanding, transitions to tile or carpet, custom vents, off-hours work, permits, and travel. Ask for unit prices so you can compare apples to apples and remove or add items easily.
Clarify what's excluded to avoid scope creep and surprise charges. Get revisions in writing before approving.
Confirm Labor and Product Warranties
How solid are the promises behind your new floors? Before you sign, ask the installer and the manufacturer for written warranties.
Verify term lengths (labor versus product), what’s covered (gaps, cupping, finish wear), and what’s excluded (moisture damage, subfloor issues, improper maintenance).
Confirm who you call for claims, response timelines, and whether the installer stands behind workmanship beyond manufacturer defects.
Check if coverage is transferable, requires registration, or hinges on humidity control, acclimation, or approved cleaners.
Require proof of licensing and insurance; many labor warranties depend on it.
Make sure maintenance schedules, cleaning products, and indoor RH ranges are spelled out.
Document moisture readings and subfloor flatness before installation.
Keep copies of contracts, receipts, and photos to support any future claim without needless disputes.
Conclusion
You’re ready to hire with confidence. Set a realistic budget (with a cushion), narrow your list to licensed, insured pros, and read recent reviews for patterns. Verify credentials, compare materials, finishes, and installation methods, and ask for itemized quotes so nothing’s hidden. Finally, confirm labor and product warranties in writing. Do these seven steps, and you’ll protect your investment, avoid surprises, and end up with hardwood floors you love. Start your shortlist and schedule estimates.