10 Essential Steps for Successful Tile Floor Installation
When it comes to tile floor installation, following the right steps can make all the difference in achieving a durable and attractive finish. You'll want to start by assessing your subfloor and gathering the necessary tools and materials. Choosing the right tile is crucial too. But that’s just the beginning—there are several more key steps to ensure your project turns out as planned. Let's explore what comes next.
Common Challenges in Tile Installation
When you tackle tile installation, you'll likely encounter several common challenges that can complicate the process. One major issue is uneven surfaces which can lead to lippage, where tiles don’t align properly.
You’ll also face difficulties with cutting tiles, especially around corners or fixtures. If you’re not careful, you might chip or crack tiles, wasting both time and materials.
Additionally, managing grout lines can be tricky; inconsistent spacing can ruin the overall look. Temperature and humidity changes can affect adhesive performance, so you’ve got to monitor conditions closely.
Finally, time management is crucial—rushing can lead to mistakes. By anticipating these challenges, you’ll be better prepared to tackle your tile project with confidence and skill.
Assess Your Subfloor
Before laying down tiles, assessing your subfloor is vital for a successful installation. Start by checking for any imperfections like cracks, dips, or uneven areas. If your subfloor isn’t level, it can lead to tile cracking or shifting over time.
You’ll want to ensure the surface is clean and free from debris, as any buildup can affect adhesion. Additionally, confirm that your subfloor is structurally sound; a weak or damaged subfloor can compromise the entire installation.
Remember to measure the moisture levels, especially in basements or bathrooms, as excess moisture can lead to mold and tile damage. By thoroughly assessing your subfloor, you set the stage for a beautiful and durable tile floor that will last for years.
Gather Essential Tools and Materials
Gathering the right tools and materials is crucial for a smooth tile installation process. Start by collecting essential tools like a tile cutter, trowel, level, and spacers. You'll also need a measuring tape, safety goggles, and a sponge for cleaning. Don’t forget a knee pad for comfort while working on the floor.
Next, gather your materials, including the tiles, thin-set mortar, and grout. Make sure to purchase extra tiles to account for any mistakes or future repairs. If you're using underlayment, grab that too.
Having everything on hand before you begin will save you time and frustration later. With the right tools and materials, you’re already on your way to a successful tile installation!
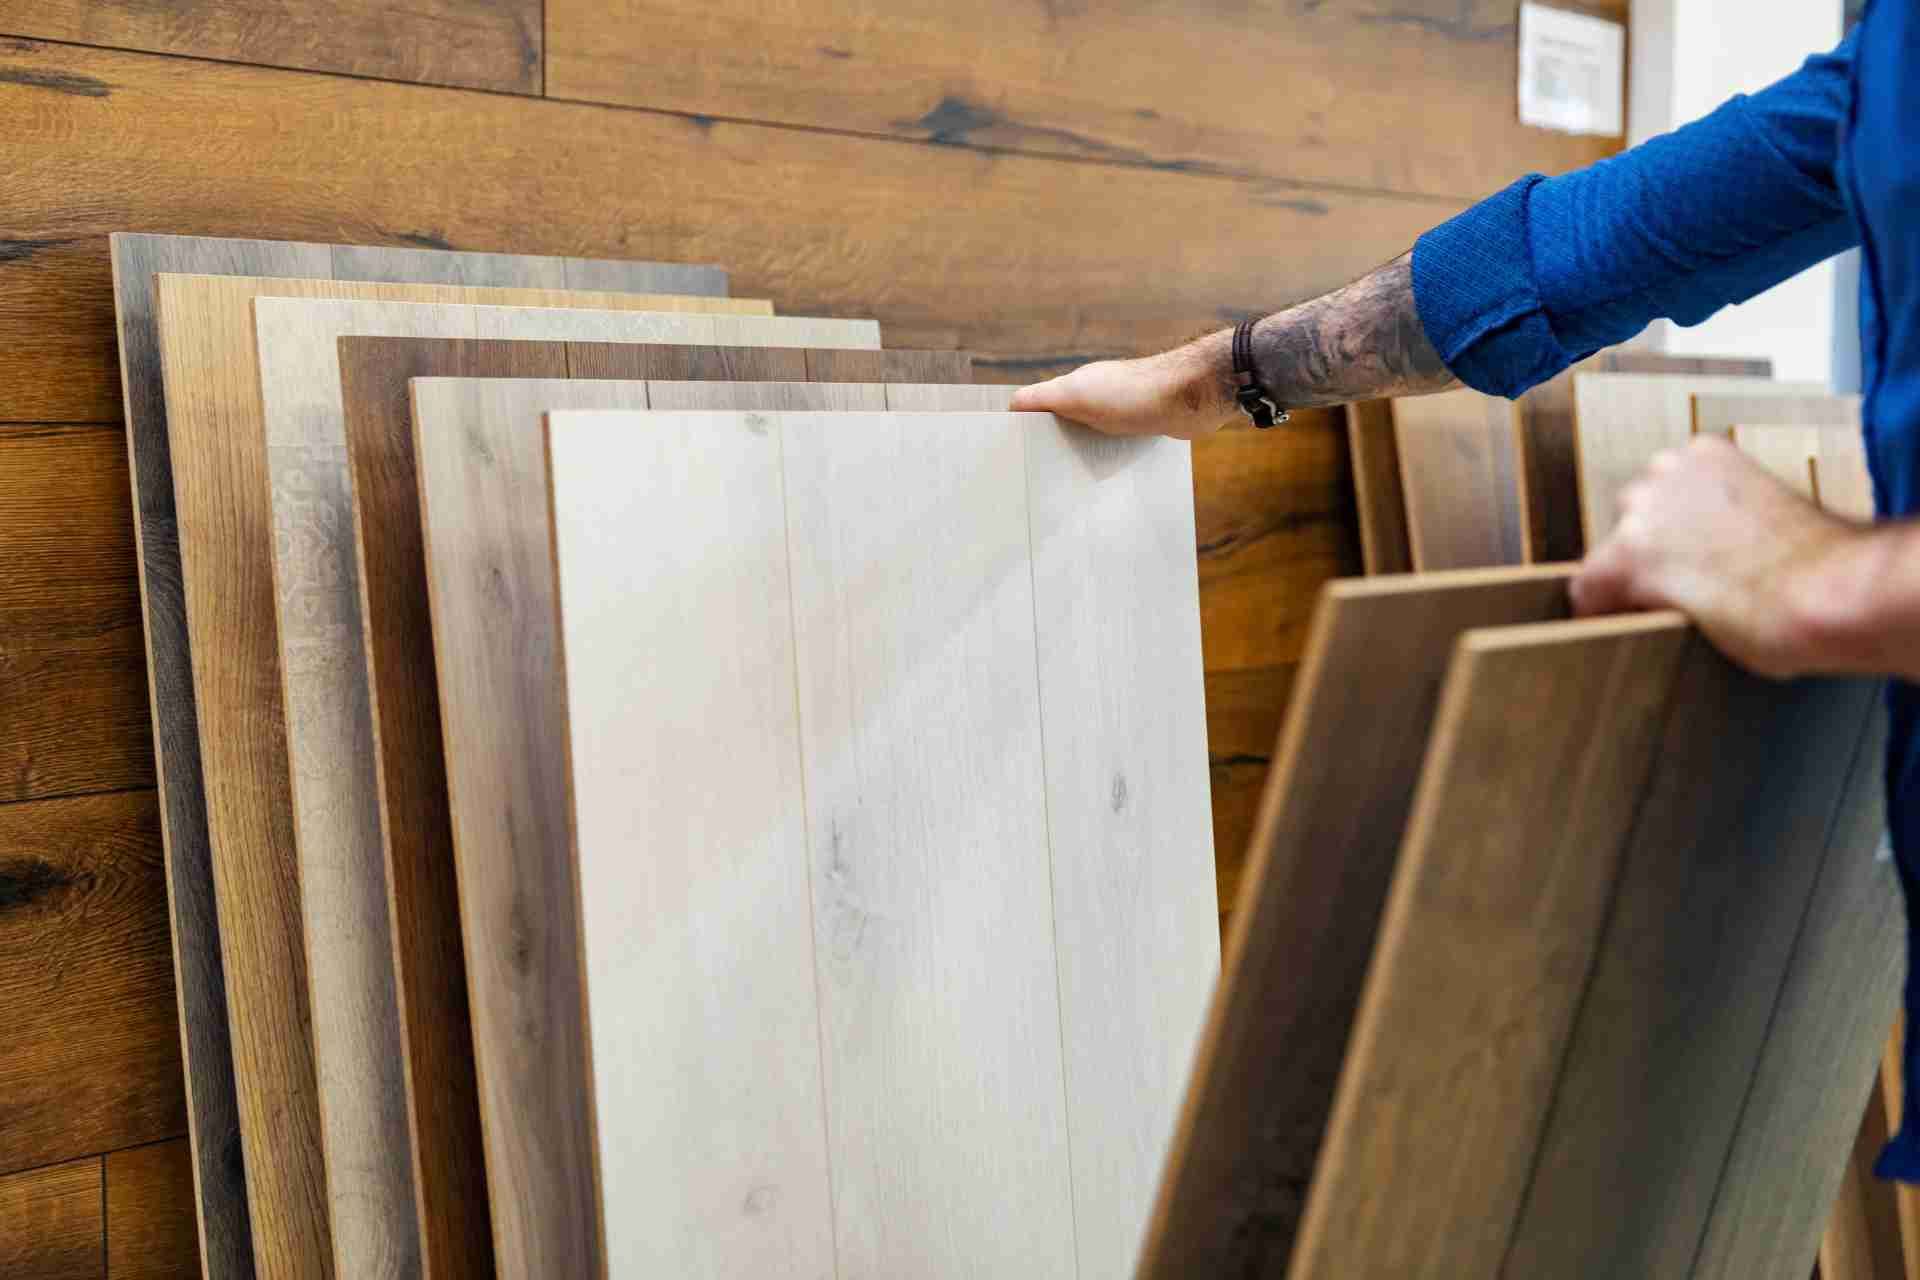
Choose the Right Tile for Your Installation
Choosing the right tile for your installation is essential to achieving the desired look and durability. Start by considering the room's function.
For high-traffic areas, opt for durable materials like porcelain or ceramic, which can withstand wear and moisture. If you're tiling a bathroom or kitchen, choose slip-resistant tiles to ensure safety.
Think about the style you want; whether it’s modern, rustic, or classic, the tile's color and pattern play a significant role in the overall aesthetic.
Don’t forget to check the tile size; larger tiles can make a space feel bigger, while smaller ones can add intricate designs.
Finally, consider maintenance—some tiles require more upkeep than others, so pick one that fits your lifestyle.
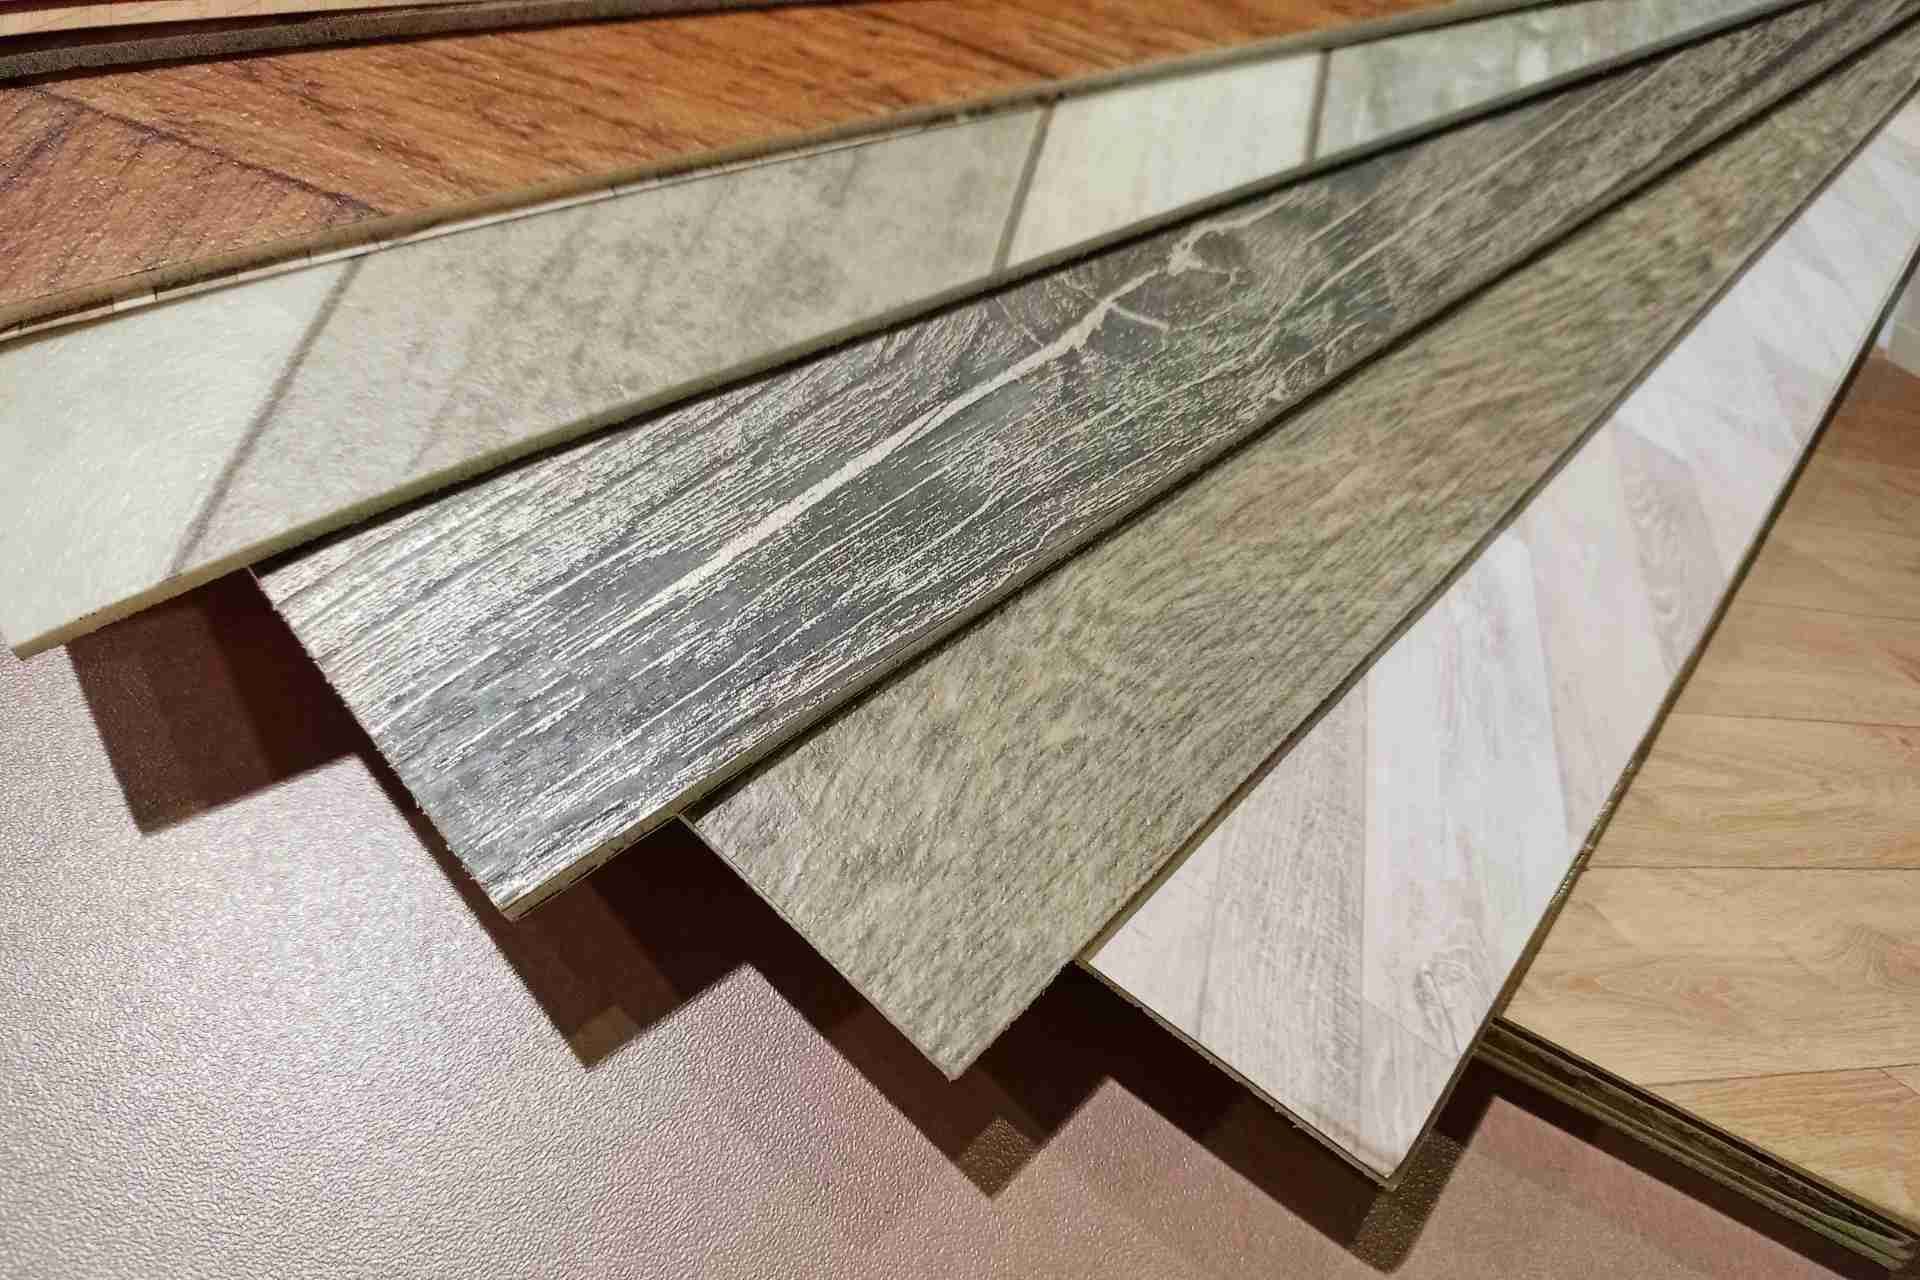
Plan Your Tile Layout for Optimal Aesthetics
Once you've selected the right tile for your space, it's time to focus on how to arrange it for the best visual impact.
Start by considering the room’s layout and natural light. You want to create a flow that complements your space.
Lay out your tiles dry, experimenting with different patterns like straight or diagonal. This helps you visualize how each option affects the room's aesthetics.
Pay attention to focal points—like a fireplace or a large window—positioning tiles to highlight these features.
Don’t forget to think about grout lines; consistent spacing creates a polished look.
Lastly, remember the size of your tiles; larger tiles can make a small room feel more expansive, while smaller tiles can add detailed visual interest.
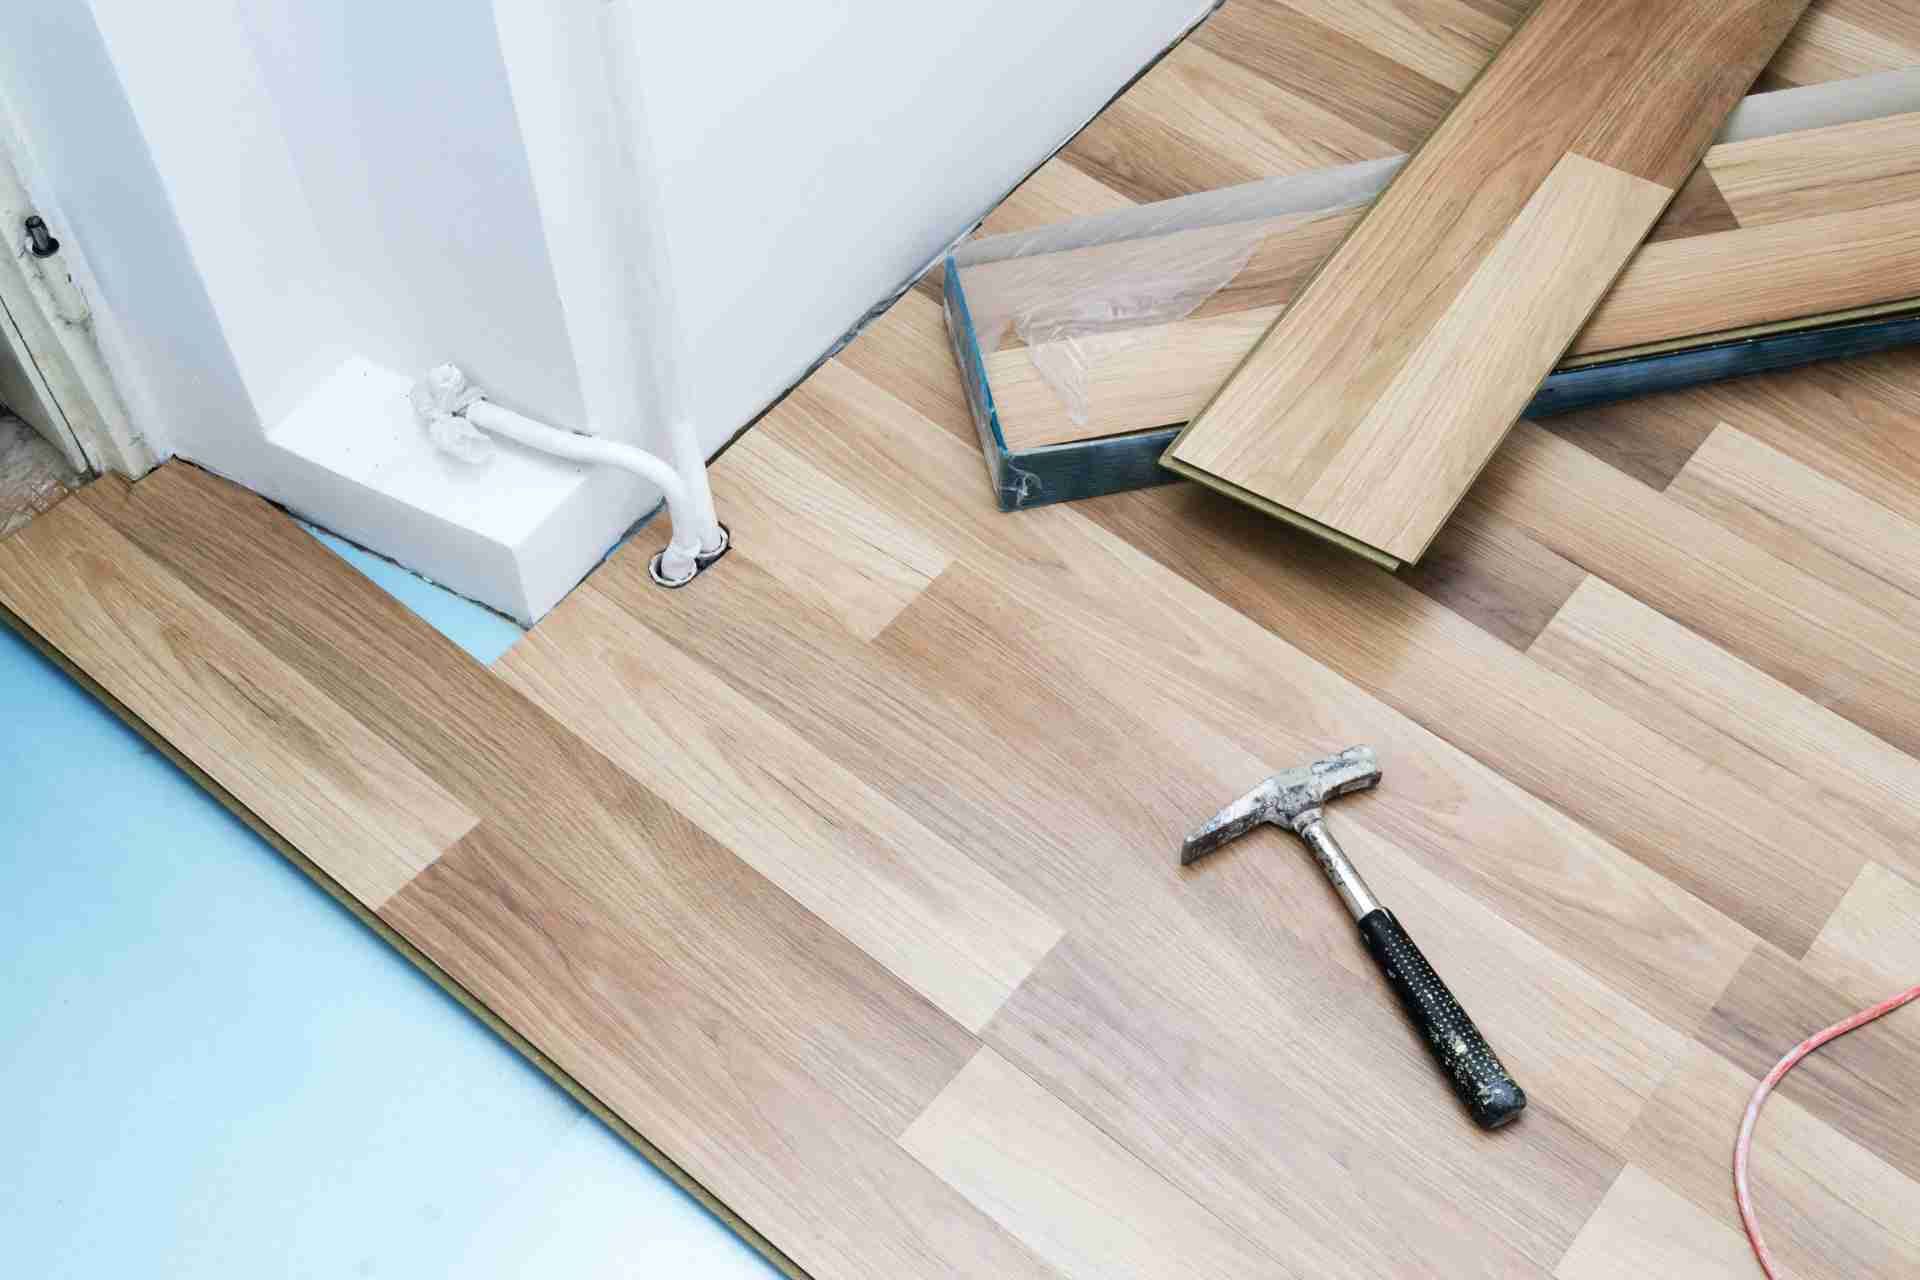
Get Your Subfloor Ready for Tiles
Preparing your subfloor is crucial for a successful tile installation. First, inspect it for any damage, like cracks or uneven areas. If you find any issues, repair them before proceeding.
Make sure your subfloor is clean and free of dust, dirt, or debris. A level surface is essential; use a leveling compound if necessary.
Also, check for moisture. If your subfloor is wood, it’s vital to ensure it’s dry to prevent mold and warping. If you’re working with concrete, consider using a moisture barrier.
Finally, ensure the subfloor is structurally sound and properly secured to avoid movement. Taking these essential steps will create a solid foundation for your tiles, ensuring long-lasting durability and aesthetics.
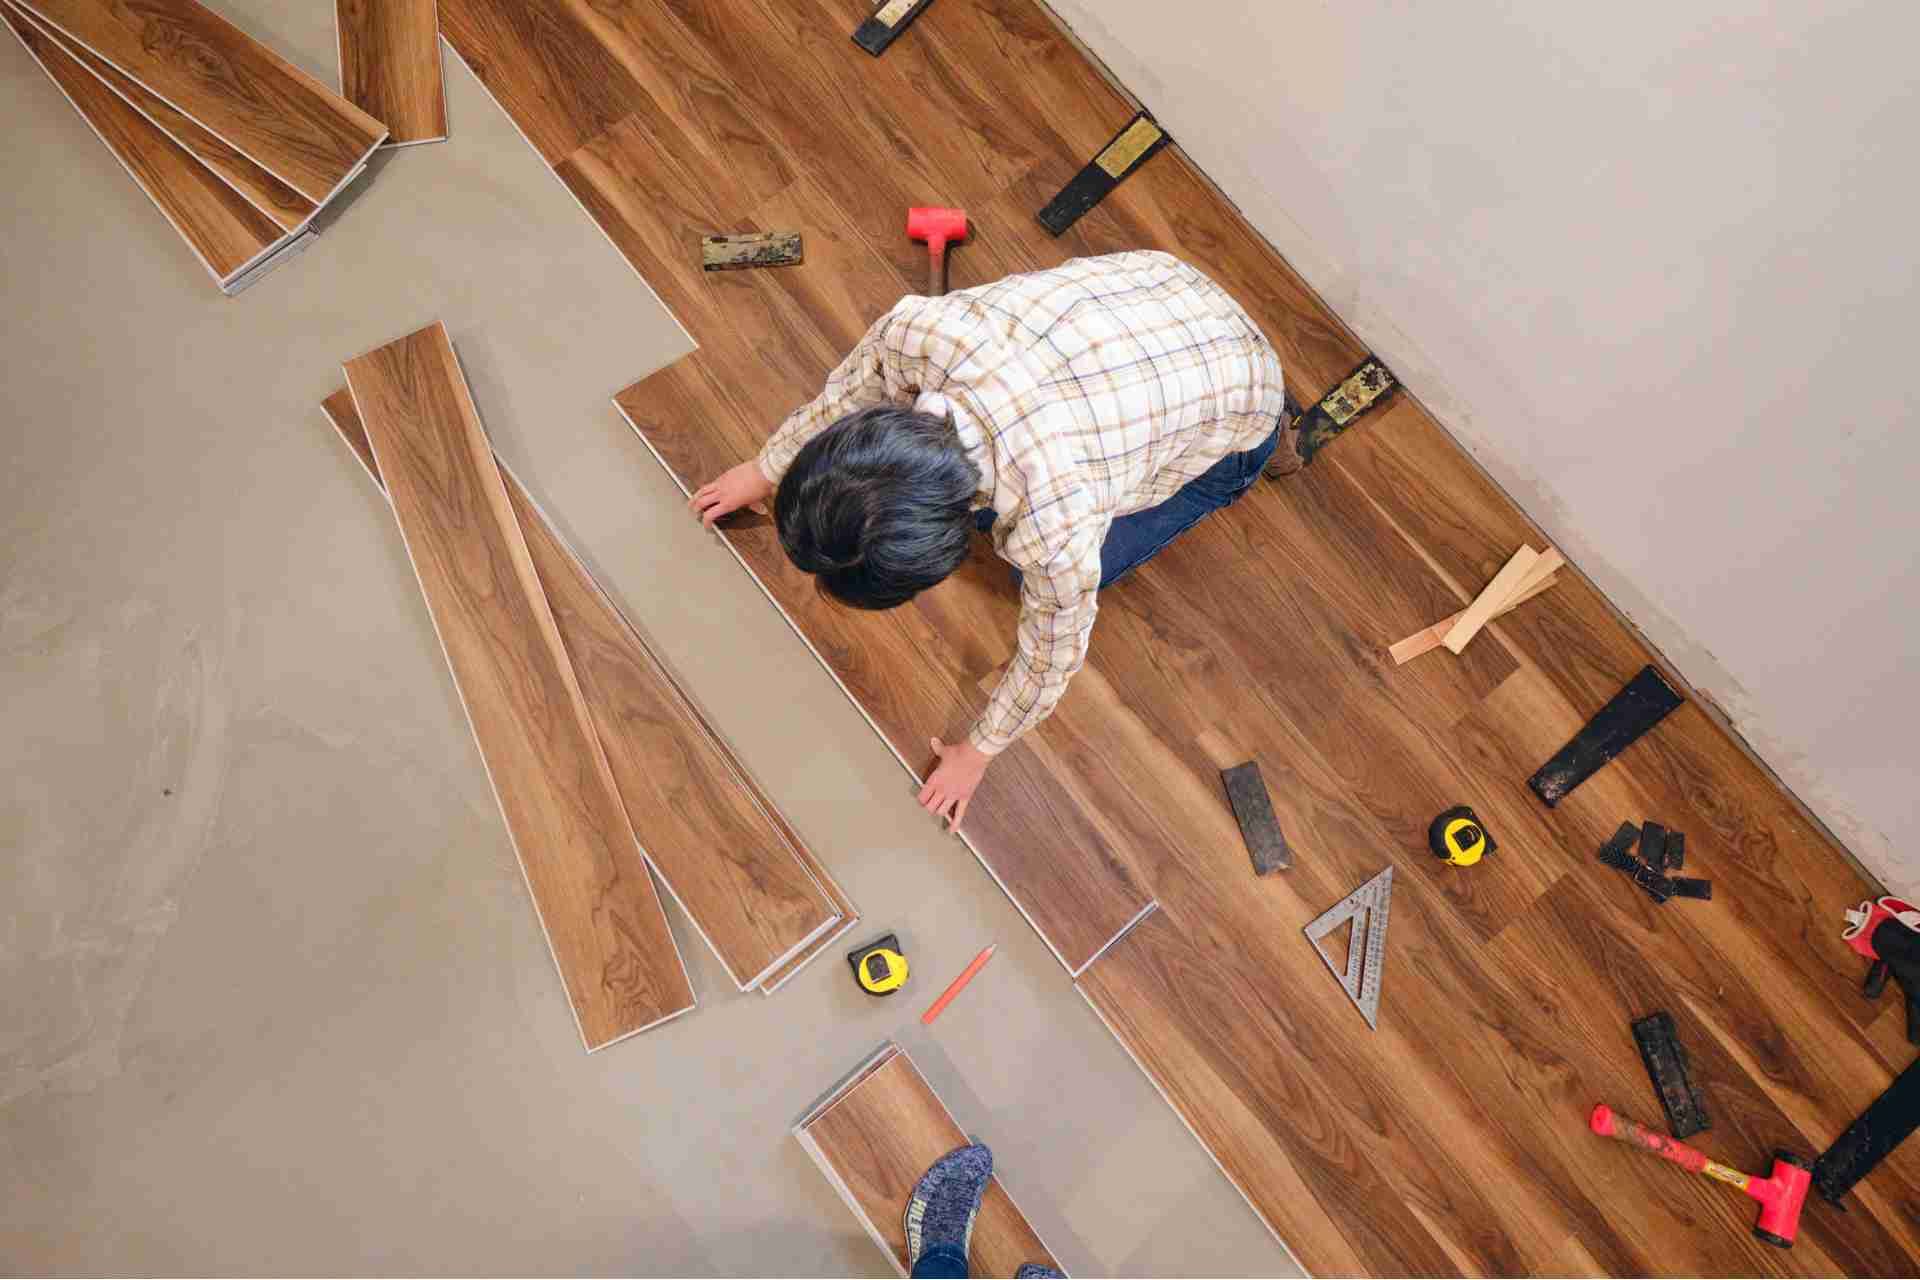
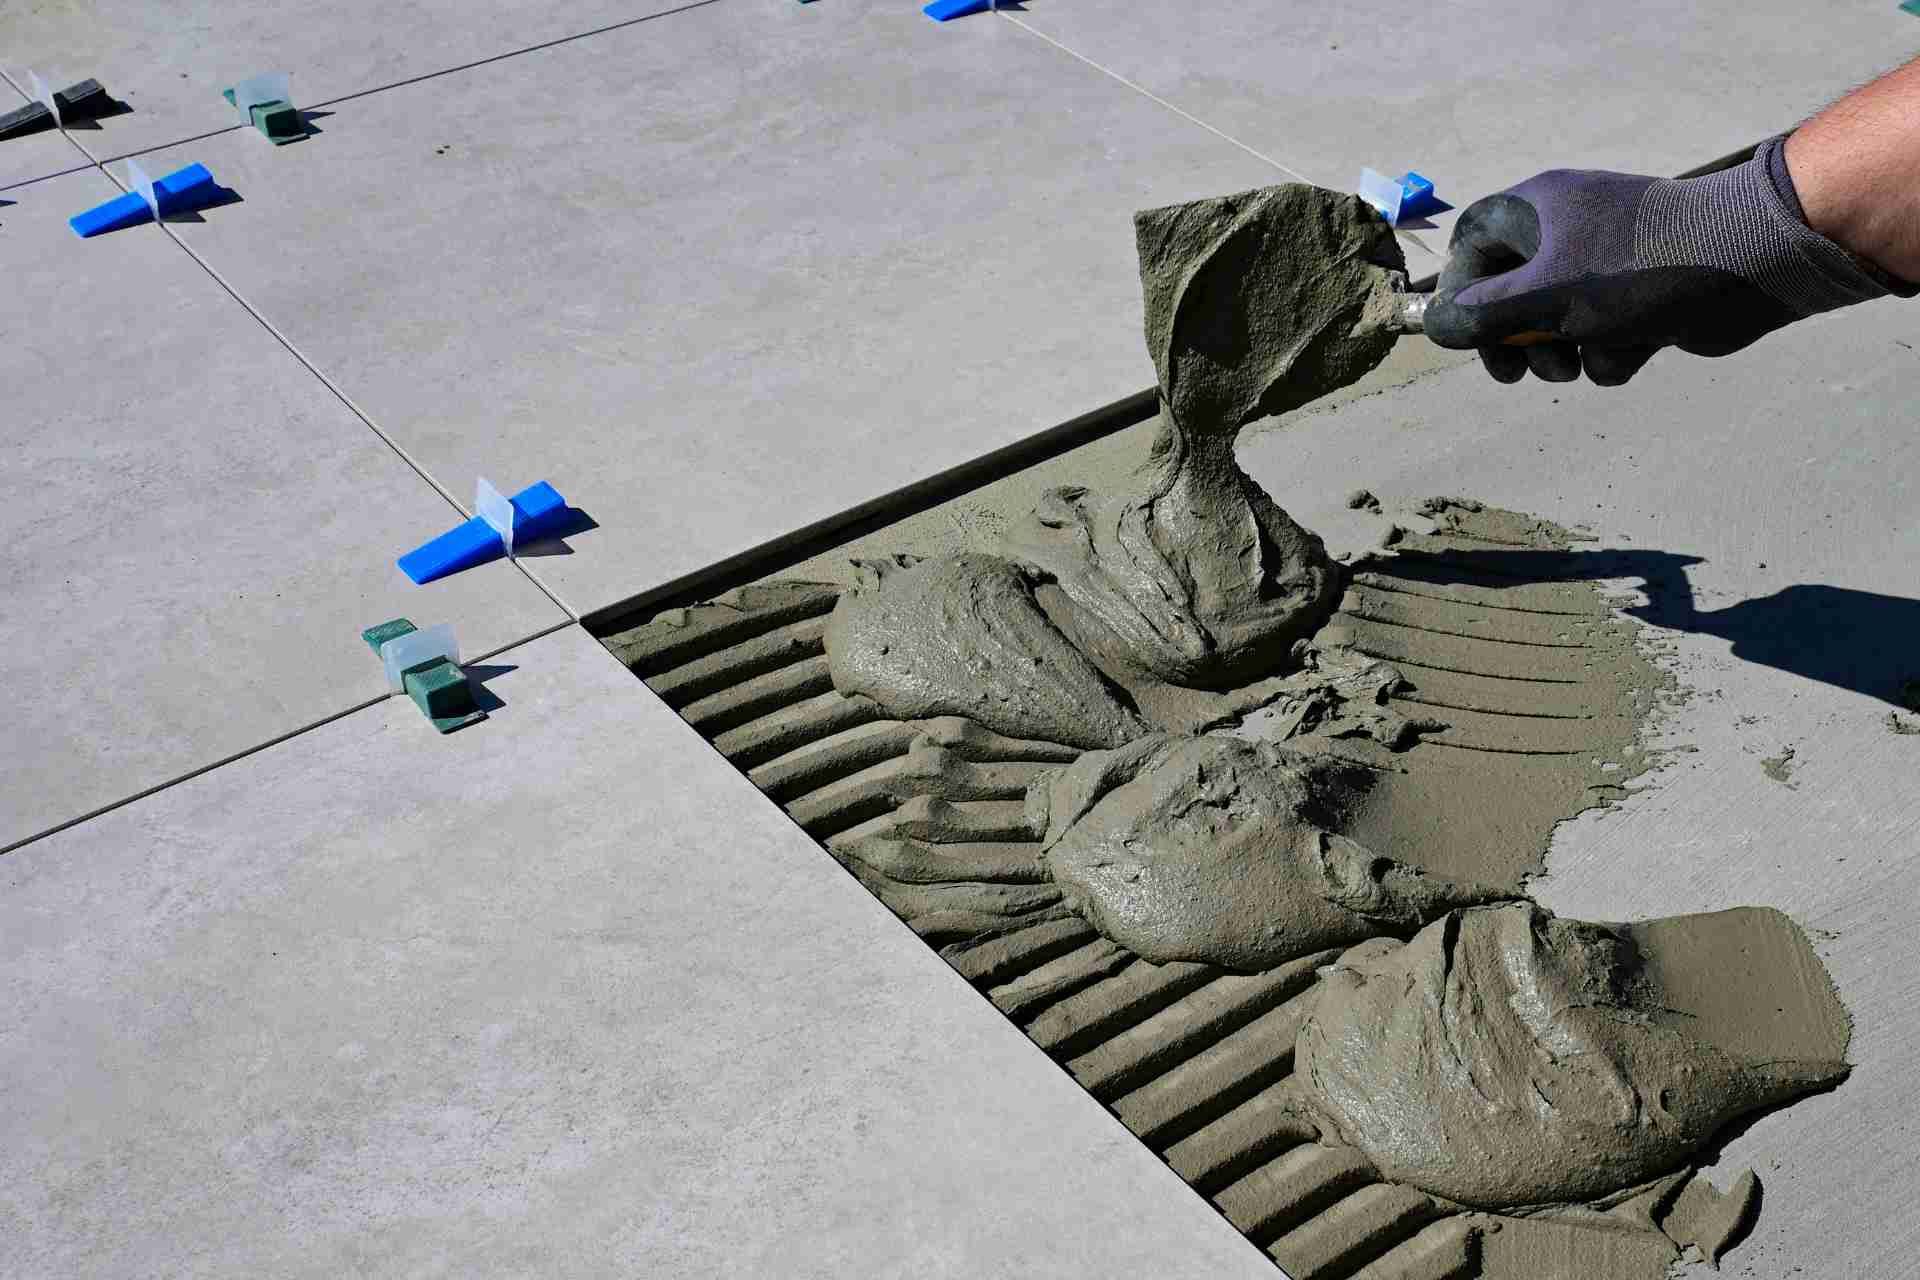
Apply Thinset Mortar and Set Your Tiles
Applying thinset mortar and setting your tiles is a critical step in achieving a professional finish.
First, mix the thinset according to the manufacturer's instructions until you achieve a smooth, workable consistency. Using a notched trowel, spread the thinset on a small section of your subfloor, ensuring a uniform layer.
It’s essential to hold the trowel at a consistent angle to create even ridges, which help with tile adhesion. Next, press the tiles firmly into the thinset, twisting slightly to ensure a strong bond.
Leave spacers between tiles for consistent grout lines. Continue this process, working in small areas to prevent the thinset from drying out.
Regularly check your alignment to maintain a straight pattern throughout the installation.
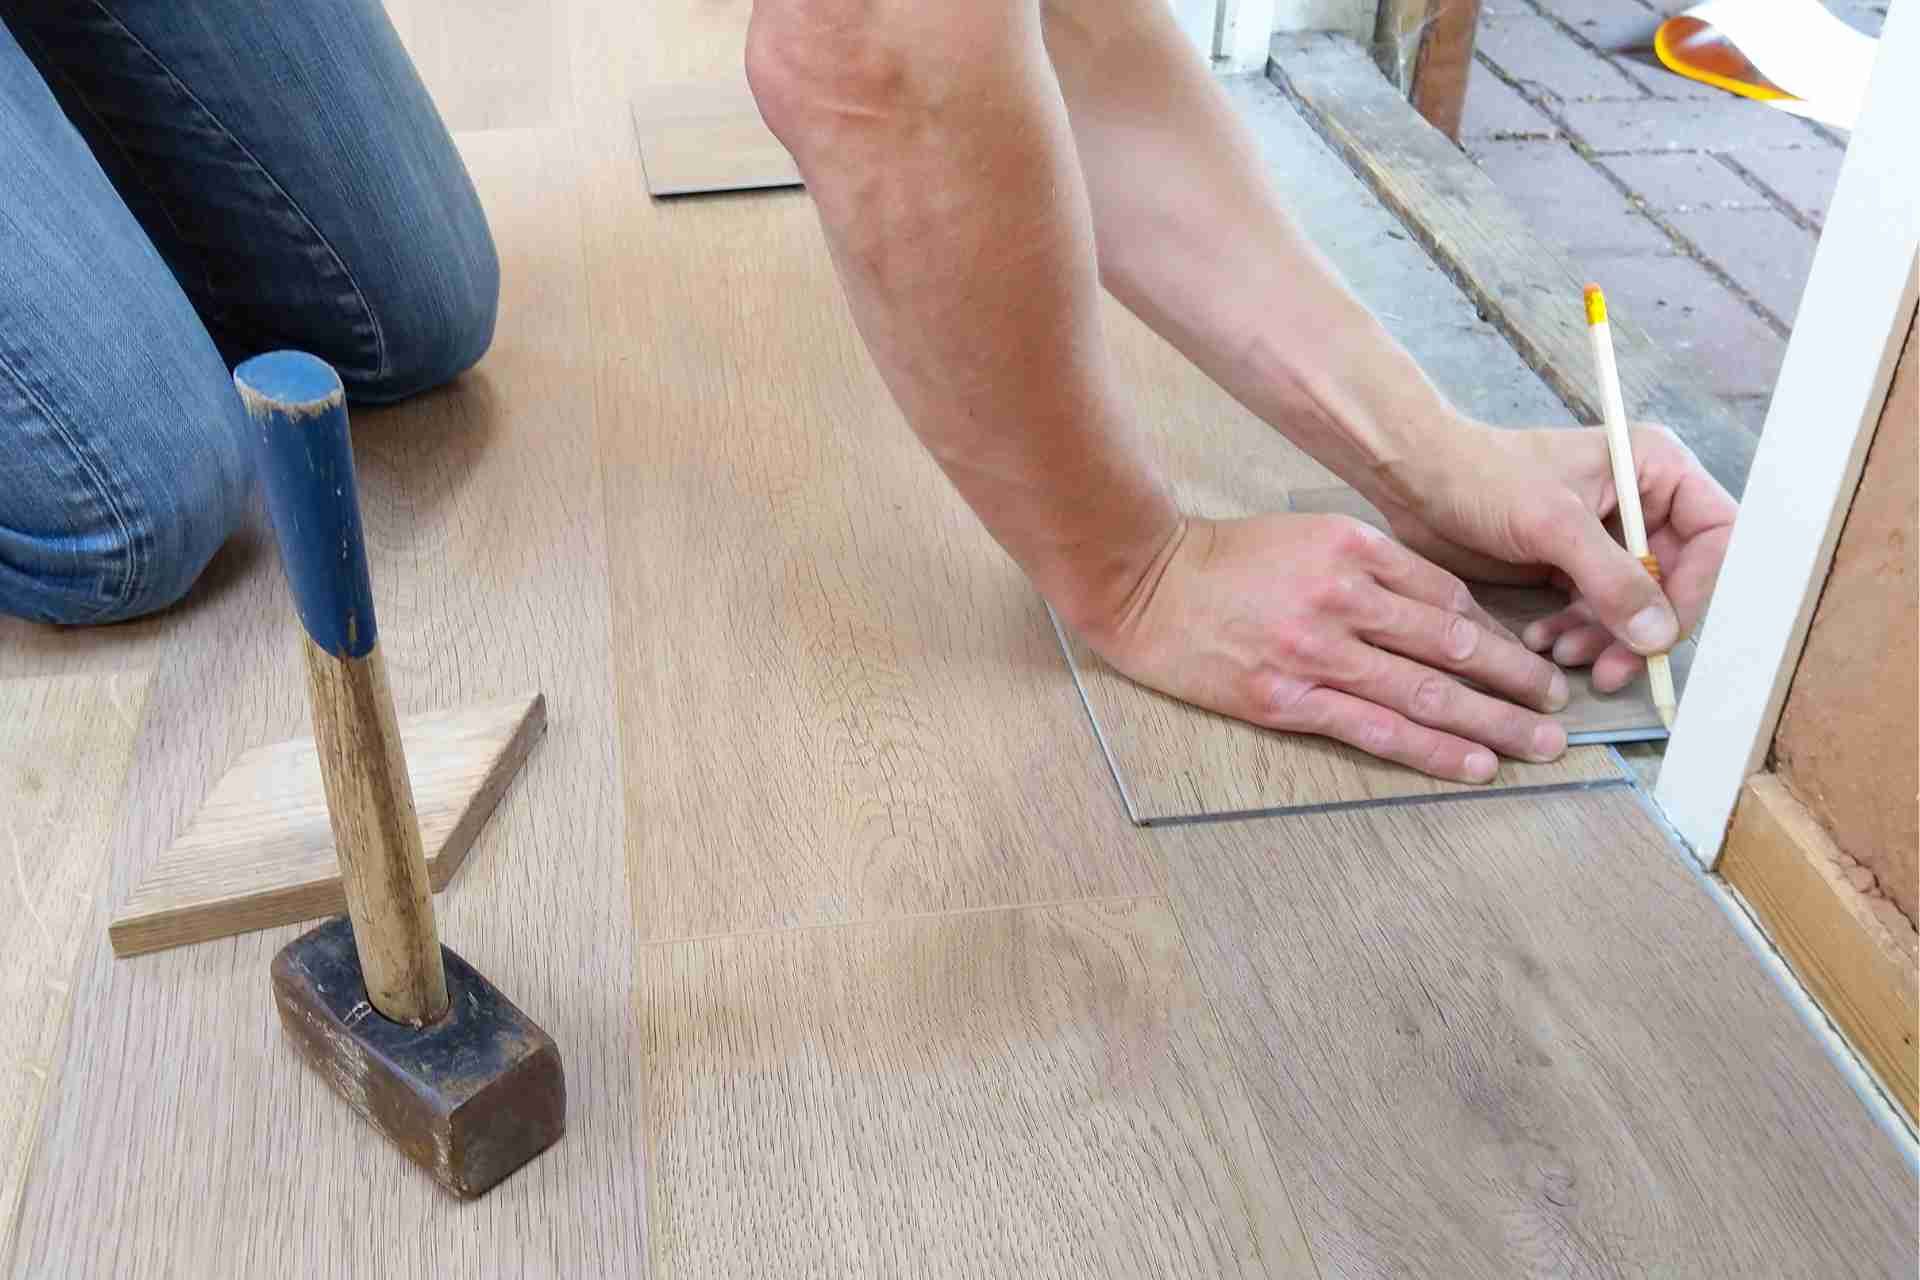
Cut Tiles for a Perfect Fit Around Edges
To achieve a seamless look in your tile installation, you'll need to cut tiles for a perfect fit around edges and obstacles.
Start by measuring the space where the tile will go, marking the tile accordingly. Use a tile cutter or a wet saw for clean, precise cuts. If you're working with intricate shapes, a tile nipper can help you make those tricky adjustments.
Always wear safety gear, like goggles, to protect yourself while cutting. Test the fit by placing the cut tile in position before securing it down. If it doesn't fit perfectly, make small adjustments until it does.
Taking your time with this step will ensure a professional-looking finish to your flooring project.
Allow Tiles to Cure Properly Before Grouting
After you've cut and fitted your tiles around edges and obstacles, it’s important to allow them to cure properly before grouting.
Curing time is essential for the adhesive to set, ensuring your tiles stay in place for years to come. Typically, you should wait at least 24 hours before proceeding, but always check the adhesive manufacturer's recommendations.
During this time, avoid walking on the tiles or placing any weight on them. Protect the surface from dust and debris to prevent any disruption. This patience pays off, as proper curing minimizes the risk of tiles shifting or cracking after grouting.
Once you've allowed sufficient time for curing, you’ll be ready to choose your grout and complete the installation.
Choose and Apply Your Grout
Choosing the right grout is crucial for both the aesthetics and durability of your tile installation. Start by selecting a grout that matches your tile color and desired finish.
You'll typically choose between sanded and unsanded grout, depending on the size of your joints. For wider joints, sanded grout is ideal, while unsanded works best for narrow joints.
Once you’ve picked your grout, mix it according to the manufacturer’s instructions. Apply it using a grout float, pressing it firmly into the joints.
Make sure to wipe away excess grout with a damp sponge, being careful not to pull grout from the joints. Finally, allow the grout to cure for the recommended time before sealing it to ensure longevity and prevent moisture damage.
Conclusion
By following these ten essential steps, you can tackle your tile floor installation with confidence. Remember to assess your subfloor, gather the right tools, and choose tiles that suit your style and space. Careful planning of your layout and consistent application of mortar and grout will make a significant difference in the final look. With patience and attention to detail, you’ll create a beautiful, durable floor that enhances your home’s appeal for years to come.