10 Factors Affecting Cost of Vinyl Flooring and Installation
You want vinyl floors that look sharp and last, but costs swing with more than just square footage. Material type, thickness, and wear layer shift pricing fast. Installation method, room layout, and stairs add labor. Brand, warranty, and design choices push premiums. Then there’s subfloor prep, moisture barriers, and disposal. Even your location changes rates. Before you set a budget, you’ll want to know where money really moves next.
Vinyl Flooring Cost at a Glance: Averages and Ranges
While prices vary by product and region, you can expect vinyl flooring to run about $3–$10 per square foot installed, with many projects landing between $1,500 and $4,000 for a typical 200–400 sq. ft. room.
Material makes up a big slice of that price, followed by labor. Expect add-ons for subfloor repairs, moisture barriers, underlayment, baseboards, thresholds, and trims.
You’ll also pay more for stairs, tight layouts, complex cuts, or pattern matching. Smaller rooms raise the per-square-foot rate because setup time doesn’t shrink.
Geography, local labor demand, and seasonality can nudge bids up or down. Higher wear layers, thicker planks, and premium finishes typically cost more, but they may reduce maintenance over time.
Always request line-item estimates and confirm what’s included before you sign.
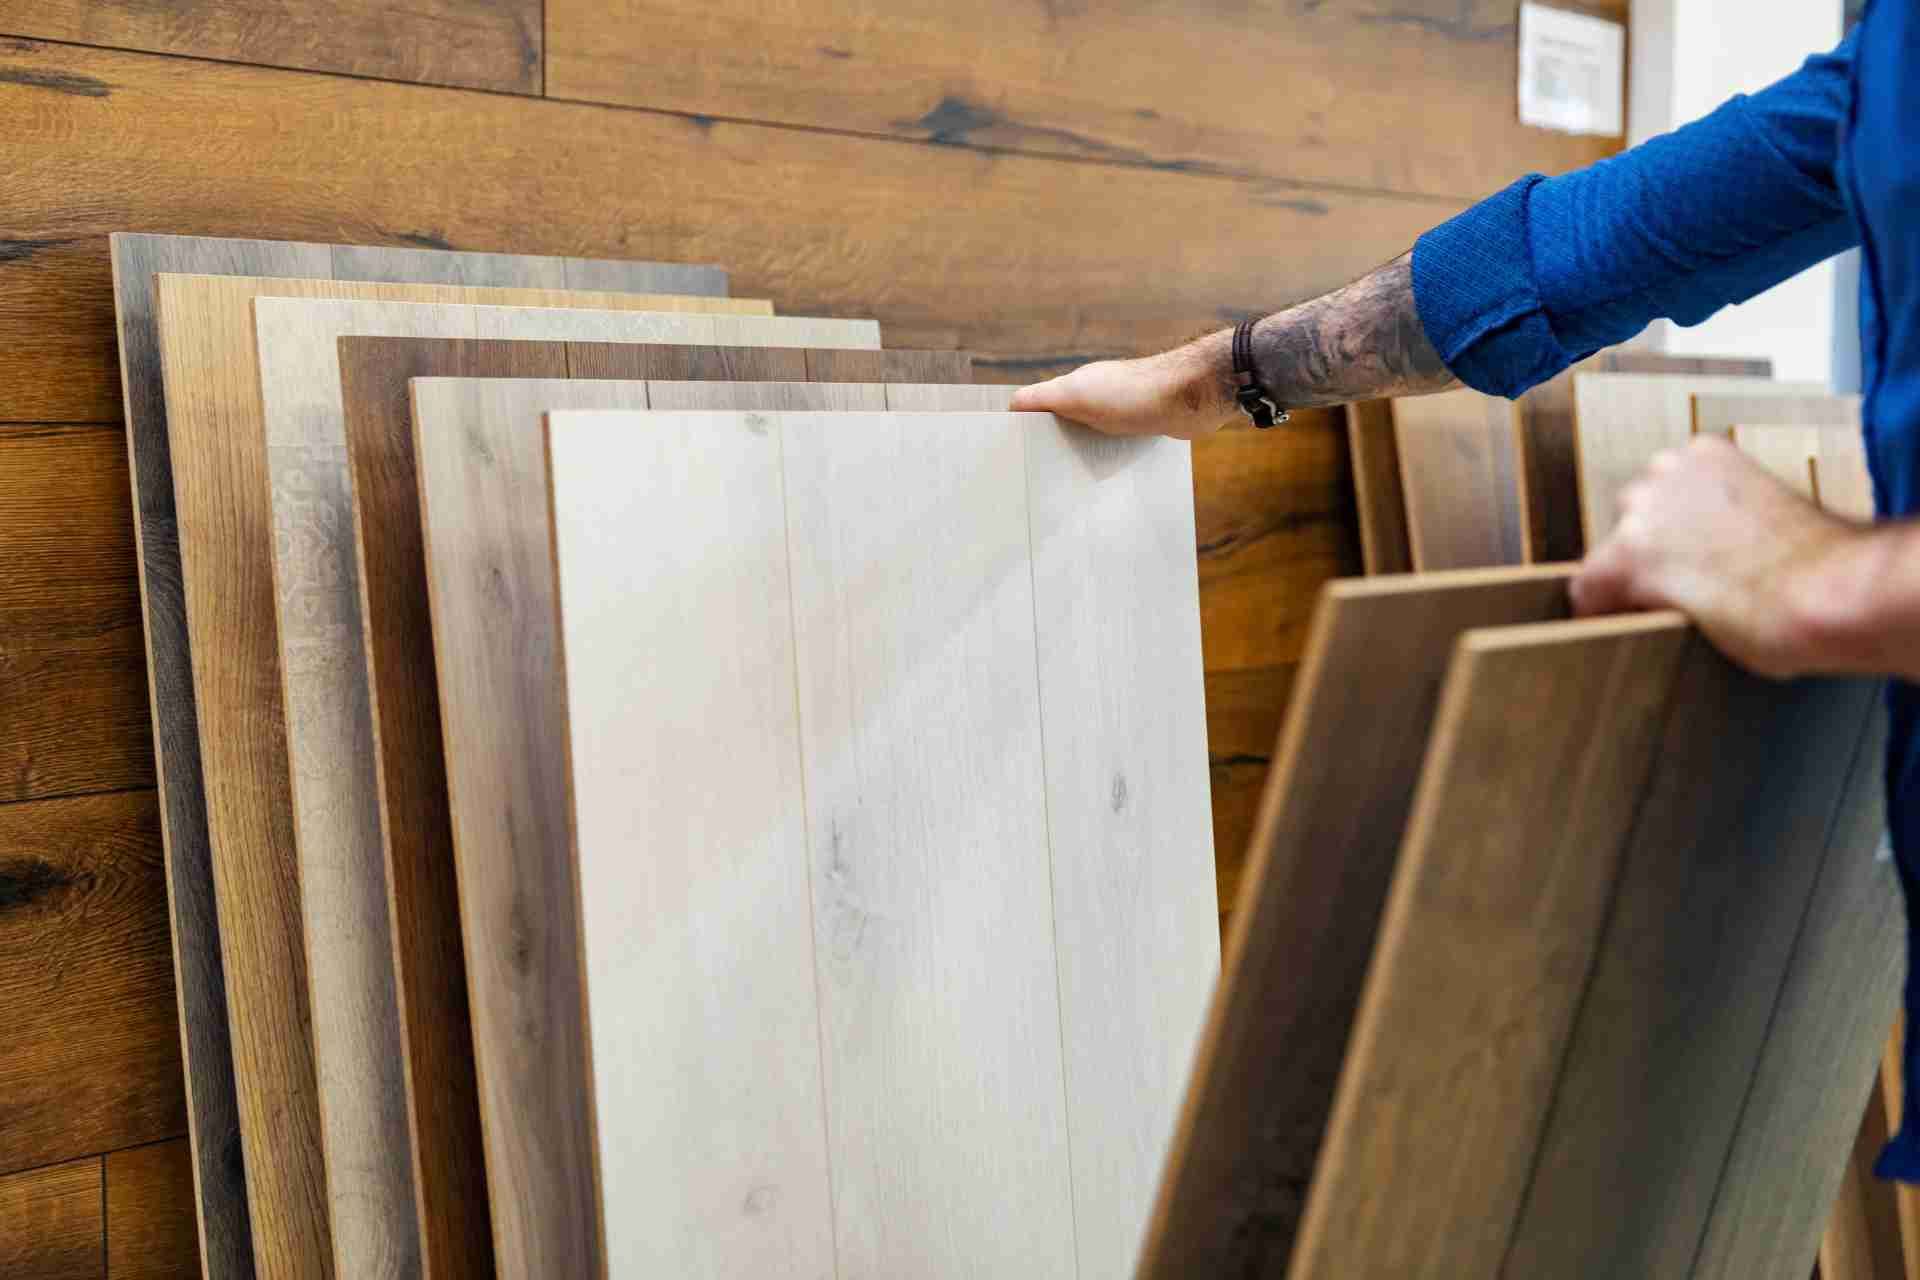
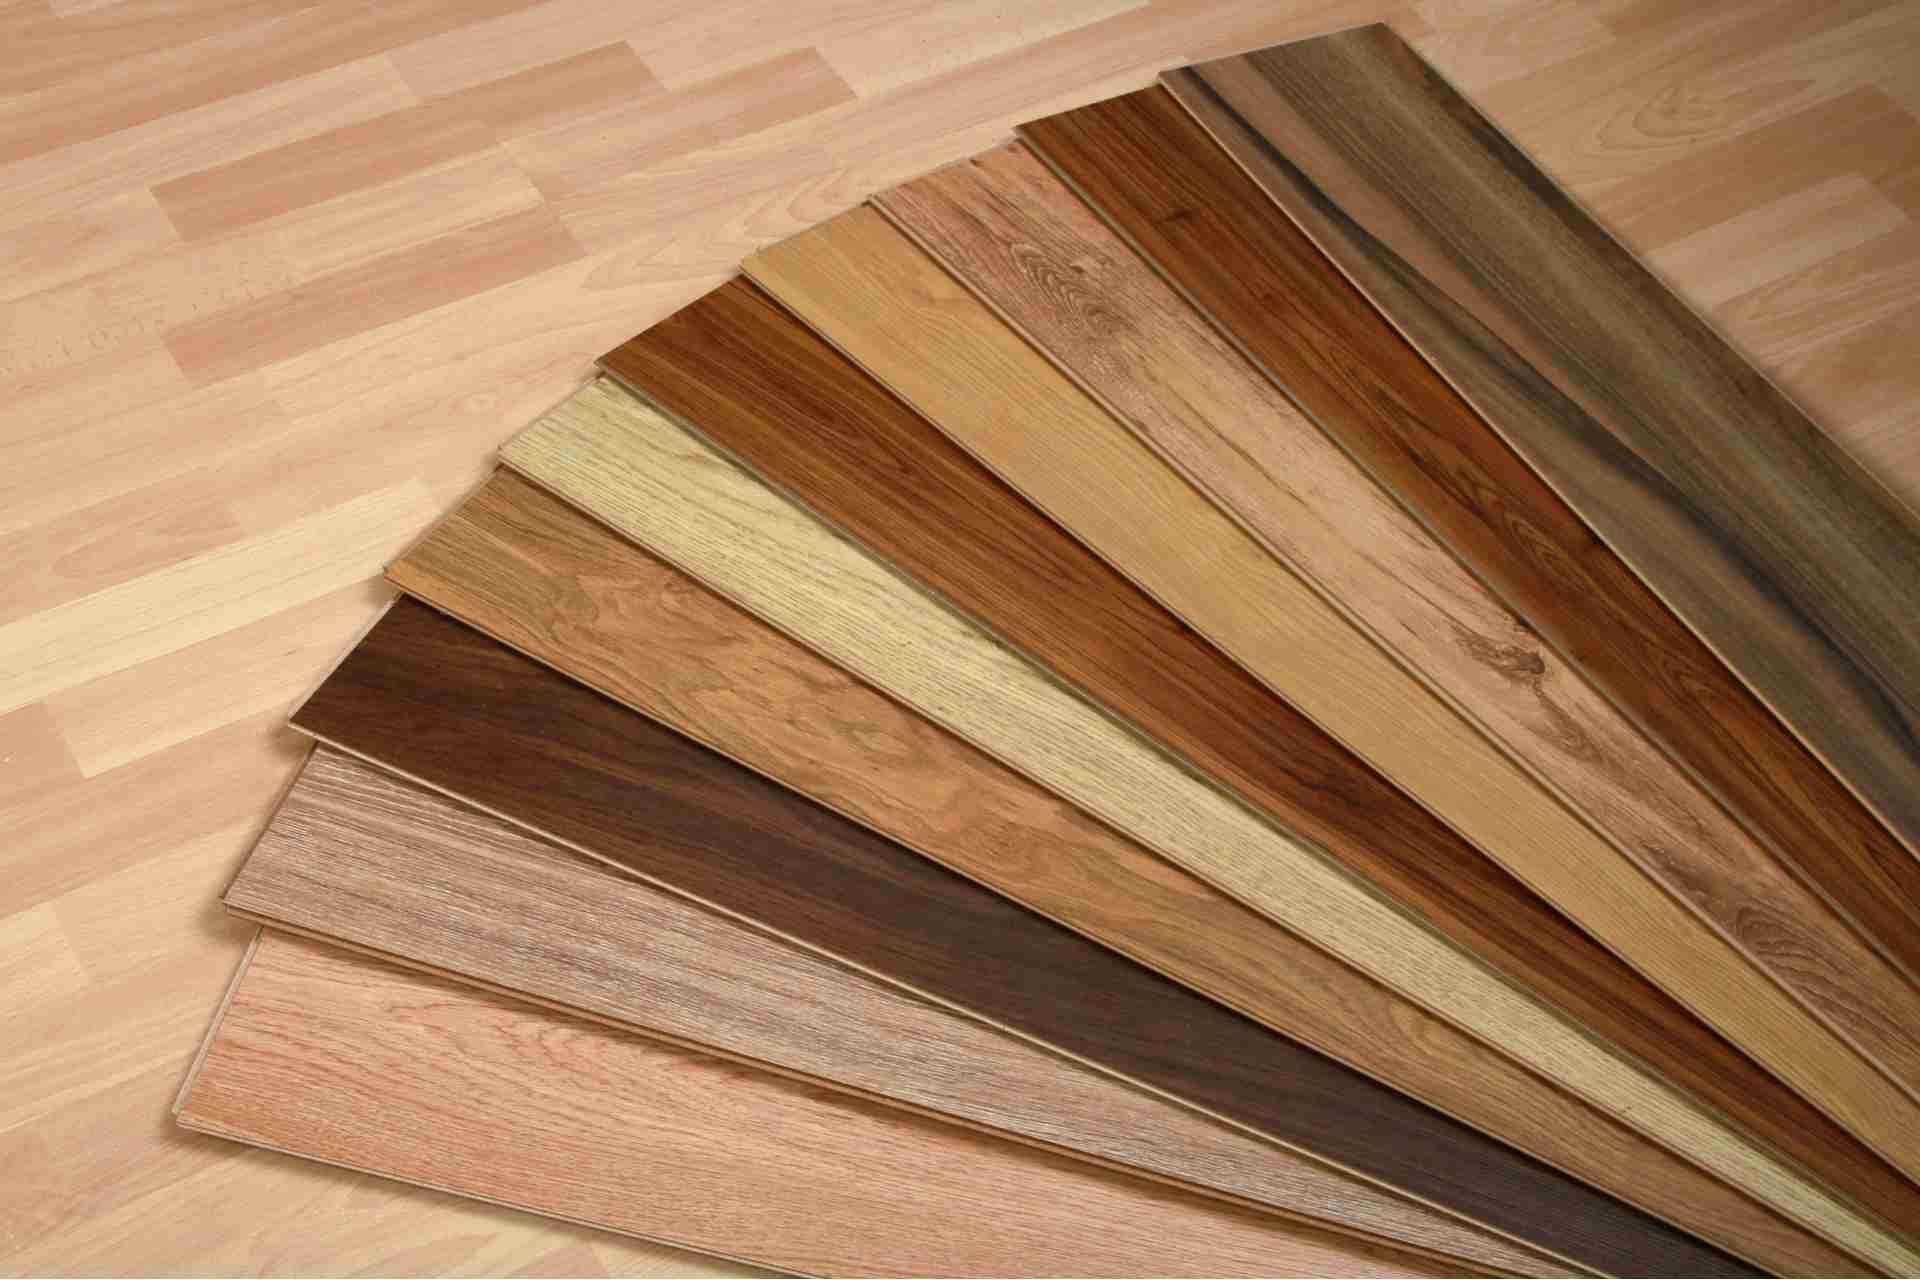
LVT vs. Sheet Vinyl: Cost, Durability, and Look
Two popular vinyl options—luxury vinyl tile/plank (LVT/LVP) and sheet vinyl—differ clearly on price, performance, and style.
You’ll usually pay more for LVT/LVP materials and labor, especially with click-lock planks and staggered layouts; sheet vinyl typically runs lower per square foot and installs faster in wide, simple rooms.
For durability, both handle moisture, but LVT/LVP resists dents and traffic better and lets you replace a single plank instead of an entire roll.
Sheet vinyl can curl or tear at edges and seams, yet it’s practical in low-traffic spaces.
Aesthetically, LVT/LVP wins on realistic wood and stone textures, deeper embossing, and varied patterns.
Sheet vinyl offers big, continuous visuals with minimal seams, a smart pick for bathrooms, laundry rooms, or rentals where budgets and speed matter.
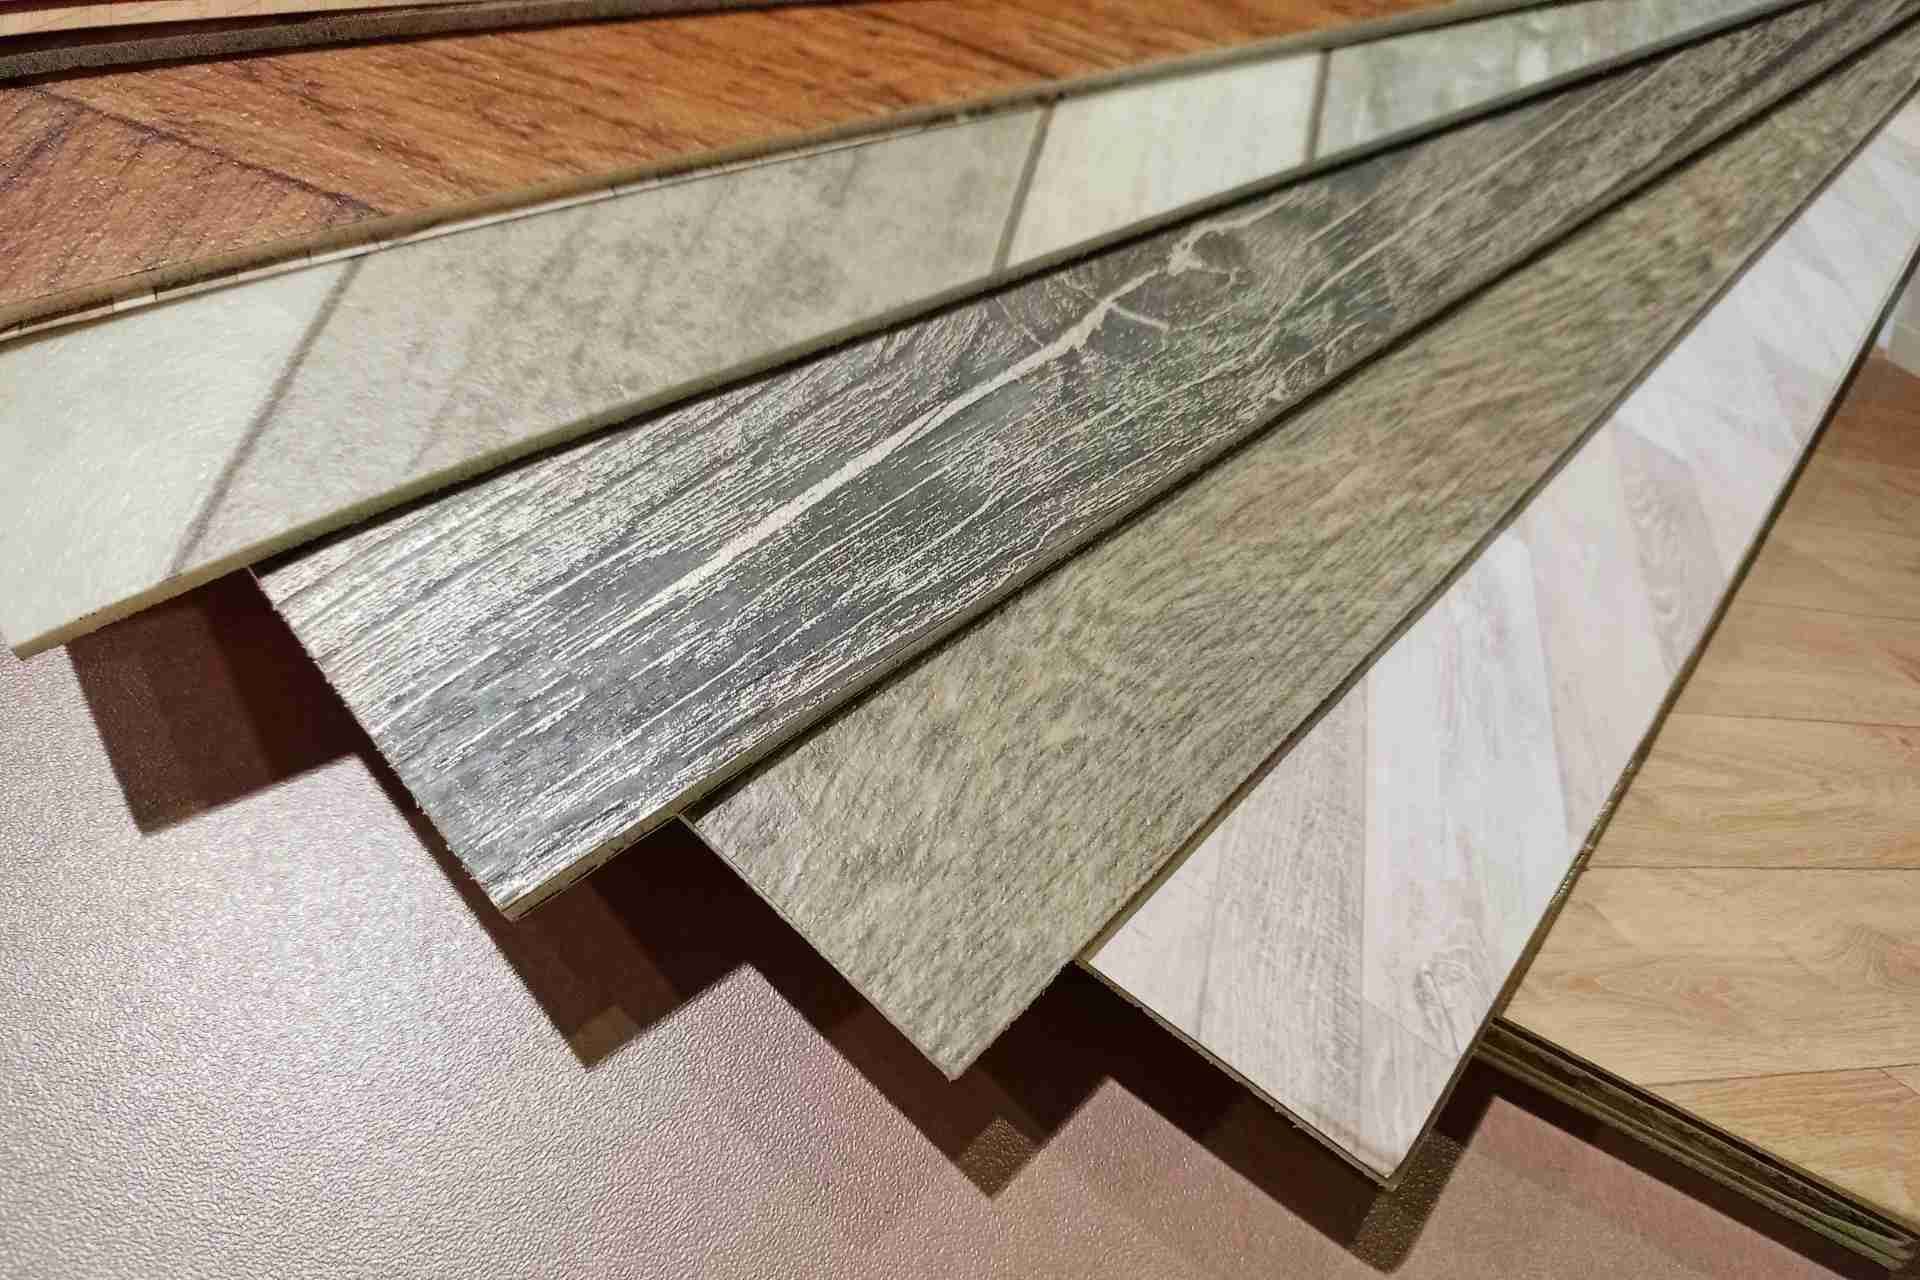
Thickness and Wear Layer: What You Pay vs. What You Get
Beyond choosing LVT/LVP or sheet vinyl, thickness and wear layer largely set what you’ll pay and how the floor holds up. Thicker planks or tiles (4–8 mm) feel sturdier, dampen sound, hide minor subfloor waviness, and resist dents from dropped items or high heels. That extra material costs more and can affect door clearances and transition heights.
Wear layer thickness, usually 6–20+ mil in homes and 28–40 mil in commercial spaces, drives scratch and stain resistance and years of service. Pets, kids, and rolling chairs push you toward thicker wear layers.
Click‑lock products benefit from thicker cores for stronger joints, while glue‑down options lean on the wear layer. Spend where traffic is highest; keep low‑traffic rooms lean to save. Avoid overbuilding in seldom-used areas.
Brand and Warranty: When Premiums Are Worth It
When does paying more for a nameplate make sense? You’re buying more than a logo—you’re paying for proven quality control, consistent batches, and a warranty that actually protects you.
Big brands often provide longer residential and commercial terms, clearer claims processes, and parts-and-labor coverage for verified defects.
Read the proration schedule, transferability, and whether moisture, stains, scratches, or curl are covered. Verify requirements: acclimation, approved underlayments, room temperature ranges, and maintenance; they affect claim validity.
Established manufacturers fund responsive customer support and certify installers, reducing installation errors and downtime. They may bundle matched trims and adhesives that keep systems under warranty.
If you need reliability for rentals, high-traffic areas, or resale value, paying the premium can lower lifetime risk and hassle, and future costs.
Patterns, Colors, and Inlays: How Design Affects Cost
After weighing brand and warranty, your design choices also move the price.
Simple, single-color vinyl usually installs fastest and wastes less material. Bold patterns, high-variation tones, and herringbone or chevron layouts take longer to plan, cut, and align, raising labor hours. Each direction change, border, or stair nosing increases precision cuts and trim pieces.
Custom inlays, medallions, and multi-room pattern continuity add layout time and specialized adhesives, so you’ll pay more. Dark colors and high-contrast designs show seams and flaws, prompting tighter tolerances and extra finishing steps.
If you want wider planks, unique tile sizes, or mixed widths, expect higher waste factors and additional boxes. Upgraded print films, deeper embossing, and painted bevels also carry premiums but create richer visuals and longer-lasting style appeal.
Subfloor Leveling and Moisture Fixes: Typical Price Add-Ons
Though many floors go down as-is, subfloor prep can trigger the biggest surprises on your bill. Installers check flatness and moisture before laying vinyl. If the slab or plywood isn’t within tolerance, you’ll pay for fixes.
Minor skim-coating or feather finish to smooth seams might add $0.50–$1.50 per sq. ft. Self-leveling underlayment for broader dips typically runs $2–$5 per sq. ft., plus trip charges for mixing and cure time. High spots may need grinding at $30–$75 per hour.
Moisture adds costs fast. Concrete that tests high may need a moisture barrier film ($0.25–$0.75 per sq. ft.), a roll-on vapor retarder ($1–$2 per sq. ft.), or a two-part epoxy moisture mitigation system ($3–$6 per sq. ft.).
Expect extra days for curing and re-testing and inspection.
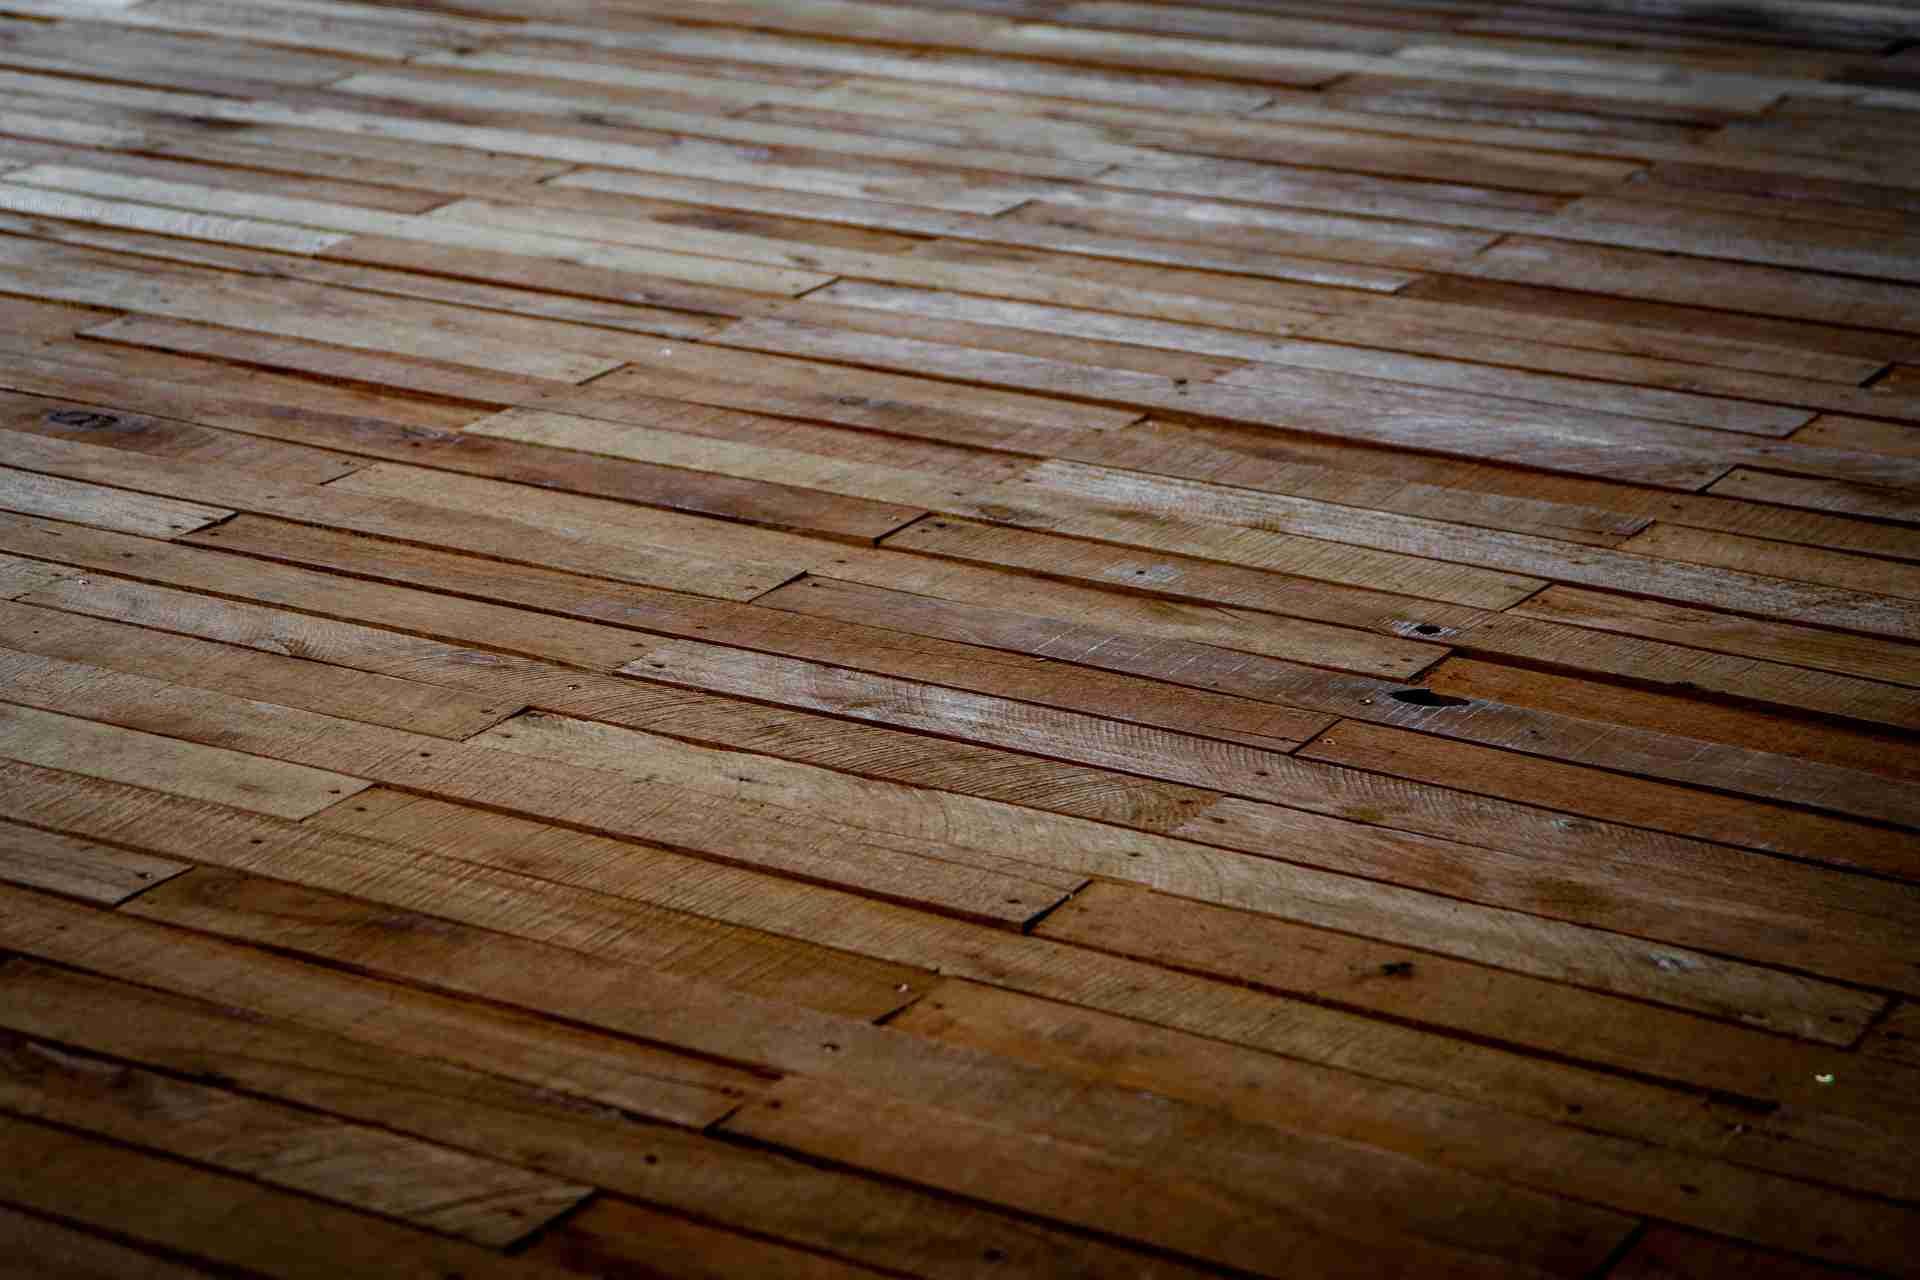
Removing Old Floors: Demo, Disposal, and Hidden Surprises
Two early line items hit before new vinyl goes down: tearing out the old floor and hauling it away.
Demo pricing depends on what you’re removing: loose-laid laminate is quick; glued sheet vinyl, ceramic tile, and nailed hardwood take longer and cost more.
Expect extra for stairs, tight spaces, or multiple layers. Disposal adds per-pound or per-cubic-yard fees, plus surcharges for tile, concrete, or contaminated debris.
Hidden surprises can swing the bill: asbestos tile or mastic needs licensed abatement; thick thinset under tile slows removal; thousands of staples, cutback adhesive, or stuck underlayment add hours.
You might uncover squeaky subfloor seams, soft spots, or protruding fasteners that require fixes before install.
Ask for line-item demo and dump charges and contingency pricing in writing, upfront.
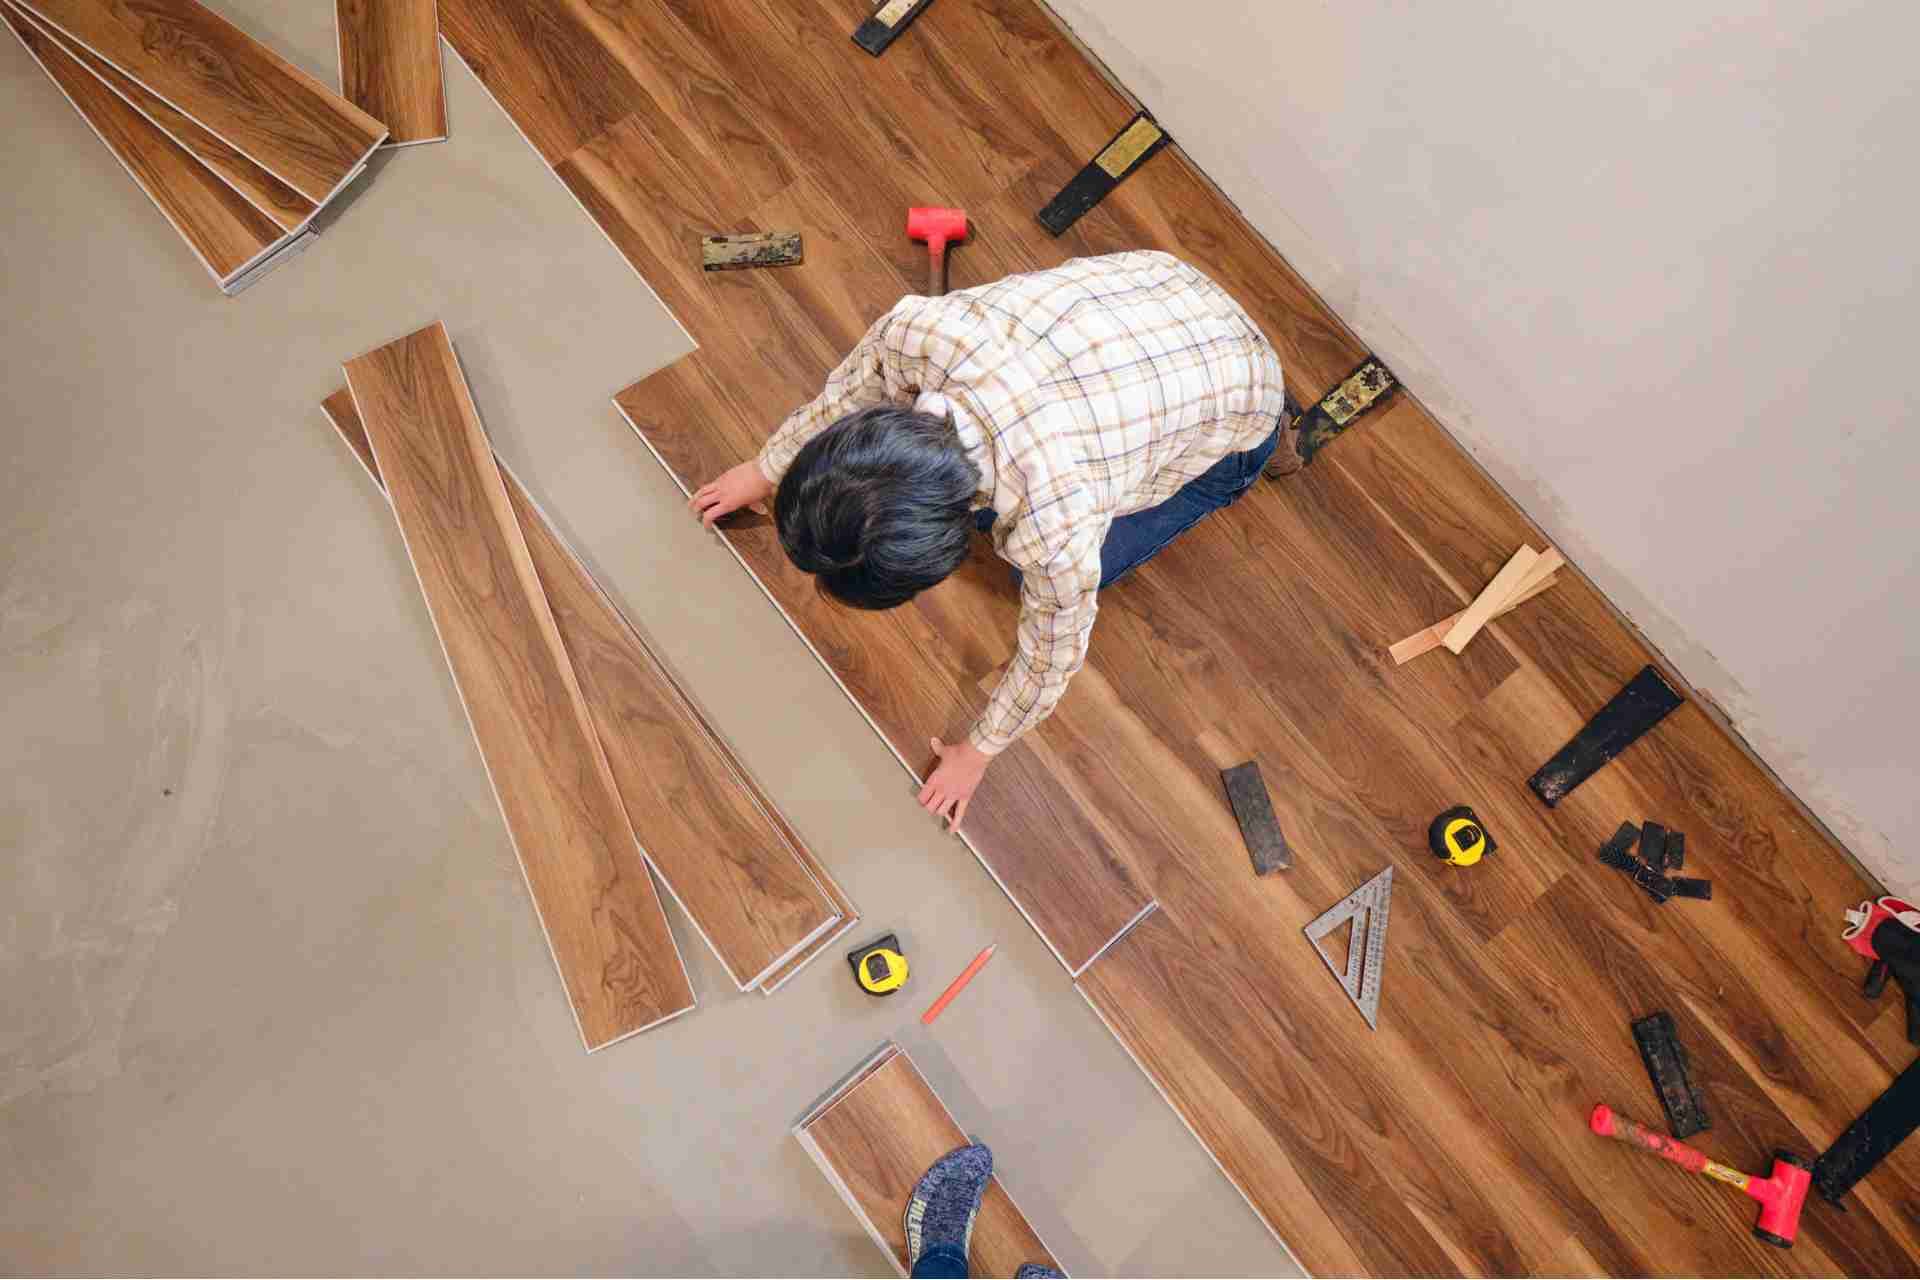
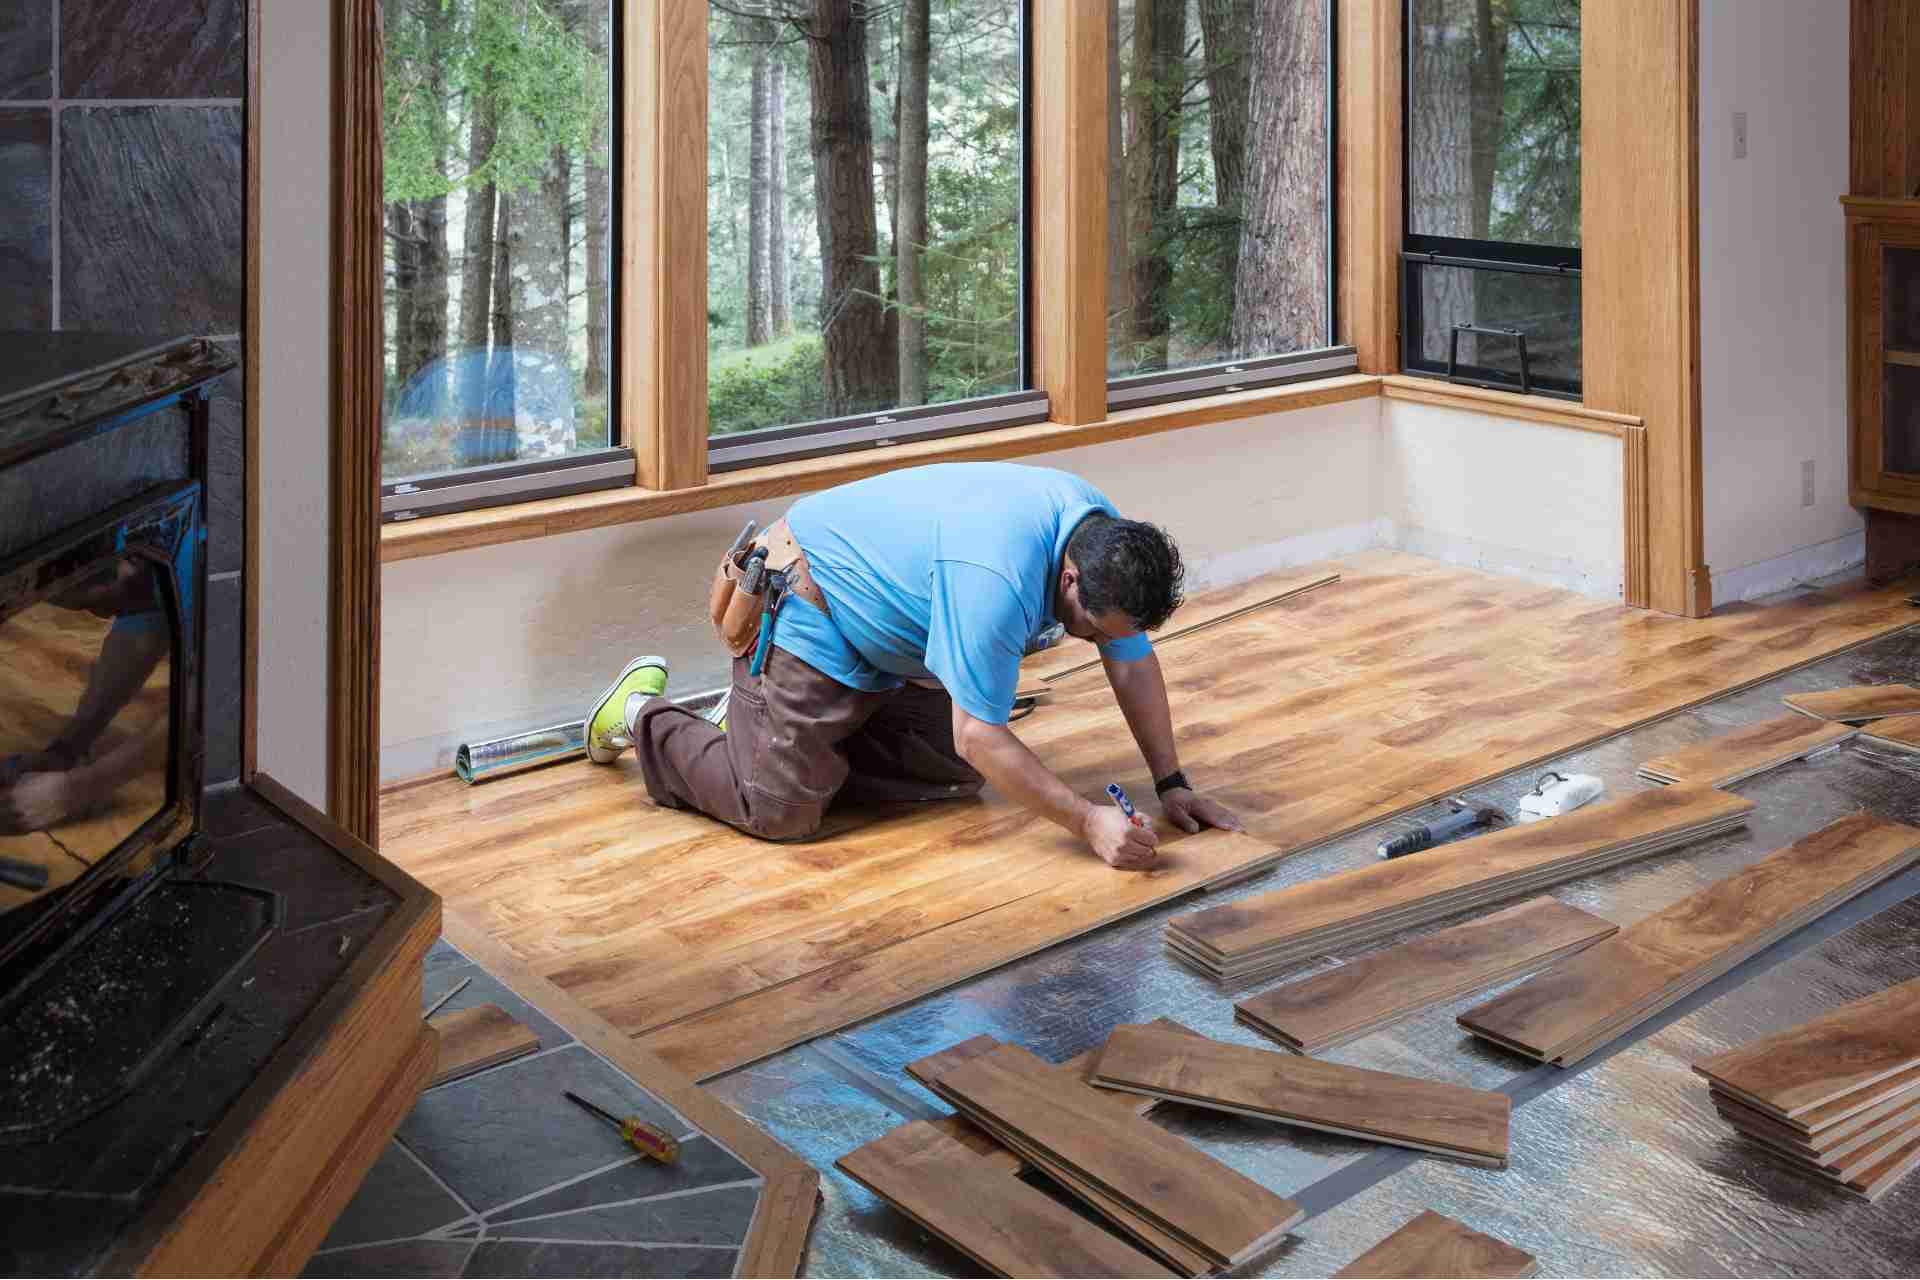
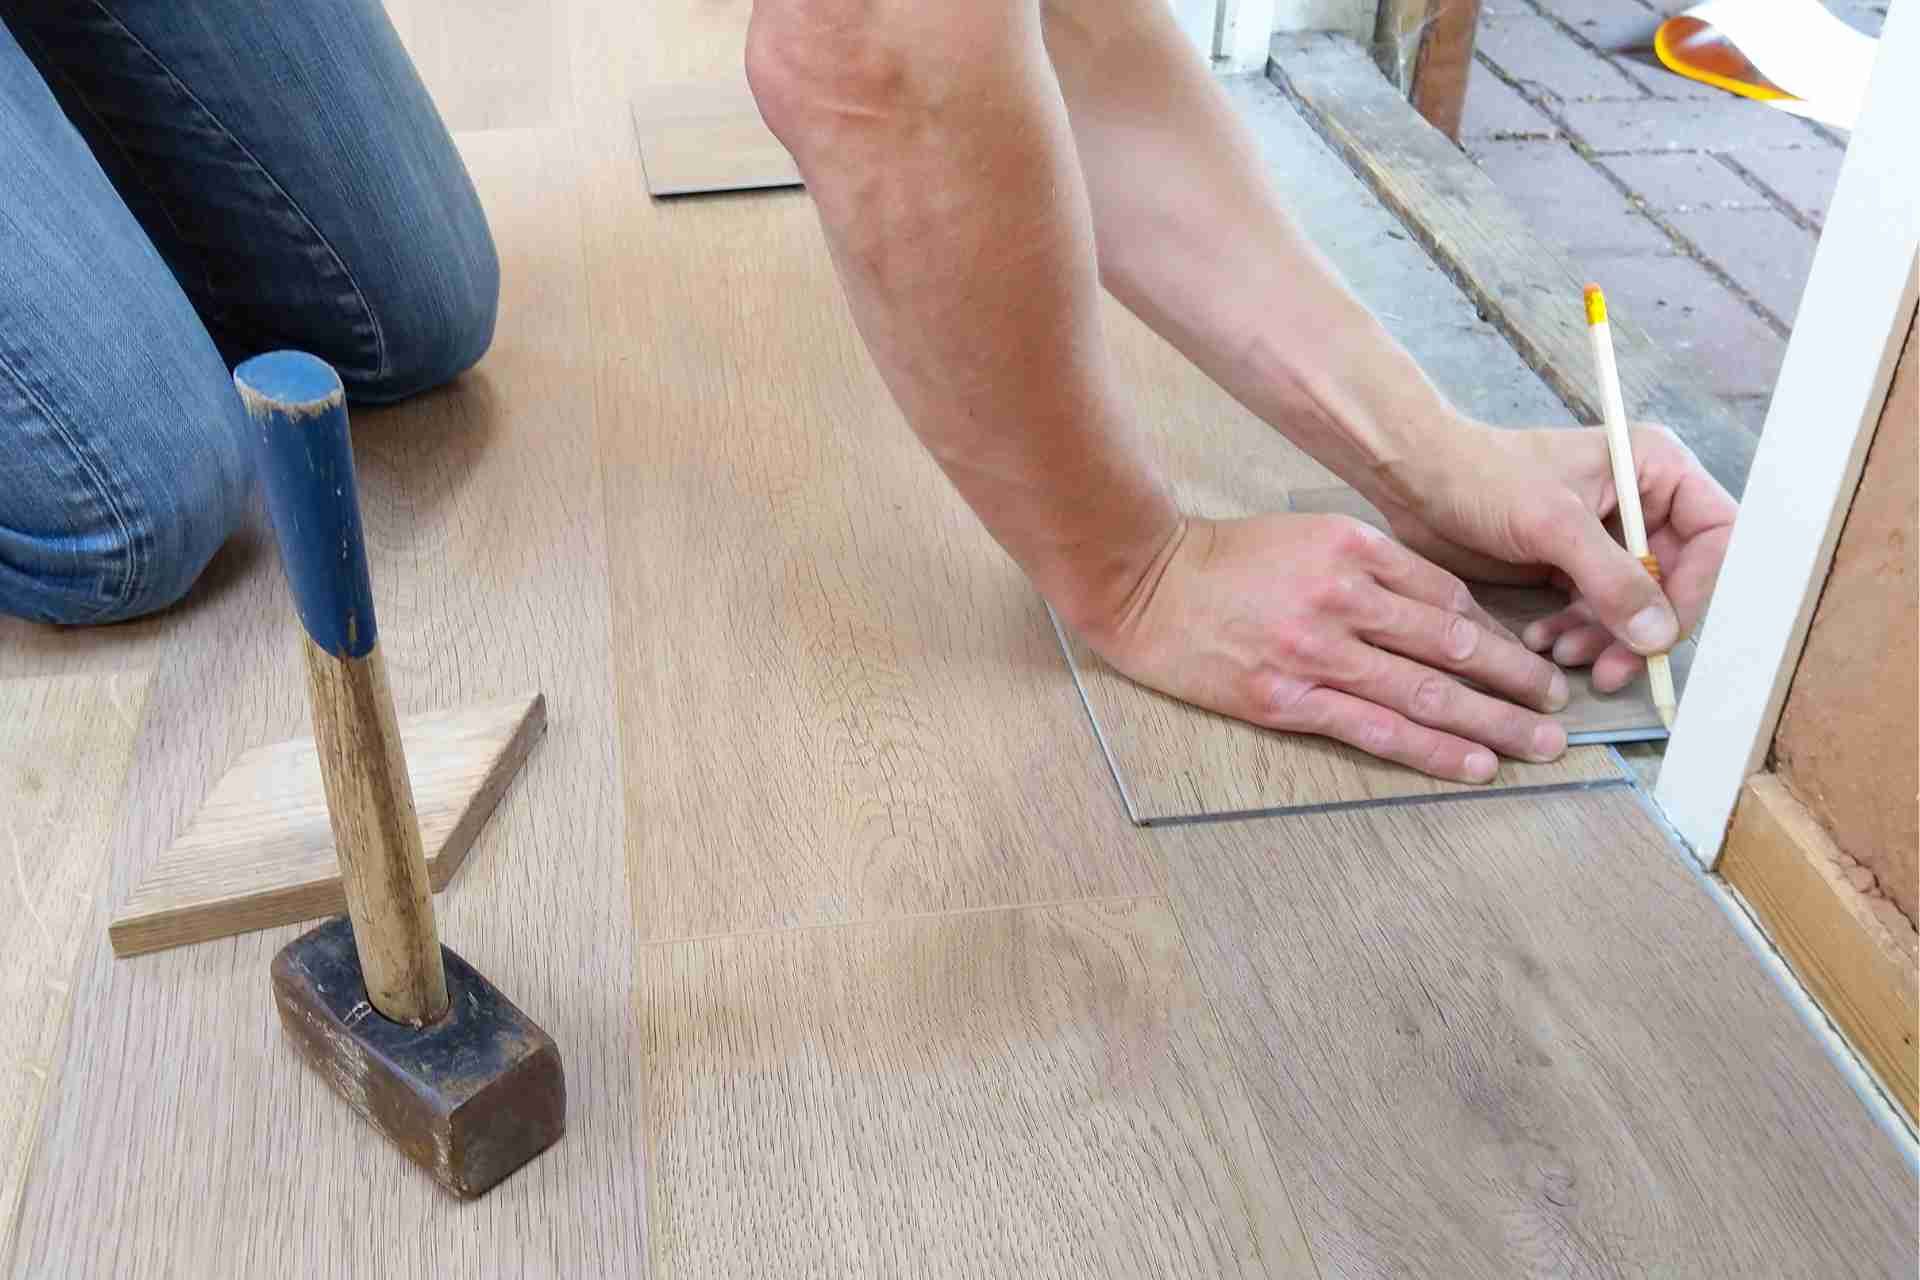
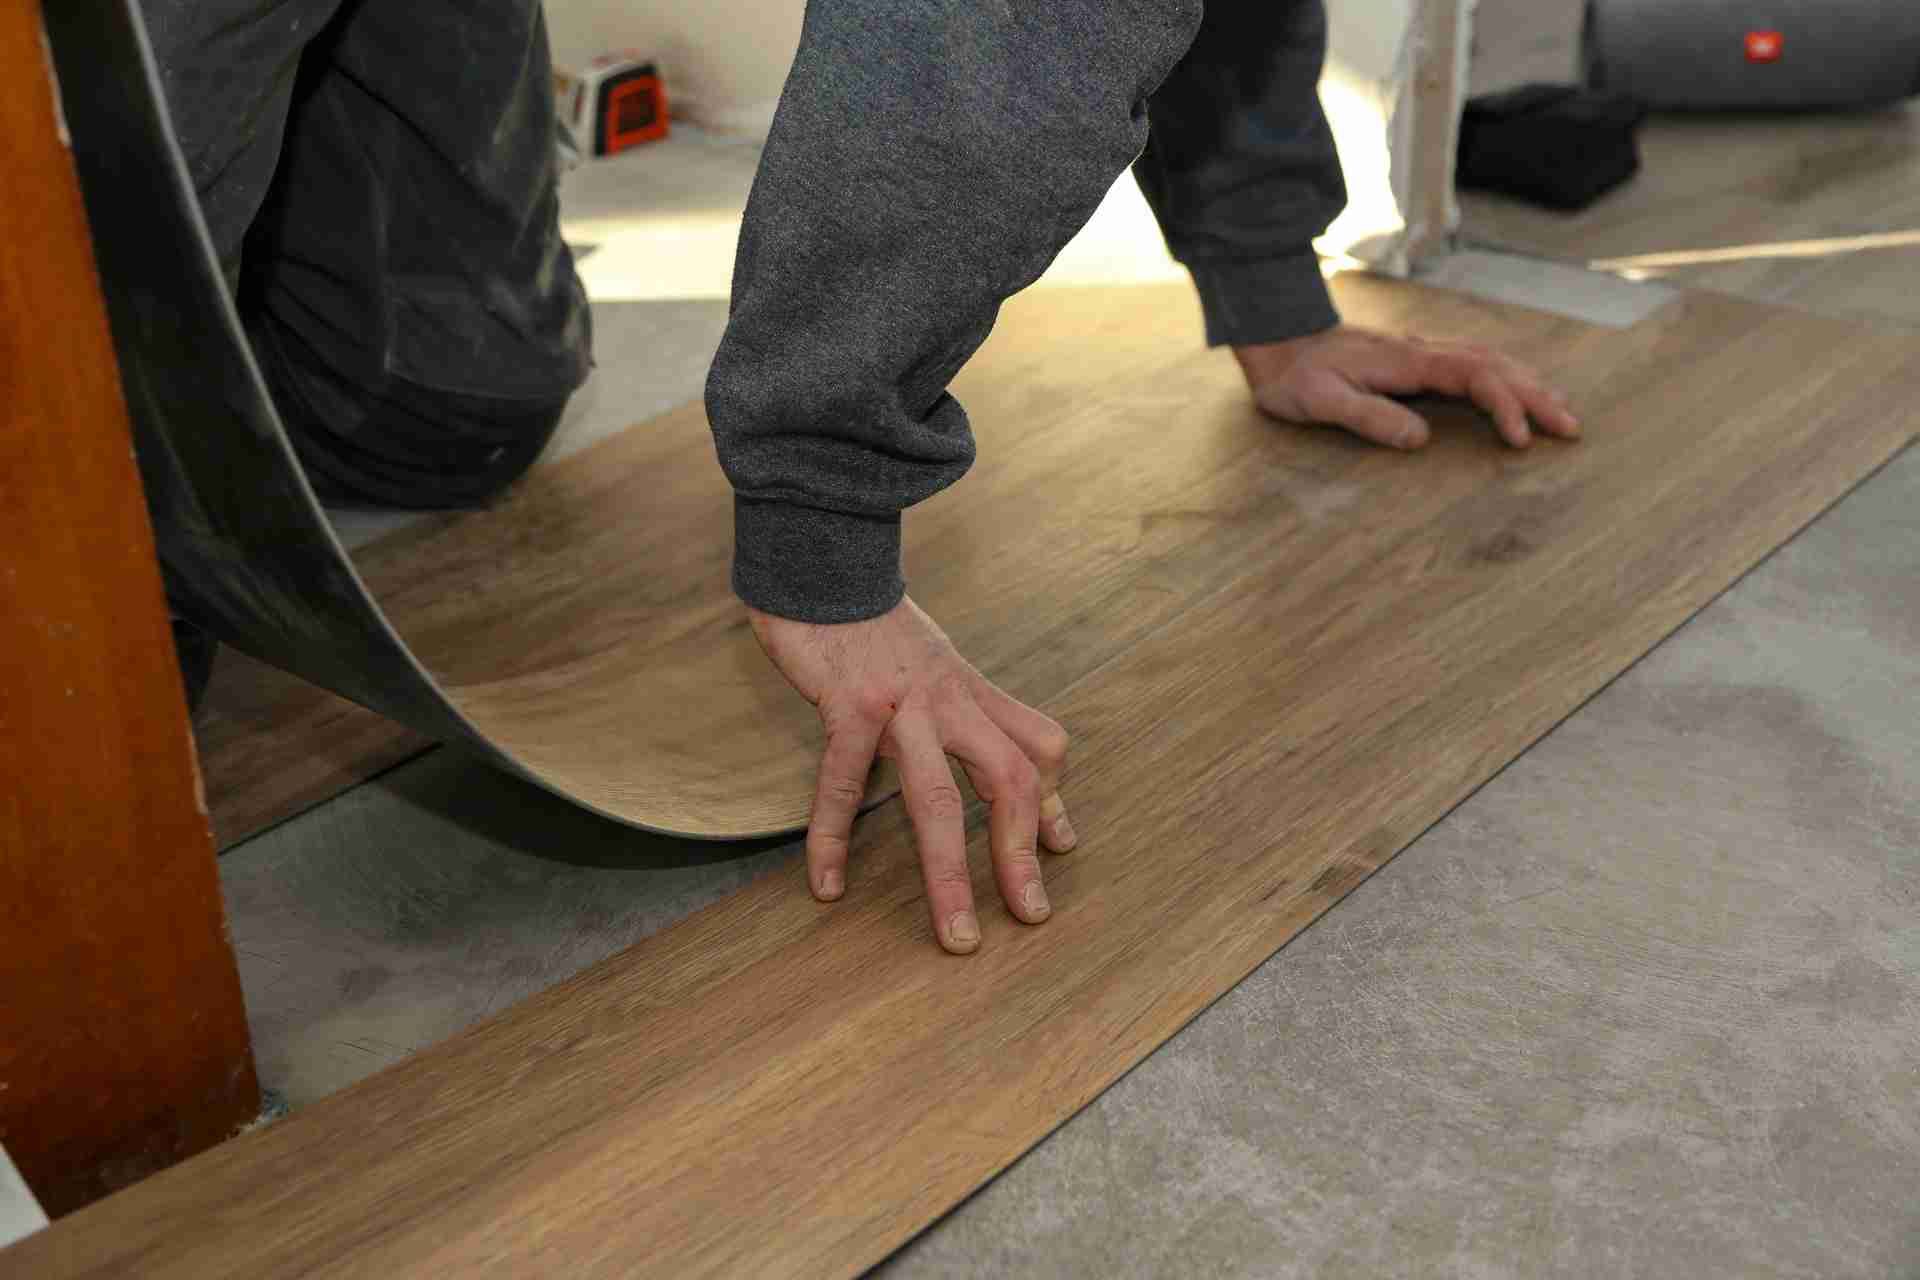
Glue-Down vs. Click-Lock: Install Cost Tradeoffs
Once demo and disposal are squared away, the way you install vinyl drives the rest of the budget.
Glue-down typically costs less per square foot in materials, but more in labor. You’re paying for troweled adhesive, open time, rolling, and meticulous layout. It shines in large, high-traffic rooms and commercial areas, where repairs are surgical and movement is minimal.
Click-lock runs pricier per plank, yet installs faster with fewer specialized tools, cutting labor hours, especially in small, cut-up spaces. You avoid adhesive mess and downtime, but you’ll lose some efficiency around doorways and tight corners.
Glue-down demands flatter subfloors; skim-coating and extra prep can erase its material savings. Click-lock tolerates minor imperfections, but you’ll still pay for careful expansion gaps and clean cuts overall.
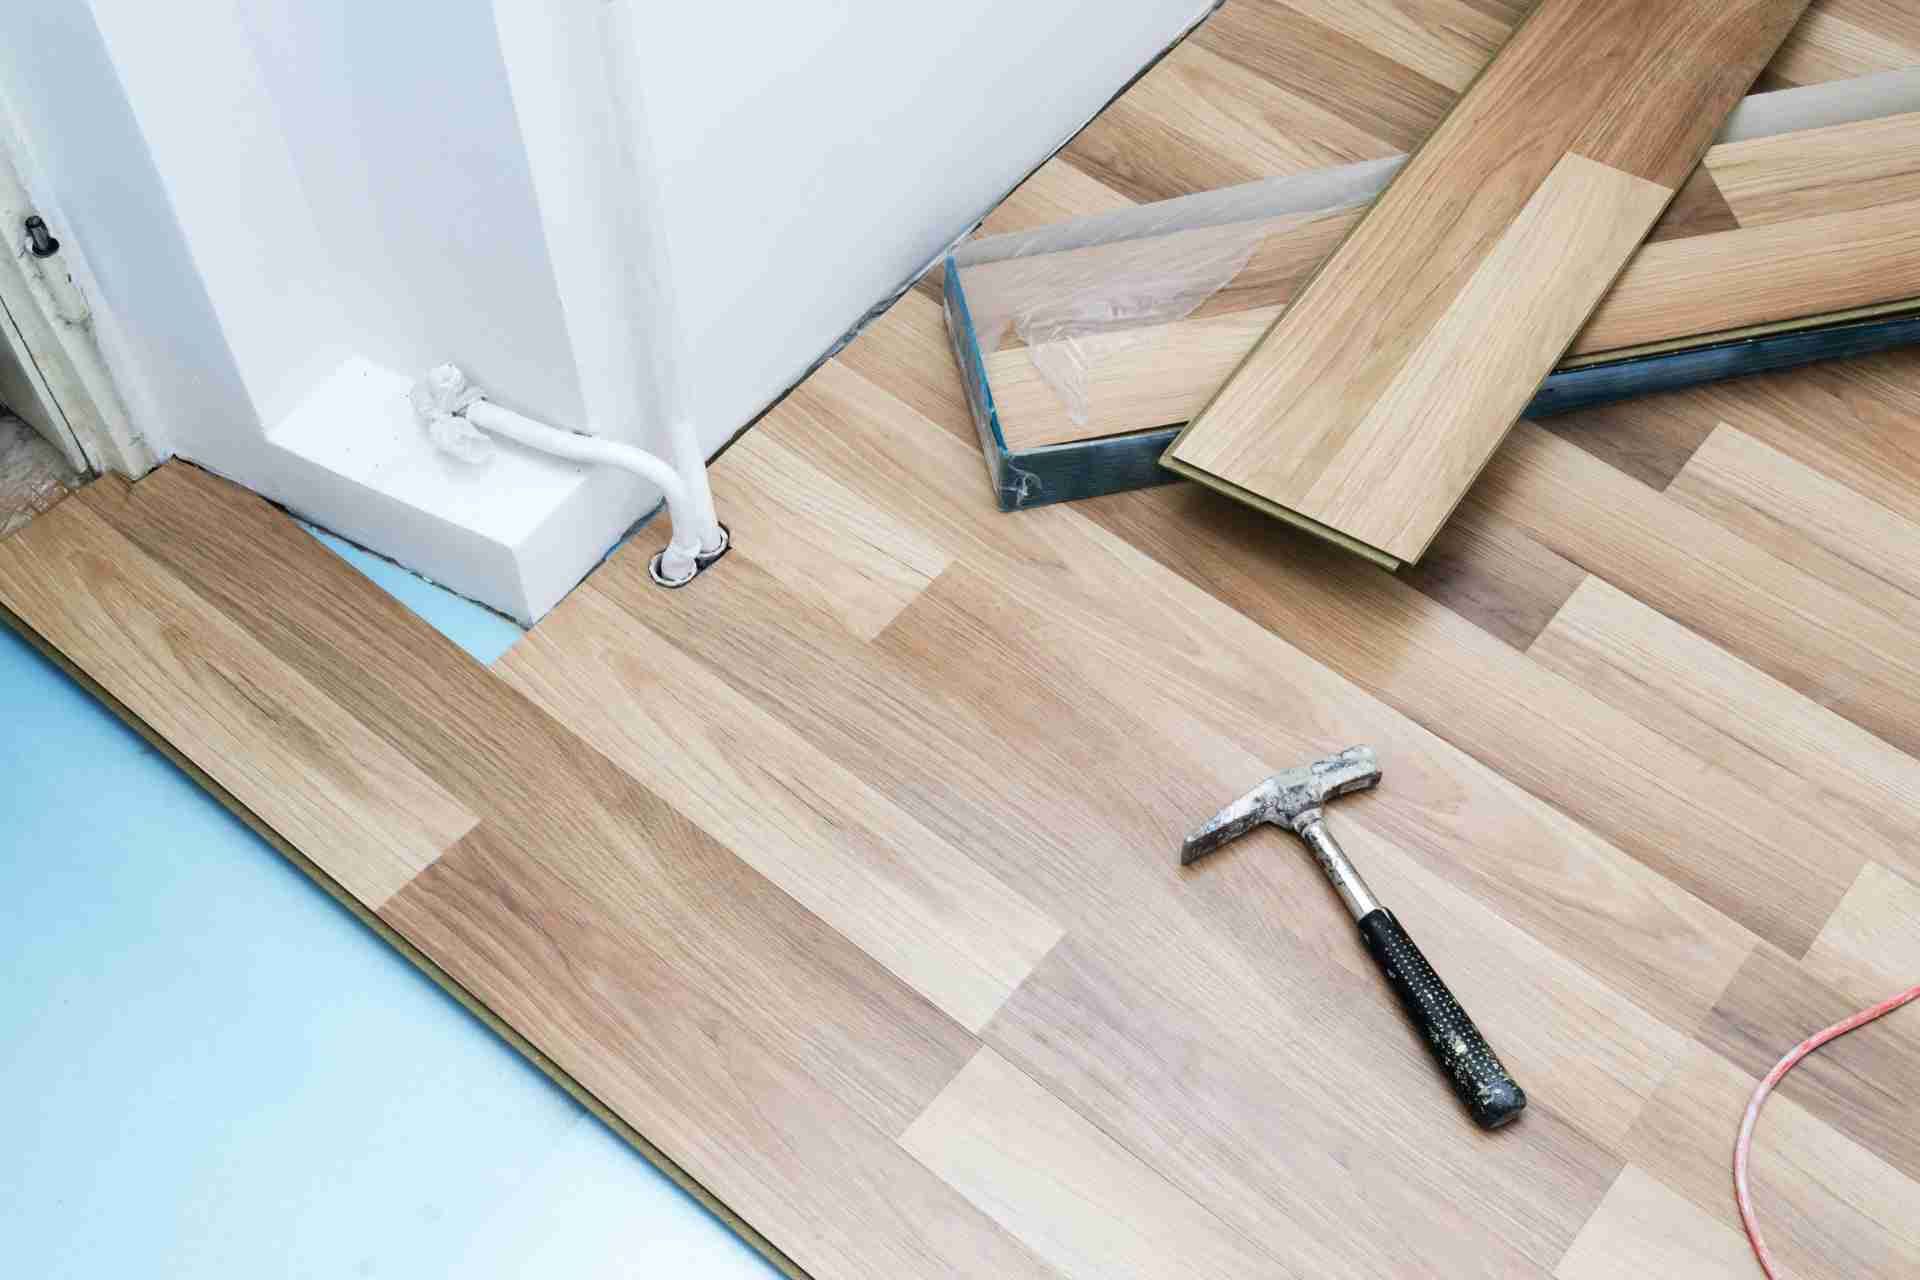
Underlayment, Trims, and Transitions Cost
Underlayment and finishing pieces quietly pad the bill. You’ll choose an underlayment based on goals: moisture control, sound reduction, and minor subfloor smoothing.
Basic foam runs about $0.20–$0.40 per sq. ft.; premium cork or rubber with vapor barriers can reach $0.80–$1.50. Some click‑lock planks include an attached pad; if so, you’ll skip separate underlayment unless you need extra acoustic or moisture performance approved by the manufacturer.
Trims and transitions complete edges and doorways. Expect $2–$6 per linear foot for T‑molding, reducers, and end caps, with metal profiles costing more than vinyl or MDF.
You’ll also need matching quarter‑round or shoe molding at $1–$3 per linear foot. Don’t forget accessories: tape, adhesives, and fasteners add modest, necessary costs.
Color-matched pieces improve the finish significantly.
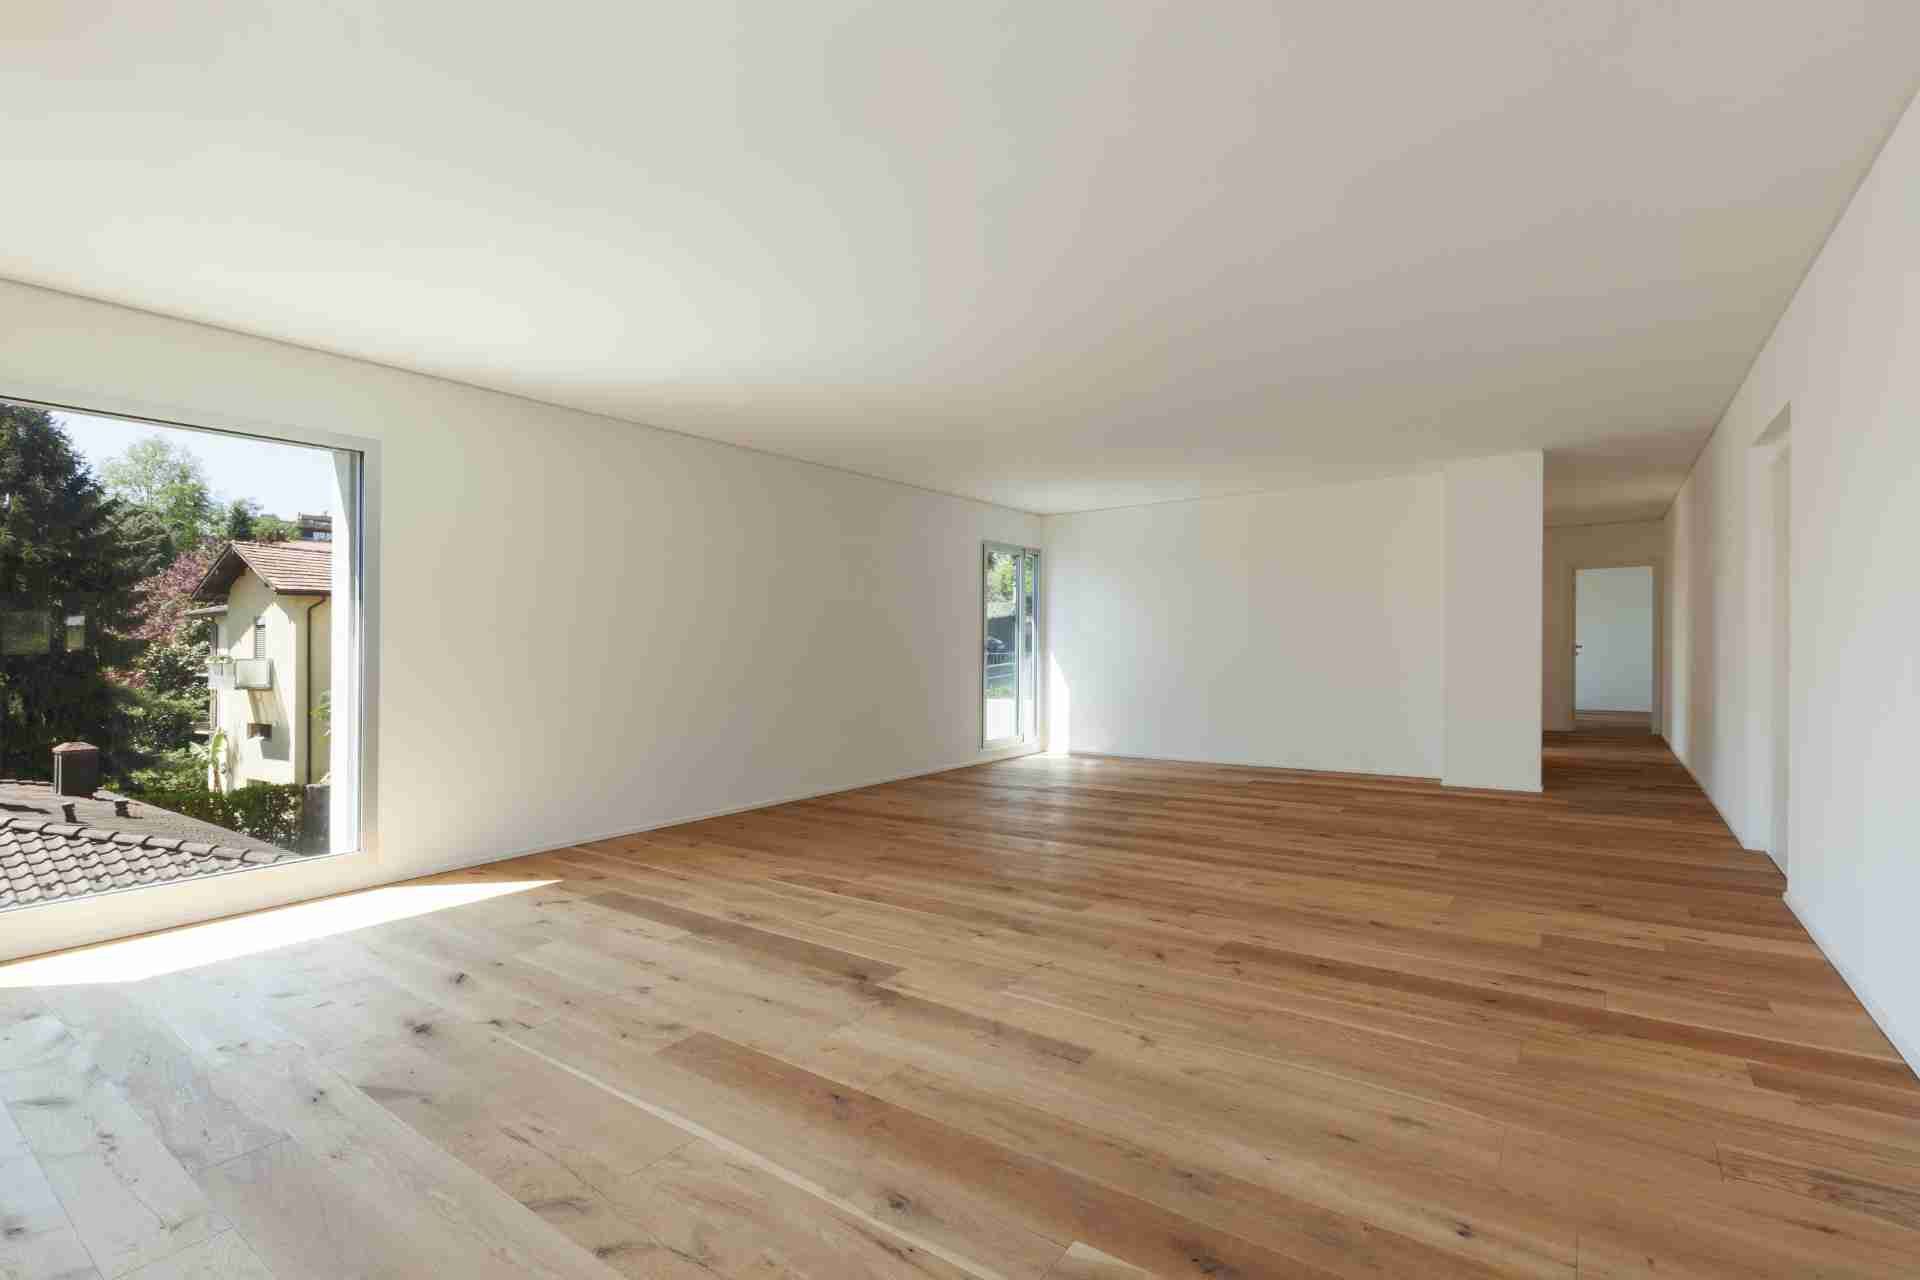
Room Size, Layout, Stairs, Waste, Labor, and Location Costs
With padding and finish pieces accounted for, the space and labor now set the pace on price.
Large rooms lower your per-square-foot labor but raise materials. Tight bathrooms, closets, and alcoves slow your installers and add cuts.
Complex layouts—diagonals, borders, or lots of doors—boost your time and costs. Stairs are labor-intensive: each tread, riser, and nosing requires precise templating and adhesives, priced per step.
Plan 5–12% waste for straight layouts and 10–15% for patterns or rooms with obstacles; add more with wide planks or matching lots.
Labor rates vary by market, availability, and schedule; rush installs cost more. Urban locations add parking, elevator fees; remote sites add travel and per diems.
Clear your rooms, confirm levels, and group areas to reduce trips and setup.
Conclusion
You’ve got control over vinyl flooring costs when you know the levers. Weigh LVT vs. sheet vinyl, thickness, wear layer, and brand warranties against your budget and goals. Factor in design choices, demo and disposal, installation method, and add‑ons like underlayment, trims, and transitions. Measure room size and complexity, include stairs and waste, and price local labor. Build a cushion for moisture fixes or hidden damage. With a clear plan, you’ll get value without surprises.