What to Do Immediately After Water Damage: First Steps & Mistakes to Avoid
When water damage strikes, your first steps can make all the difference. You need to act quickly and carefully to ensure your safety and protect your property. Start by assessing the situation and turning off the electricity and water supply. But that's just the beginning. There are critical mistakes you could easily make that might worsen the situation. Let's explore what to do next and how to avoid those pitfalls.
Assess the Situation and Ensure Safety
As soon as you notice water damage, it's crucial to assess the situation and ensure your safety first.
Look for visible signs of structural damage, like sagging ceilings or warped walls. If you see these, avoid entering the affected area. Check for any potential hazards, such as sharp objects or slippery surfaces. If you smell gas or see electrical sparks, leave immediately.
Once you've ensured your immediate safety, consider the source of the water damage. Is it from a burst pipe, a leak, or flooding? Identifying the cause can help you prioritize next steps.
Remember to stay calm and focused; panicking won't help. Ultimately, your safety is the top priority before moving on to further actions.
Turn Off Electricity and Water Supply
Once you've ensured your safety, the next step is to turn off the electricity and water supply to prevent further damage or accidents.
Locate your main electrical panel and shut off the power to the affected areas. This reduces the risk of electric shock and fire hazards, especially if water has reached electrical outlets or appliances.
Next, find the main water valve and turn it off to stop any ongoing leaks or flooding. If you're unsure of the locations, ask a family member or neighbor for help.
It's crucial to act quickly, as lingering water can cause more extensive damage and mold growth. By taking these steps, you protect your home and make the cleanup process safer and more manageable.
Document the Damage for Insurance Claims
To ensure you receive the compensation you deserve, documenting the damage as soon as possible is essential. Start by taking clear, detailed photos or videos of all affected areas. Capture the extent of the damage, including any personal belongings that were harmed.
Make sure to note the date and time of the incident for your records. Create a list of damaged items, including their estimated value and any receipts you can find. This information will be crucial for your insurance claim.
Don't throw anything away until your insurance adjuster has assessed the damage. By organizing this documentation, you'll strengthen your case and help expedite the claims process.
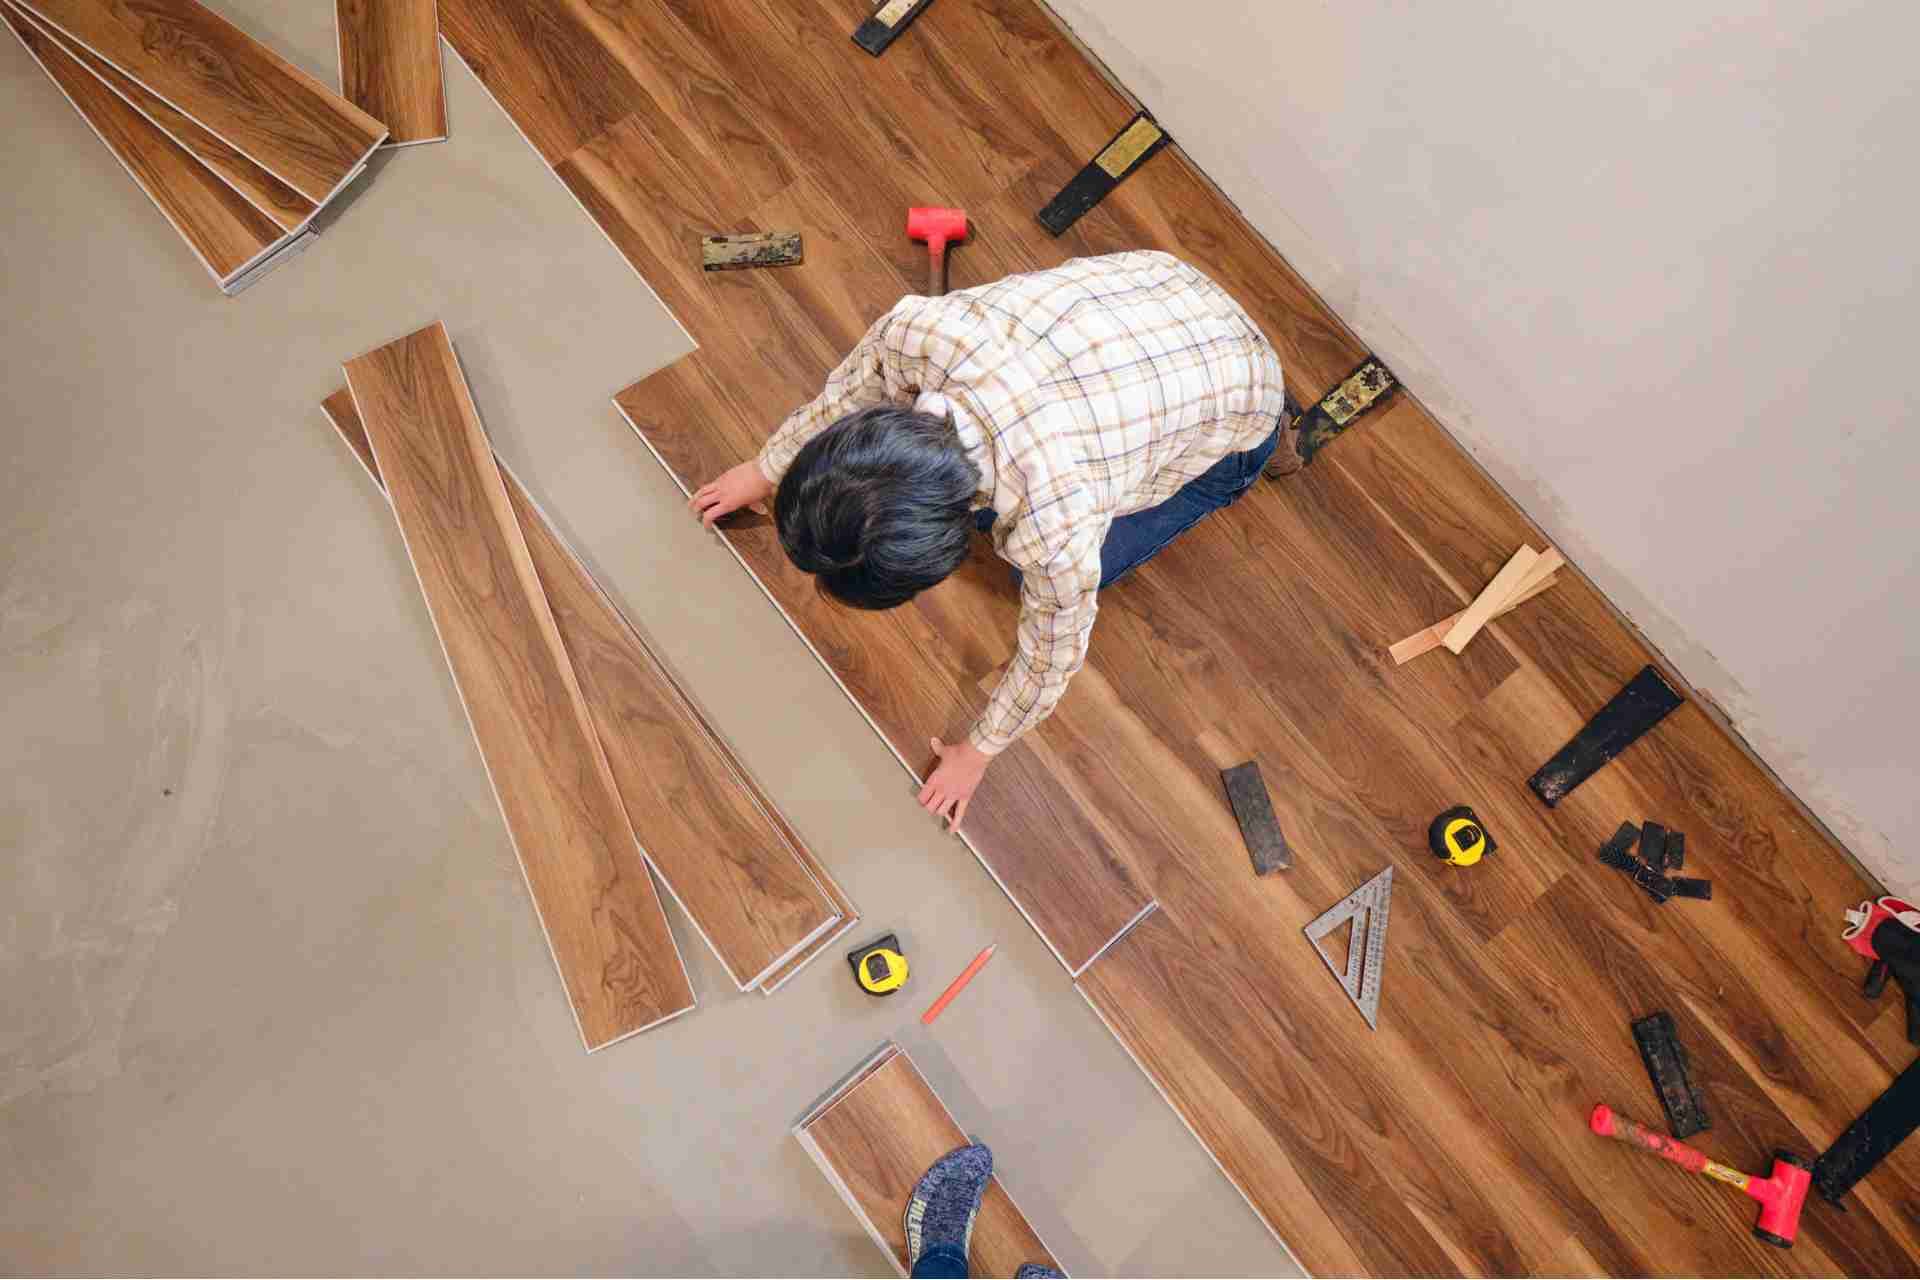
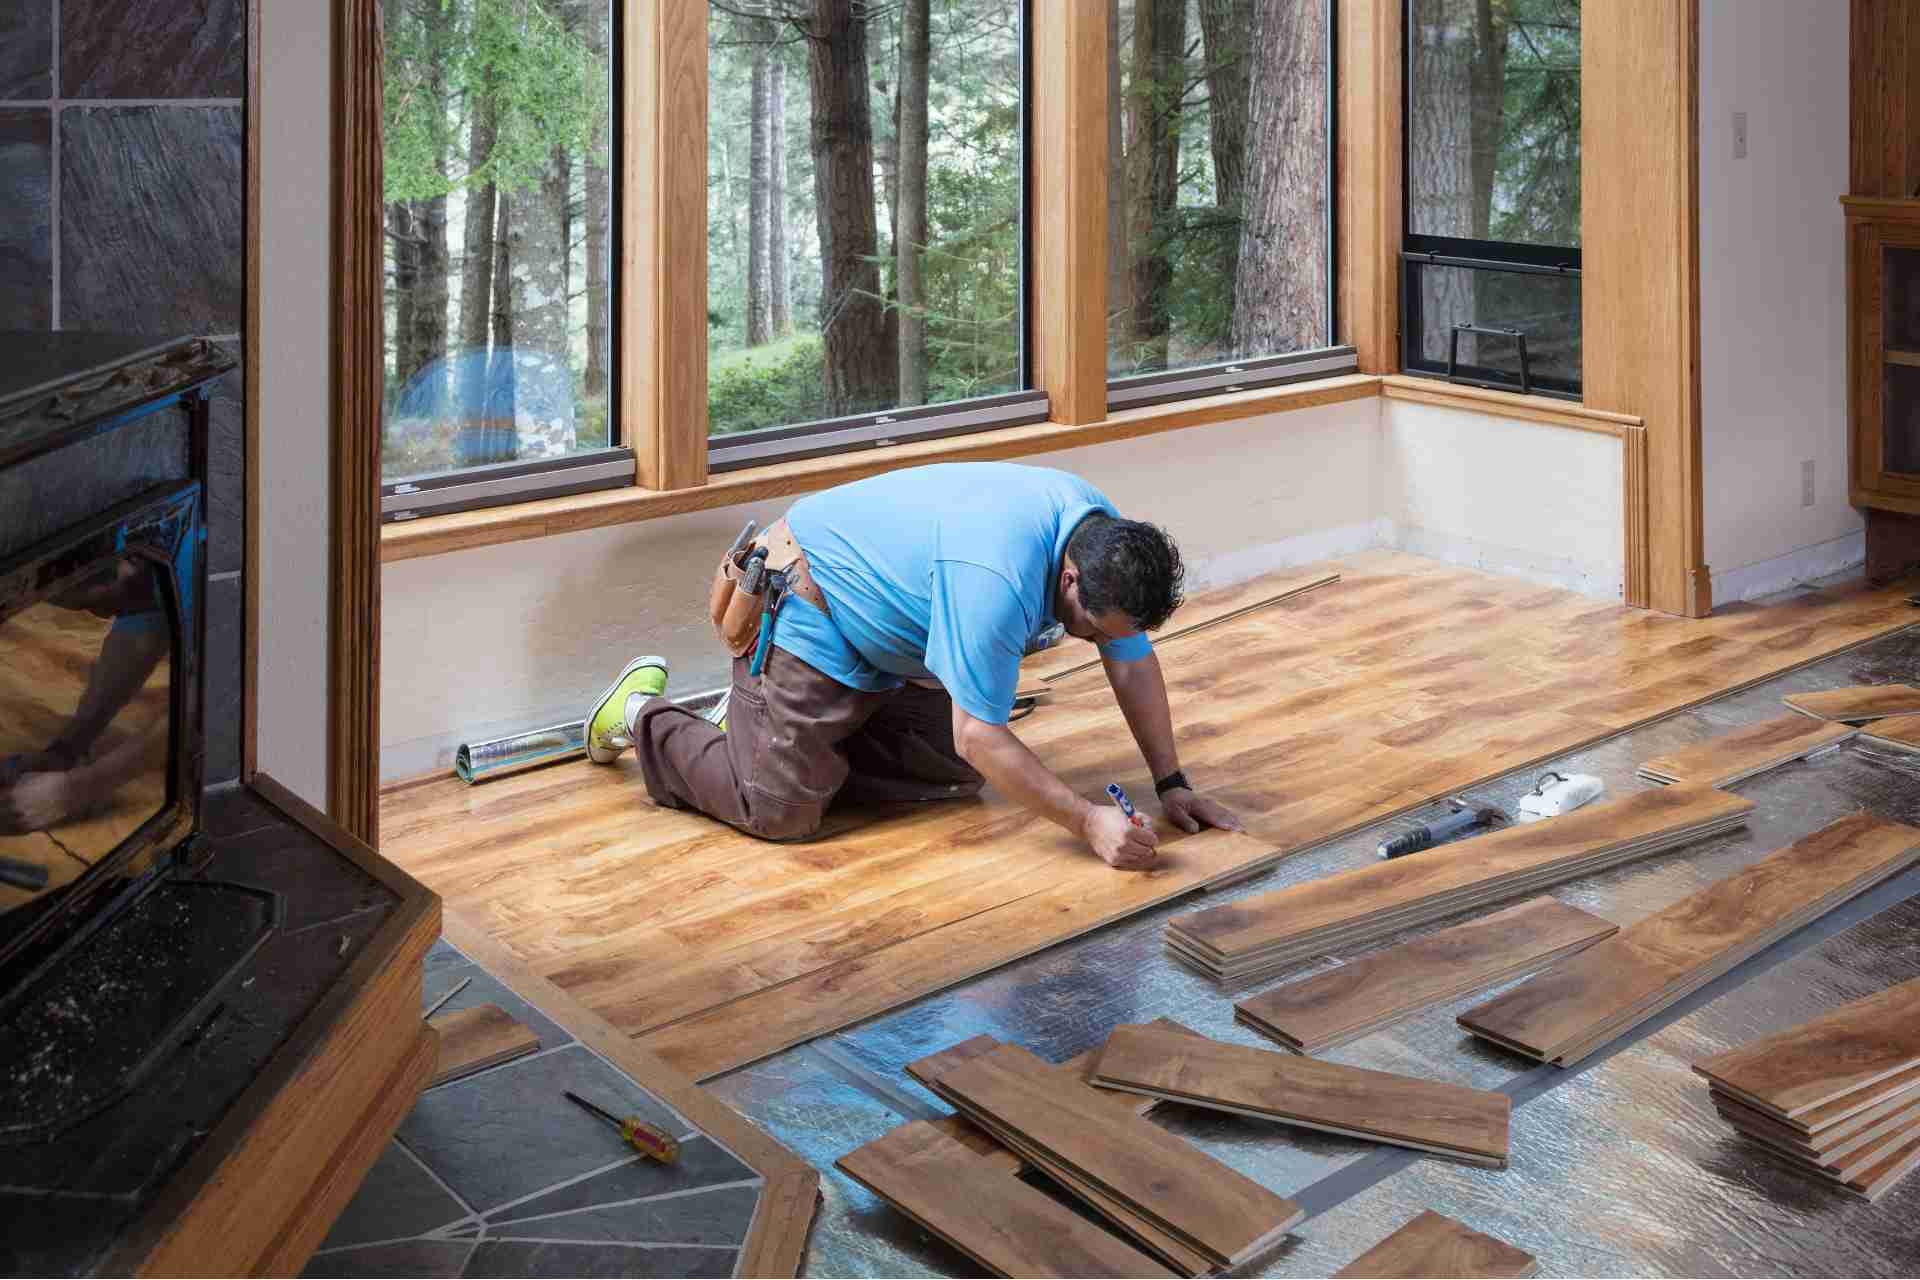
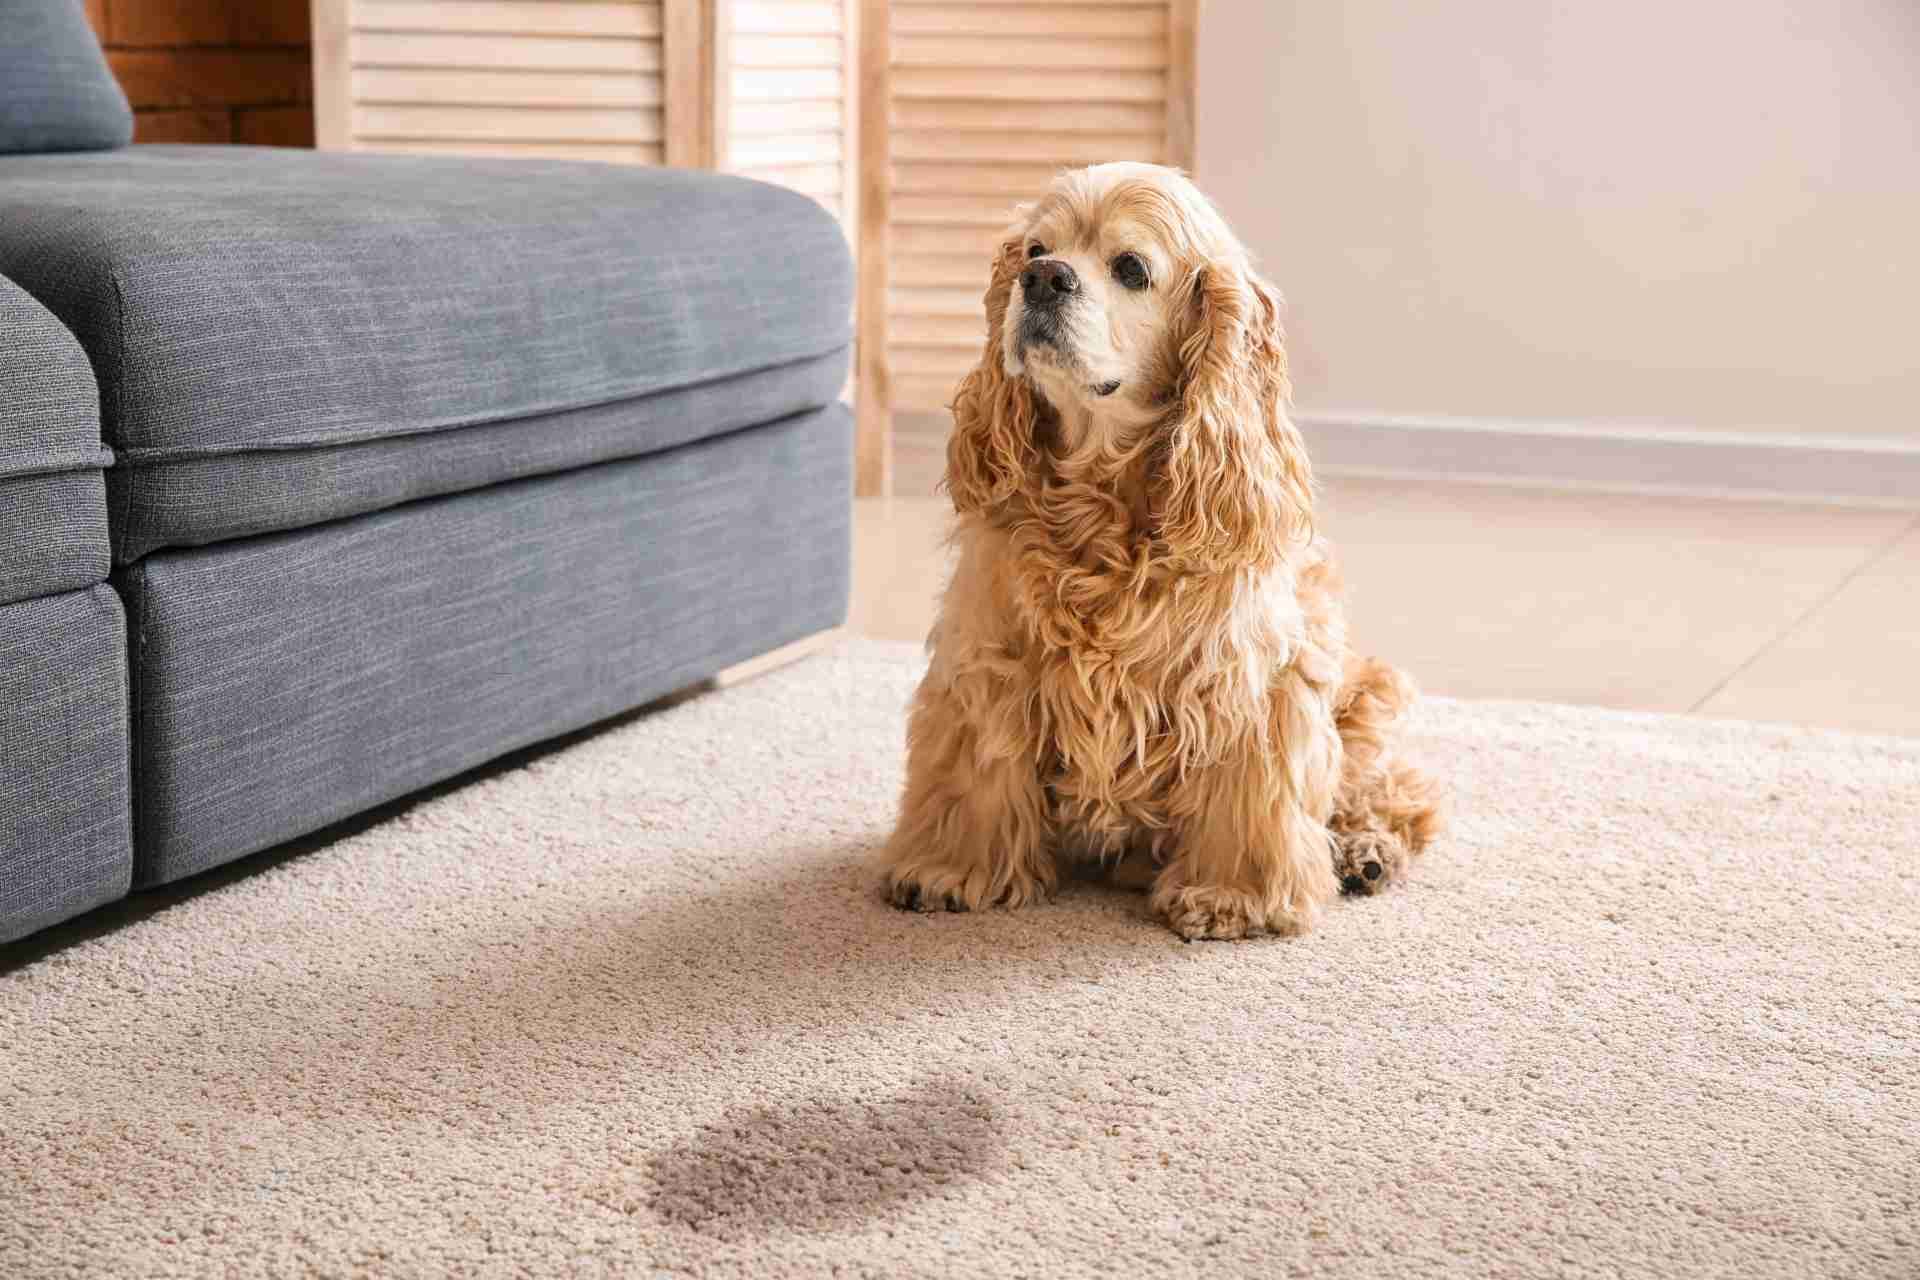
Remove Standing Water Promptly
Act quickly to remove standing water, as every minute counts in preventing further damage.
Use buckets, mops, or a wet/dry vacuum to eliminate as much water as possible. If the water is deep, consider renting a pump to speed up the process.
Make sure to wear protective gear, like gloves and boots, to keep yourself safe from contaminants. Open doors and windows to improve ventilation and help the area dry faster.
Avoid using electrical appliances in wet areas, as this can pose serious risks. If the situation is overwhelming, don't hesitate to call a professional water removal service.
Acting swiftly not only minimizes damage but also helps protect your health and the integrity of your property.
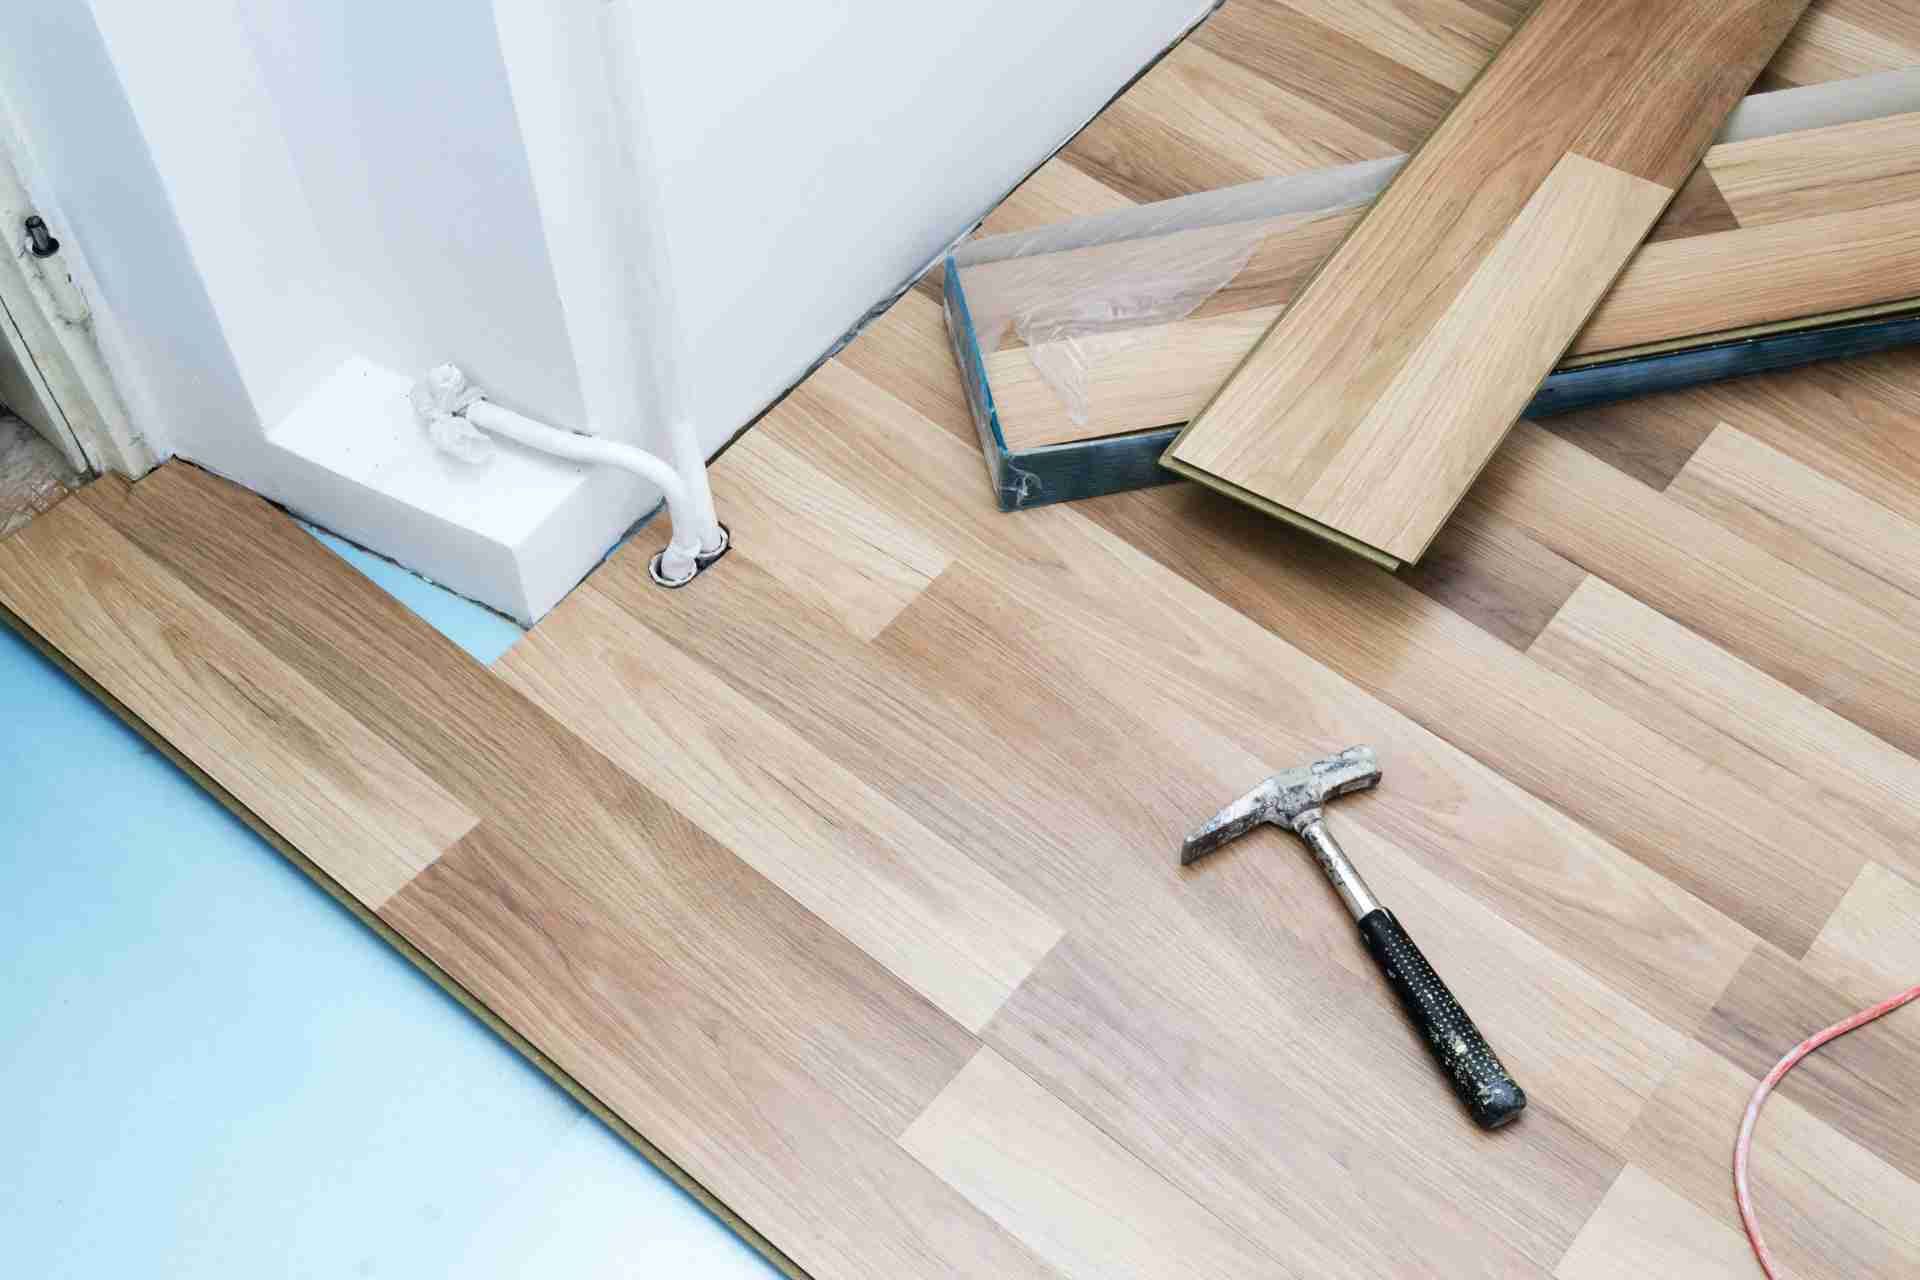
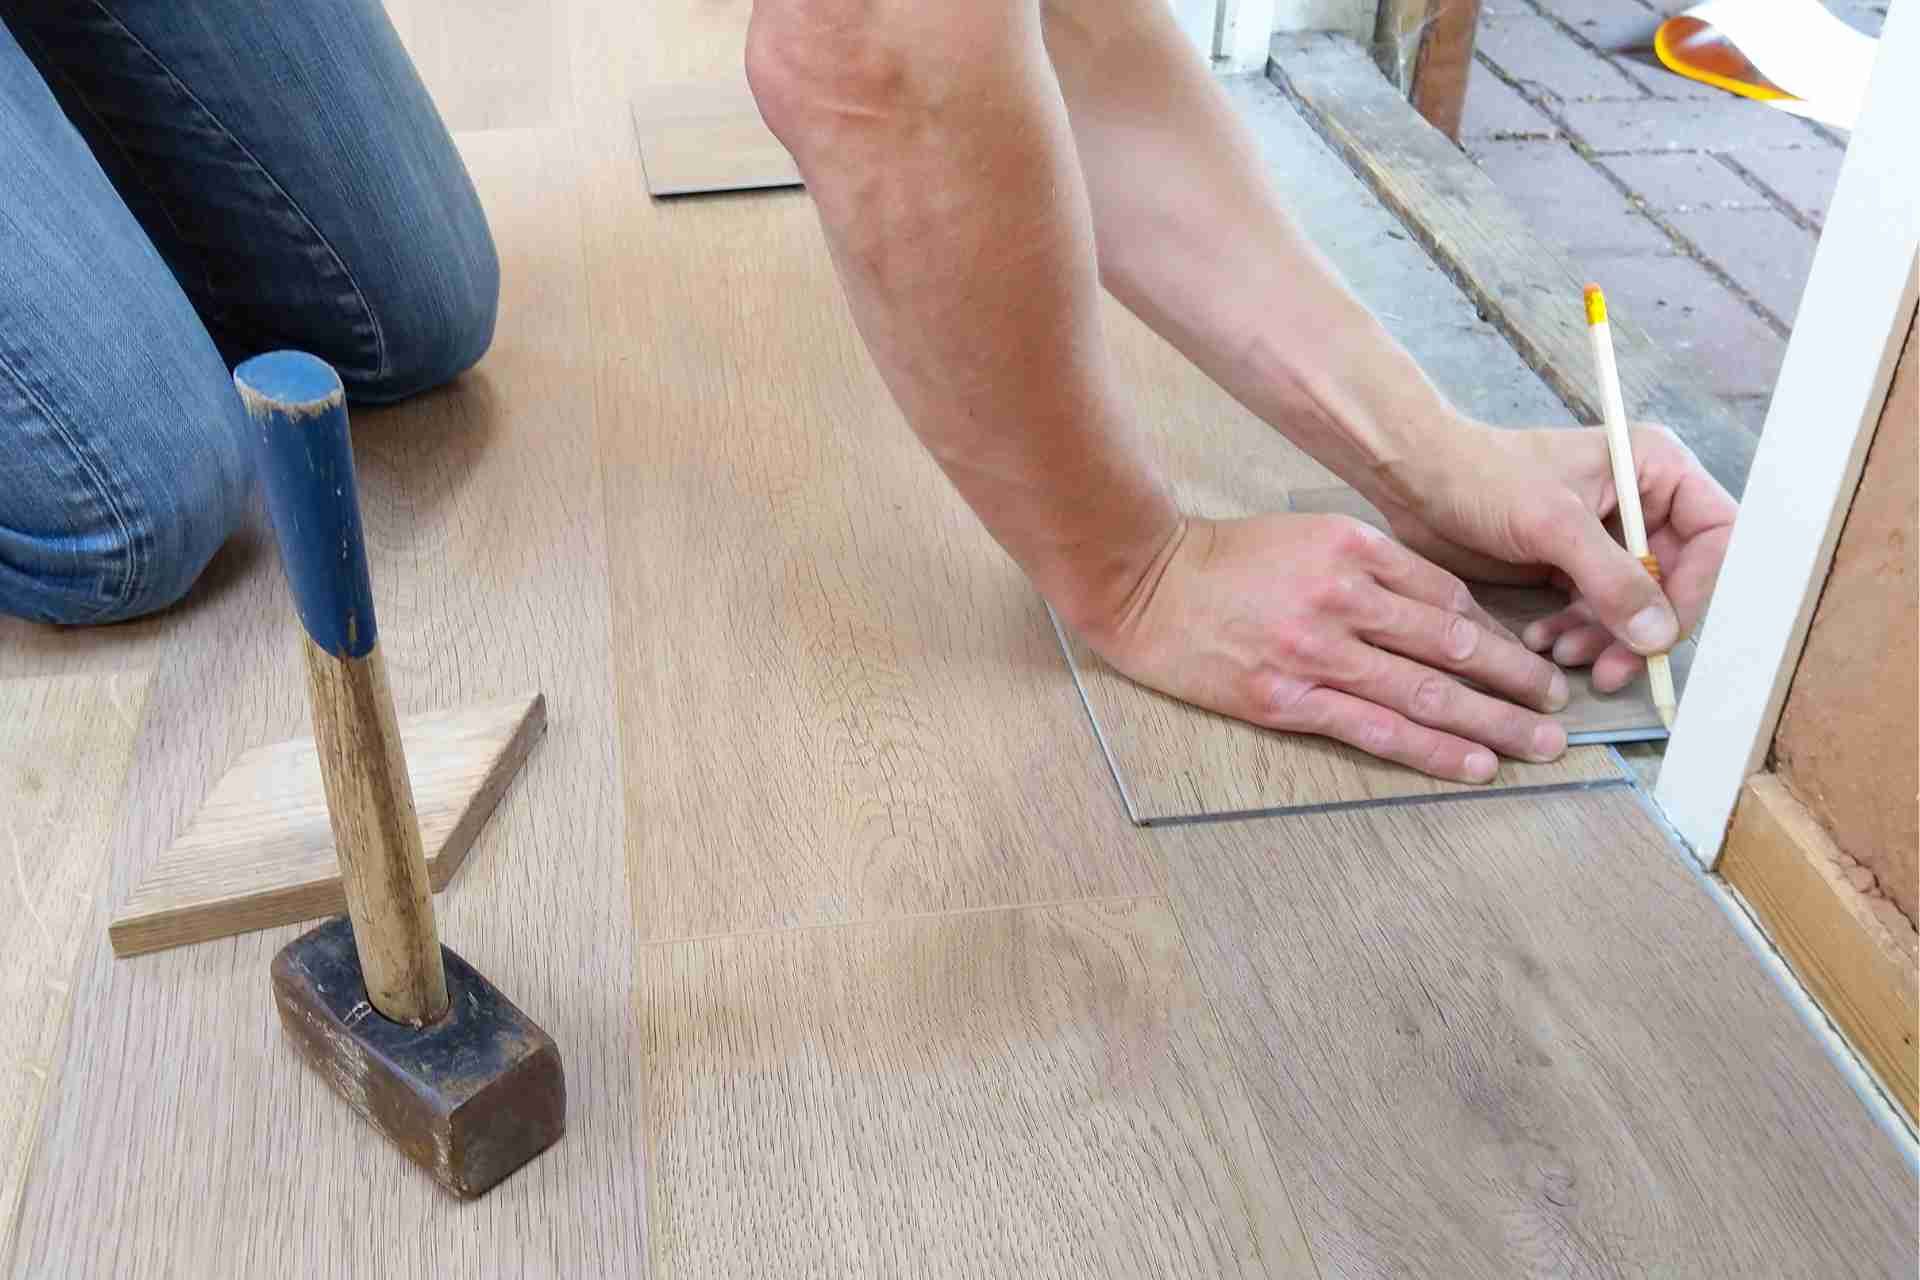
Dry Out Affected Areas Thoroughly
After you've removed standing water, it's crucial to dry out affected areas thoroughly to prevent mold growth and structural damage.
Start by using fans and dehumidifiers to circulate air and reduce moisture levels. Open windows and doors to improve ventilation—this helps speed up the drying process.
If it's safe, remove soaked carpets and rugs, as they can retain water and promote mold. Check walls, baseboards, and furniture for dampness, ensuring everything is completely dry.
You might need to use absorbent materials, like towels, to soak up excess moisture in hard-to-reach spots.
Check for Mold Growth and Address It
Although you've worked hard to dry out your space, it's essential to check for mold growth, as it can begin to develop within 24 to 48 hours in damp conditions.
Start by inspecting hidden areas like behind walls, under carpets, and inside cabinets. Look for discoloration, musty odors, or any visible mold. If you spot any signs, act quickly.
Use a mixture of water and detergent to clean small areas of mold, but don't forget to wear protective gear like gloves and a mask.
For larger infestations, it's best to call in professionals who can safely remove the mold and prevent it from returning.
Addressing mold promptly keeps your environment safe and healthy.
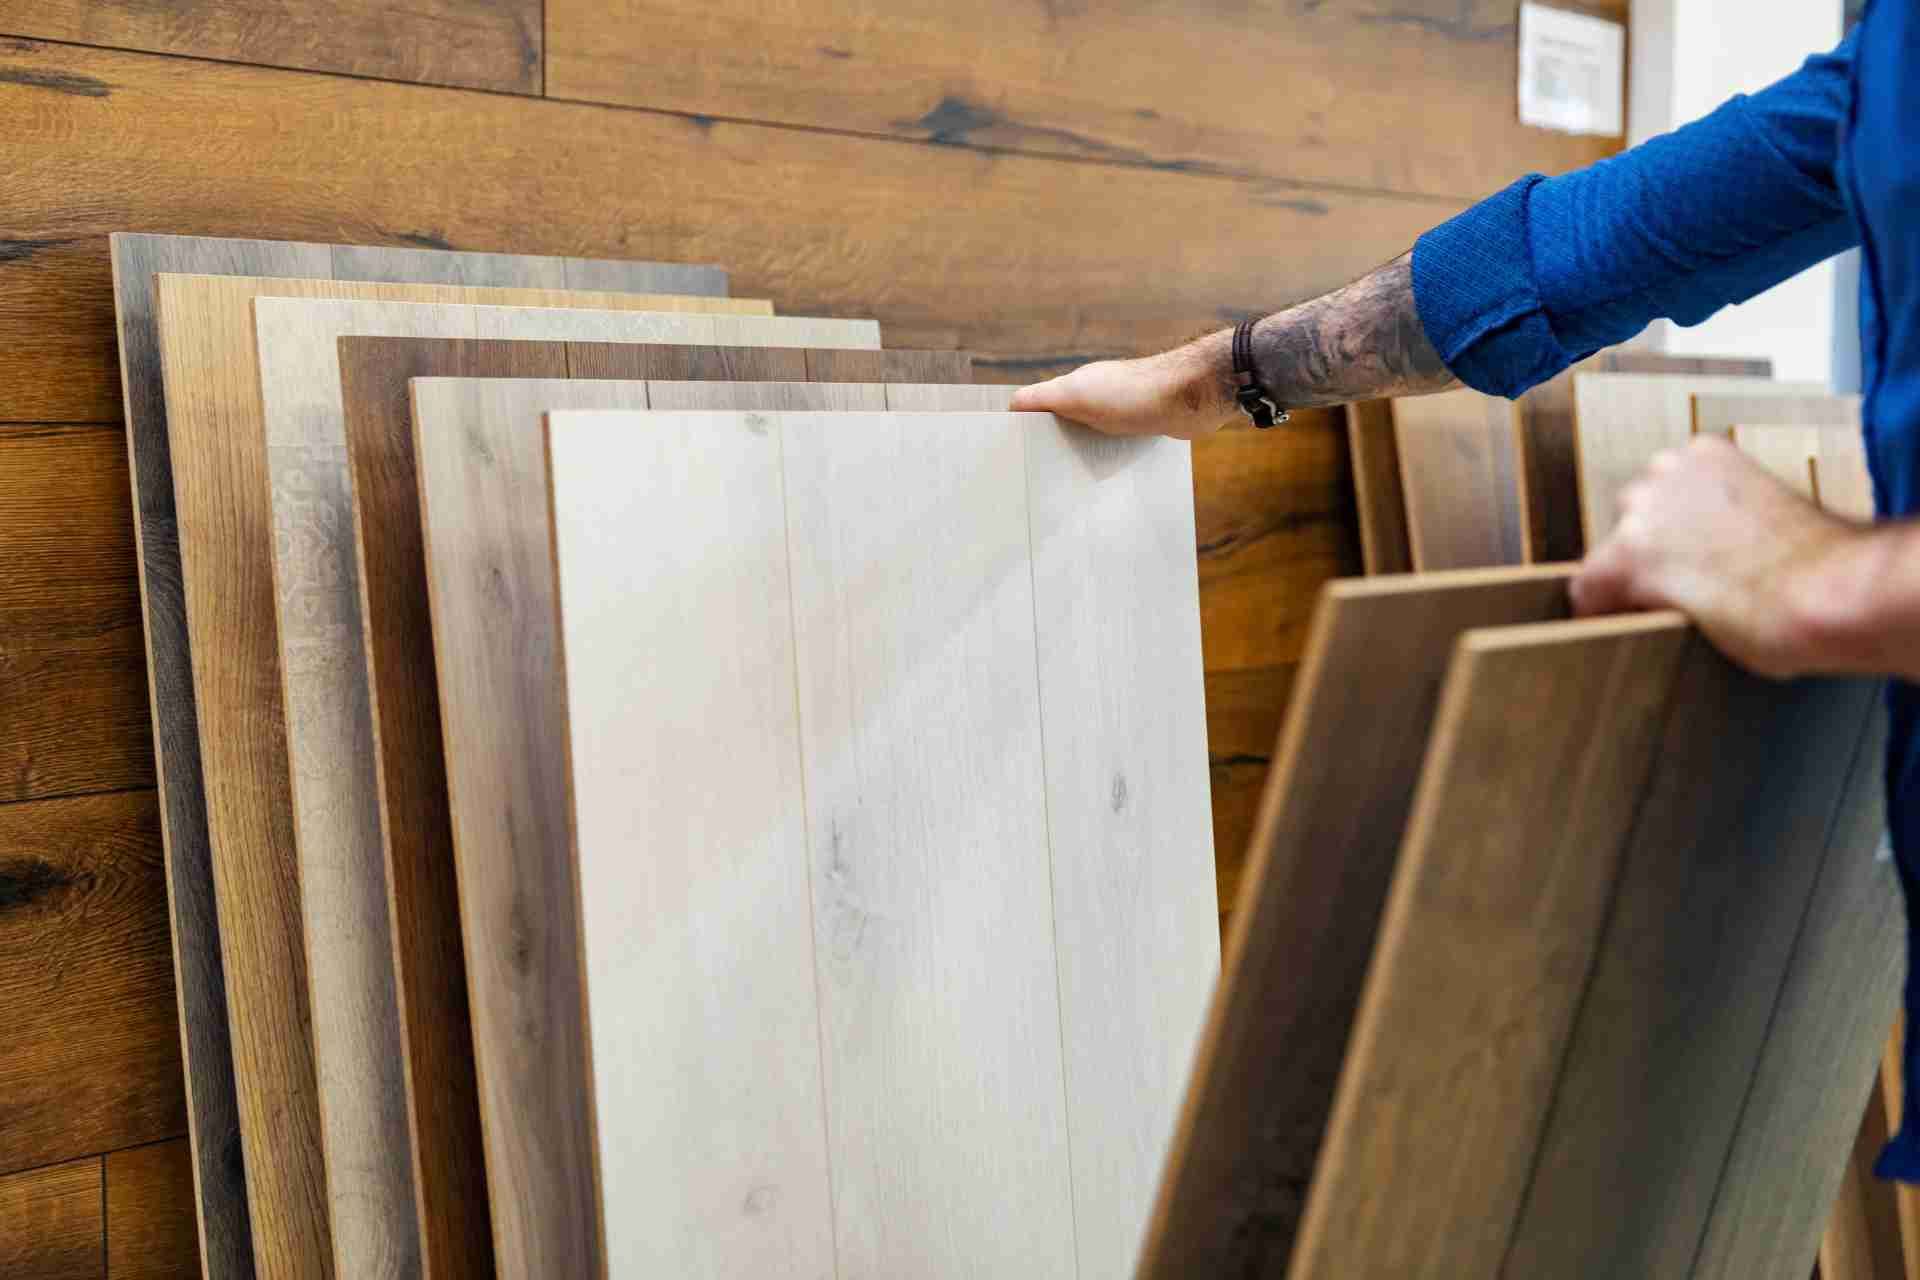
Salvage and Clean Damaged Belongings
Once you've ensured that your space is dry and free from mold, it's time to salvage and clean your damaged belongings.
Start by prioritizing items based on their importance and value. Remove any severely damaged items that can't be saved.
For those you want to keep, rinse them with clean water to remove debris and contaminants. Use a mixture of water and mild detergent for fabrics and soft items.
Ensure you thoroughly dry everything to prevent mold from returning. For wooden furniture, wipe down surfaces and allow them to air dry.
Remember to take photos for insurance claims as you work. Lastly, don't hesitate to toss anything that poses a health risk or can't be adequately cleaned.
Contact Professionals for Help
When water damage strikes, reaching out to professionals can make a significant difference in restoring your home. They've the expertise and equipment to handle the situation effectively.
Don't underestimate the potential hazards of water damage, including mold growth and structural issues. Professionals can assess the extent of the damage and develop a tailored plan for remediation.
They'll also ensure that your home is dried out properly, which is crucial to preventing further complications. By contacting specialists, you save time and minimize risks, allowing you to focus on your family's safety.
Prevent Future Water Damage
To prevent future water damage, it's essential to take proactive measures around your home.
Start by regularly inspecting your roof, gutters, and downspouts for any debris or damage. Ensure that your gutters are clean and direct water away from your foundation.
Check your plumbing for leaks and repair any issues immediately. Install water alarms in areas prone to flooding, like basements or laundry rooms.
Consider a sump pump if your home is in a flood-prone area. Also, maintain proper landscaping; sloping soil away from your house can help divert water.
Lastly, be mindful of appliance maintenance, as water heaters and washing machines can fail.
Know Common Mistakes to Avoid
While it might seem straightforward to handle water damage, many homeowners make critical mistakes that can exacerbate the situation.
One common error is waiting too long to take action, thinking the problem will resolve itself. Don't underestimate the importance of immediate response; mold can develop within 24-48 hours.
Another mistake is trying to DIY repairs without proper knowledge or equipment, which can lead to further damage and higher costs.
Additionally, neglecting to document the damage for insurance claims can hinder your recovery process.
Finally, ignoring hidden areas affected by water, like behind walls or under flooring, can lead to ongoing issues.
Avoid these pitfalls by acting quickly and seeking professional help when necessary.
Conclusion
In the aftermath of water damage, taking swift and careful action is crucial to minimize further issues. By assessing the situation, turning off utilities, documenting damage, and removing water promptly, you protect both your safety and belongings. Don't forget to dry out affected areas thoroughly and salvage what you can. Lastly, remember to avoid common pitfalls that could worsen the situation. With these steps, you'll be better equipped to handle any water damage effectively.