Flooring Installation
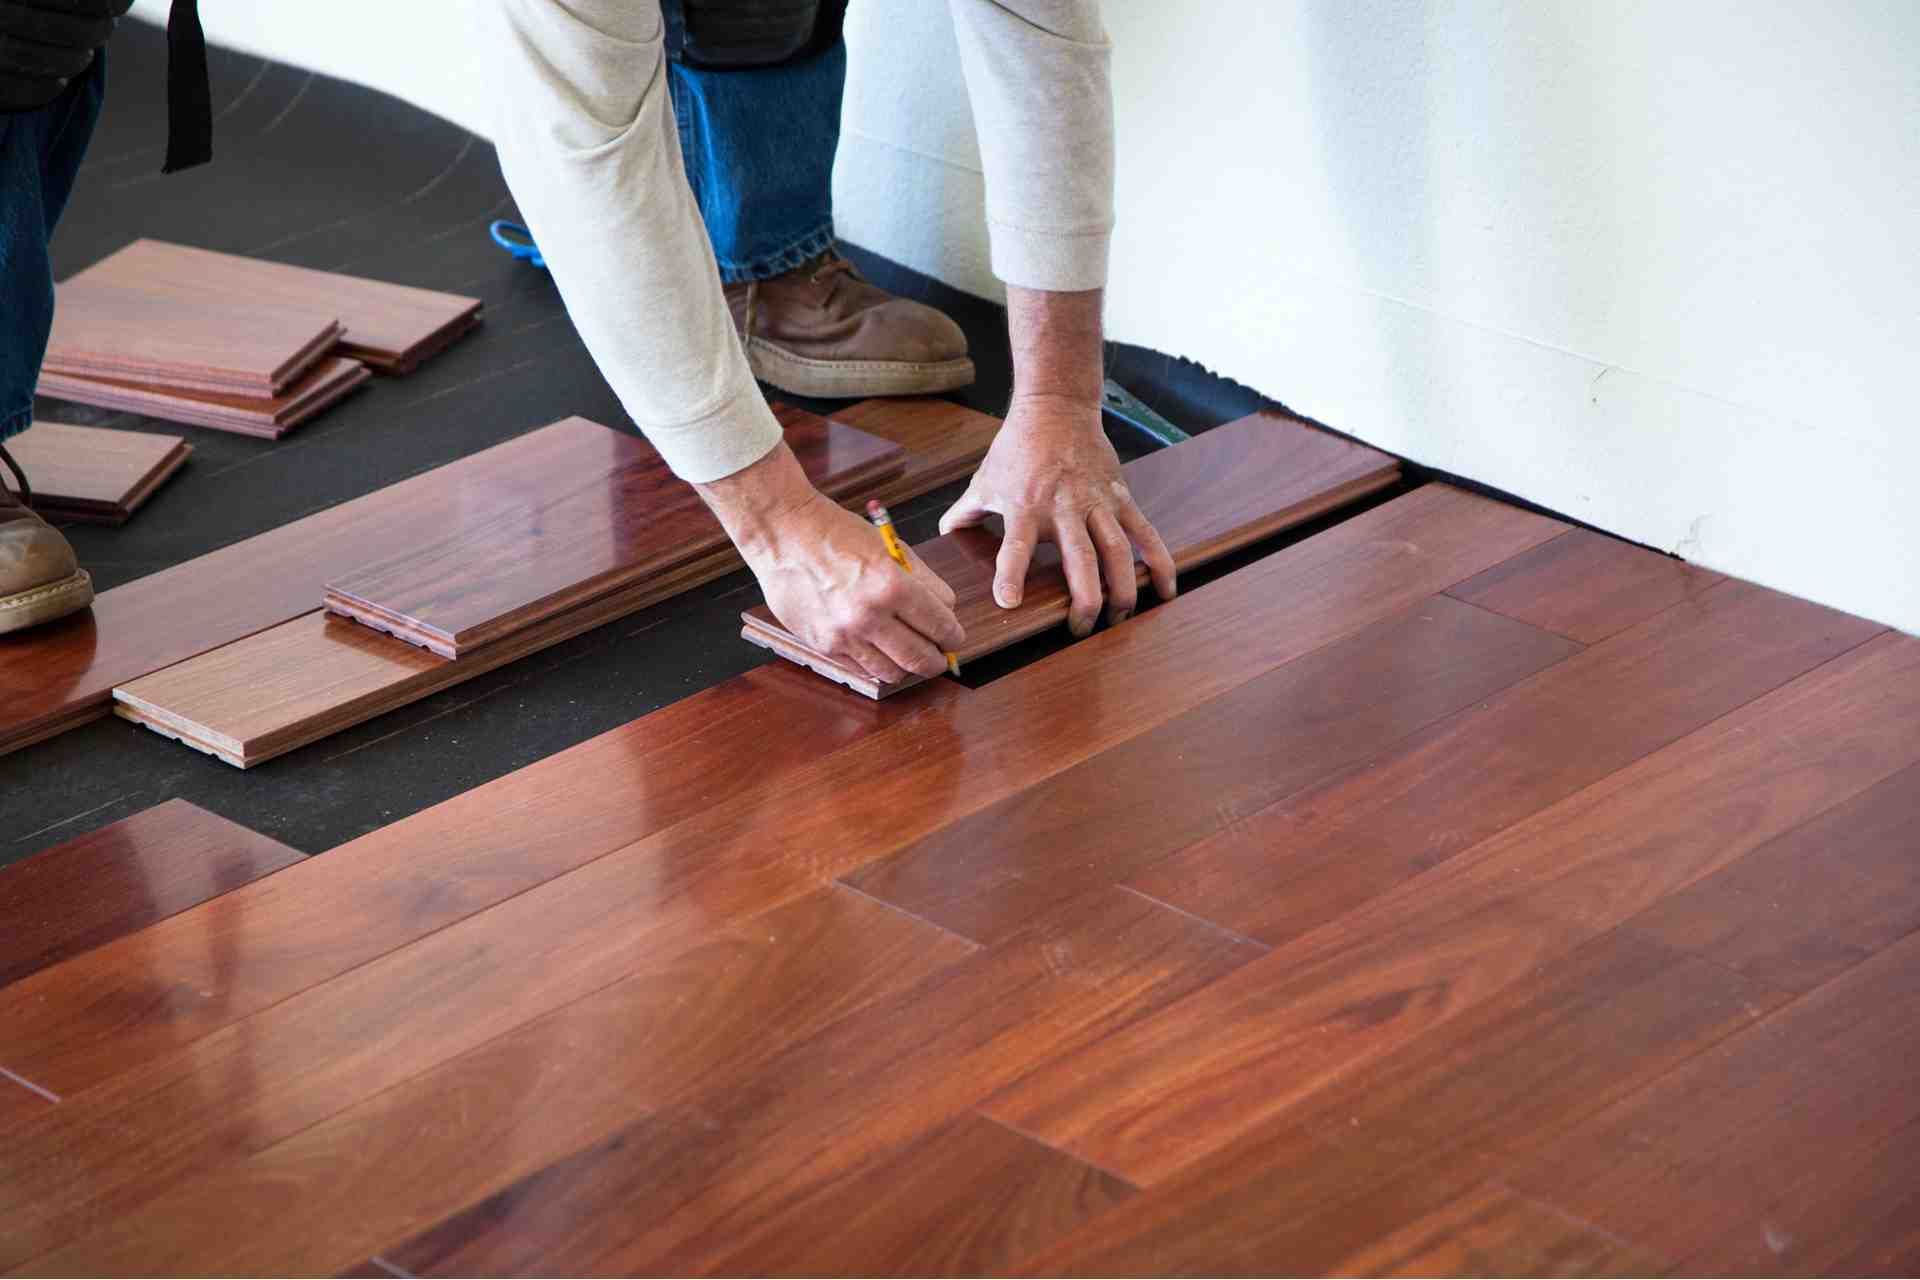
When it comes to flooring installation, you’ll find that preparation is key. You need to measure your space accurately and clear out any furniture. Ensuring your subfloor is clean and level will set the stage for a smooth installation. Whether you're looking at hardwood, laminate, or tile, each option has its nuances. Understanding these differences can make all the difference, especially when it comes to long-term satisfaction with your choice. So, what should you consider next?
How to Install Hardwood Floors
Installing hardwood floors can transform your space, and with some preparation, you can tackle this project yourself.
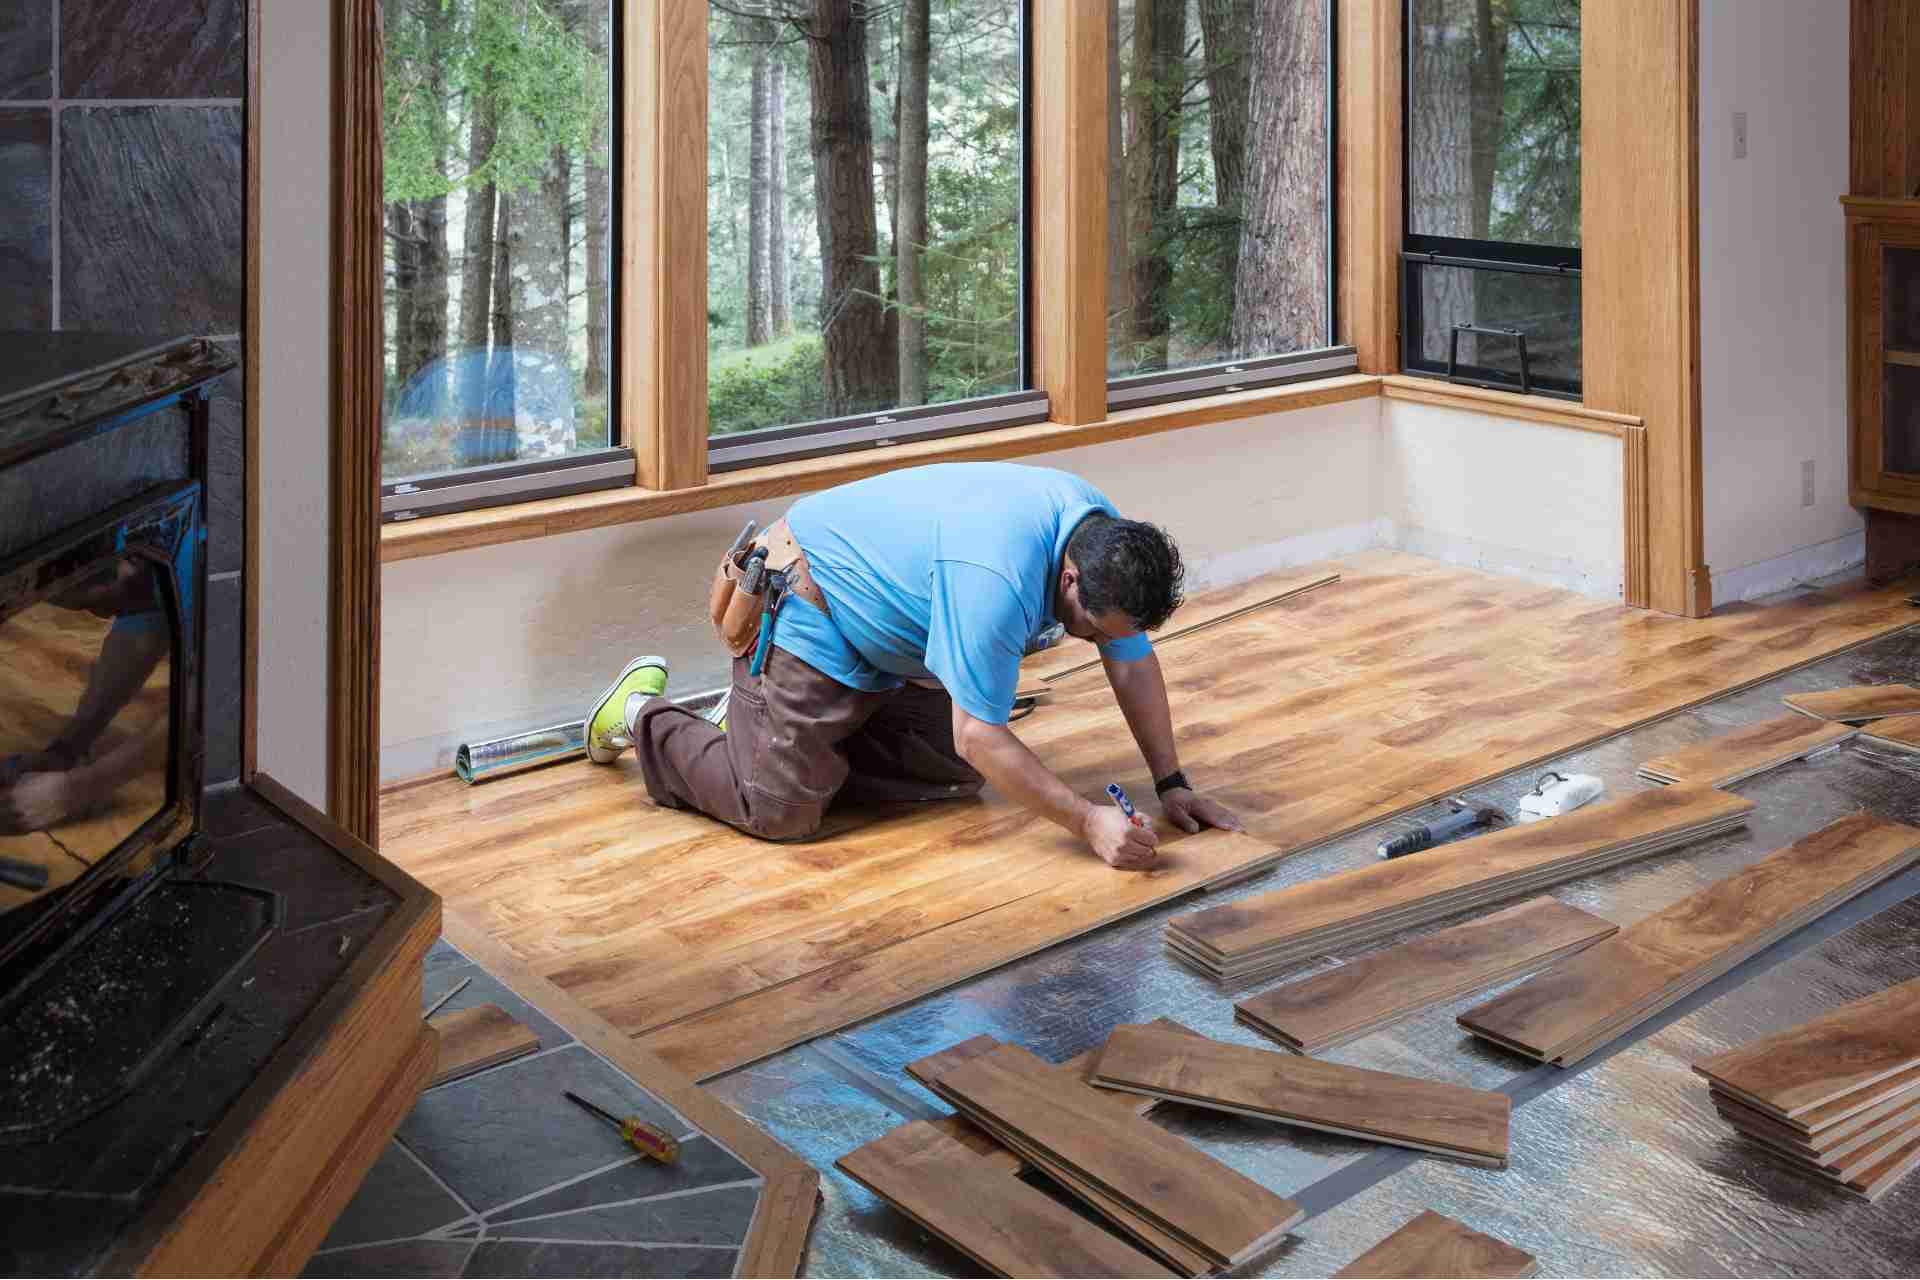
Start by measuring the area to determine how much flooring you’ll need. Once you’ve gathered your materials, including the hardwood planks, underlayment, and tools, clear the room of furniture.
Make sure the subfloor is clean, dry, and level. Begin by laying down the underlayment, which helps with moisture and sound.
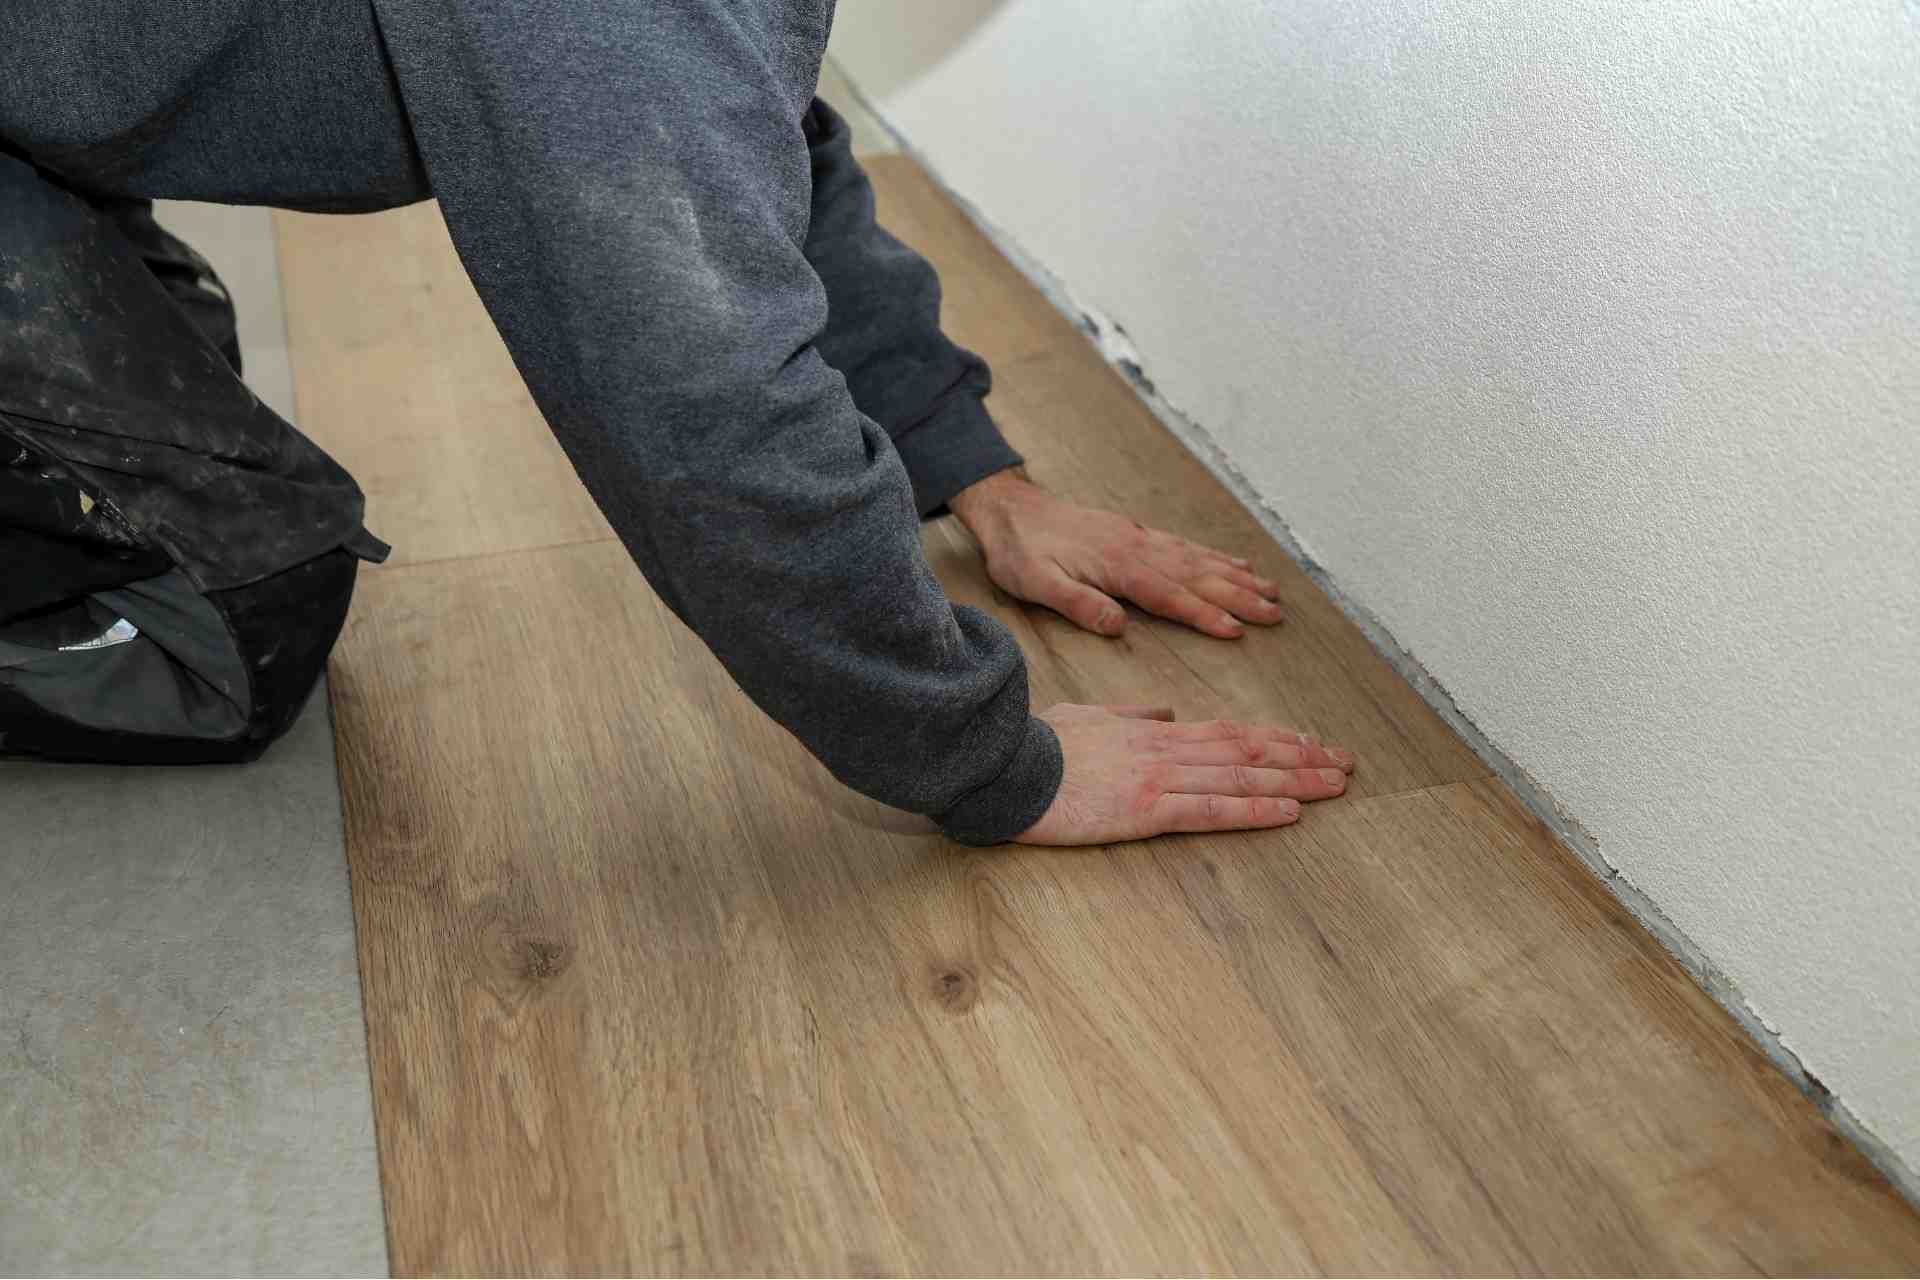
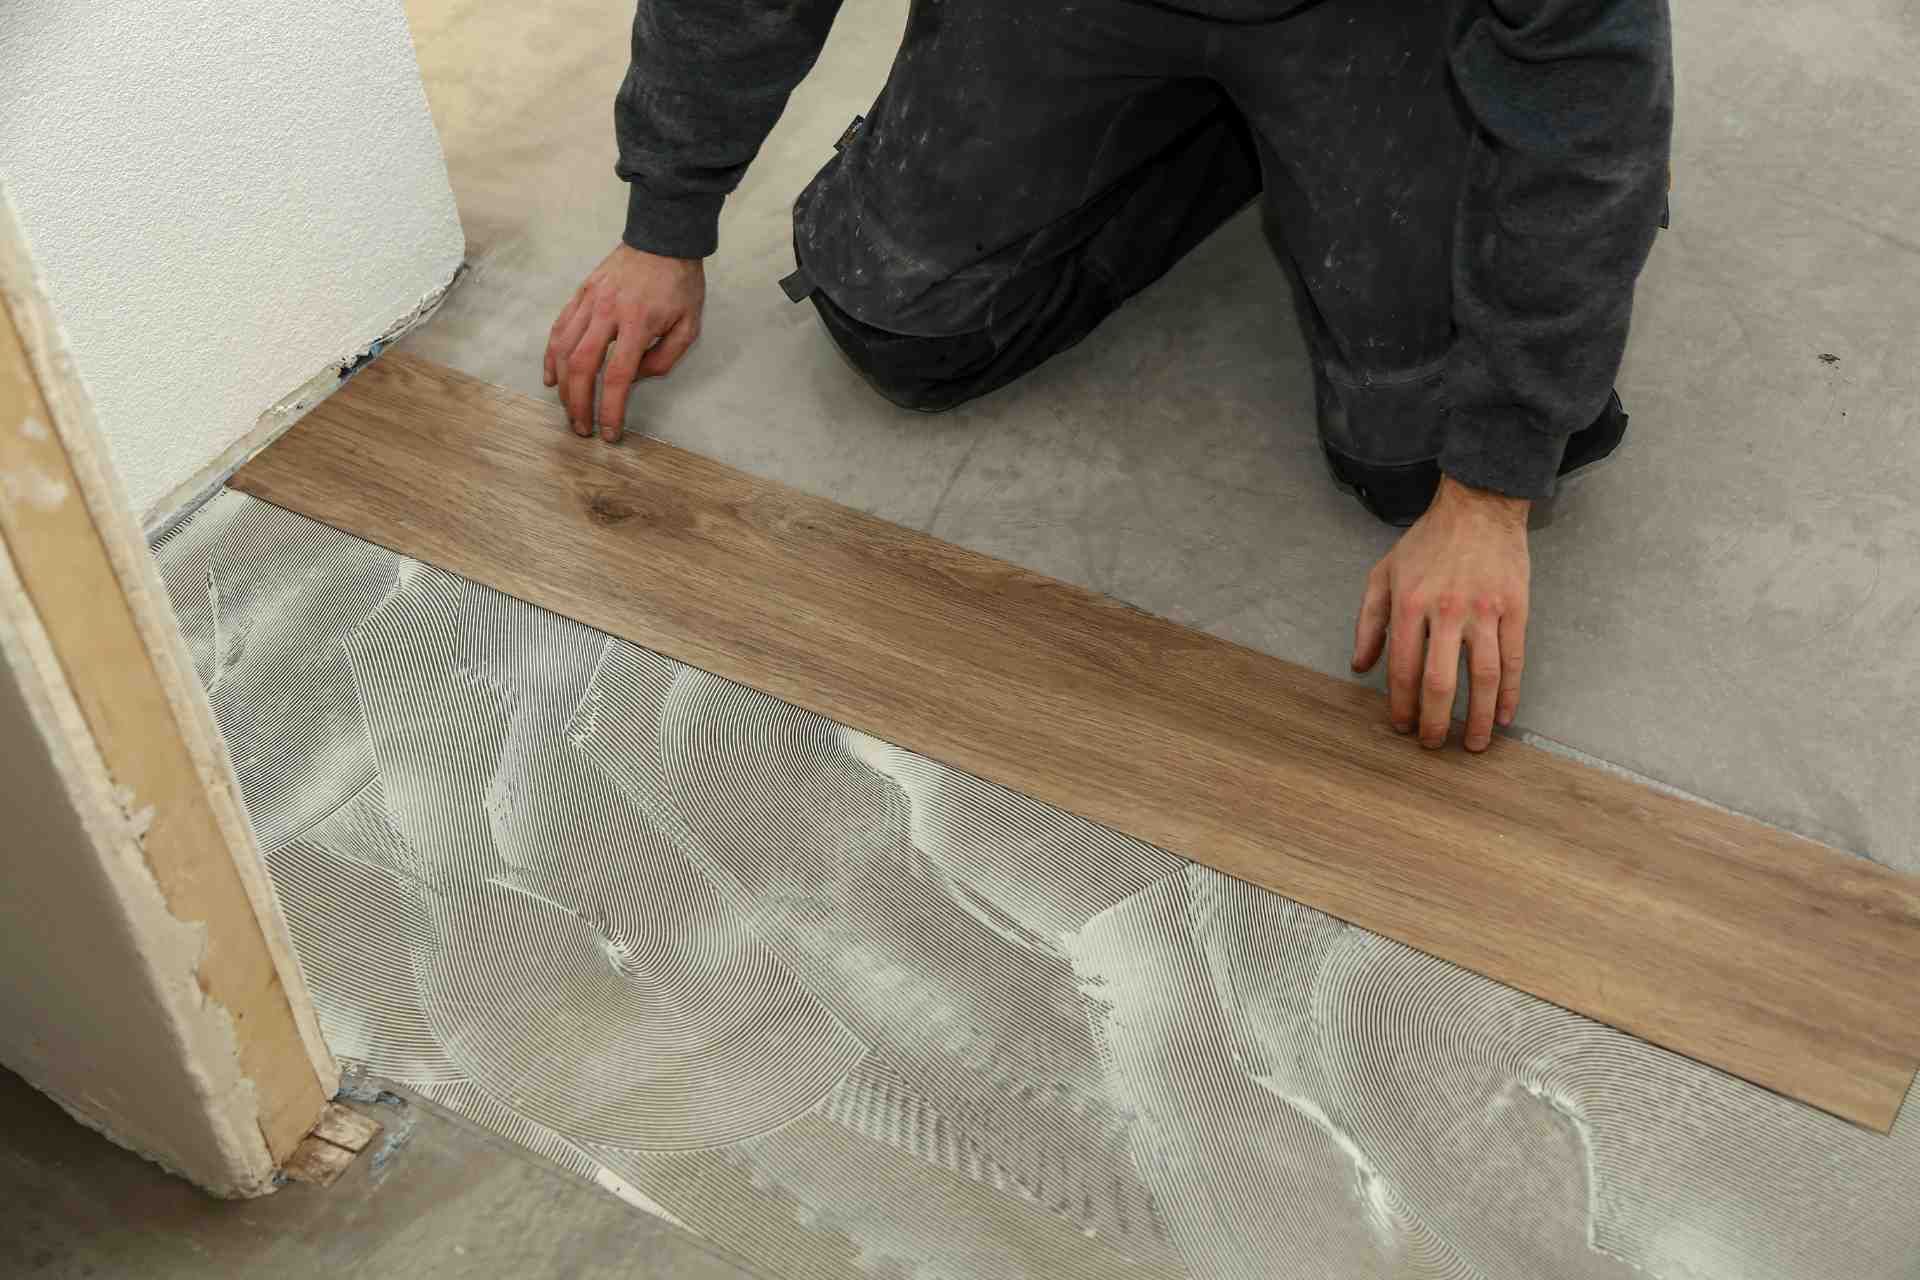
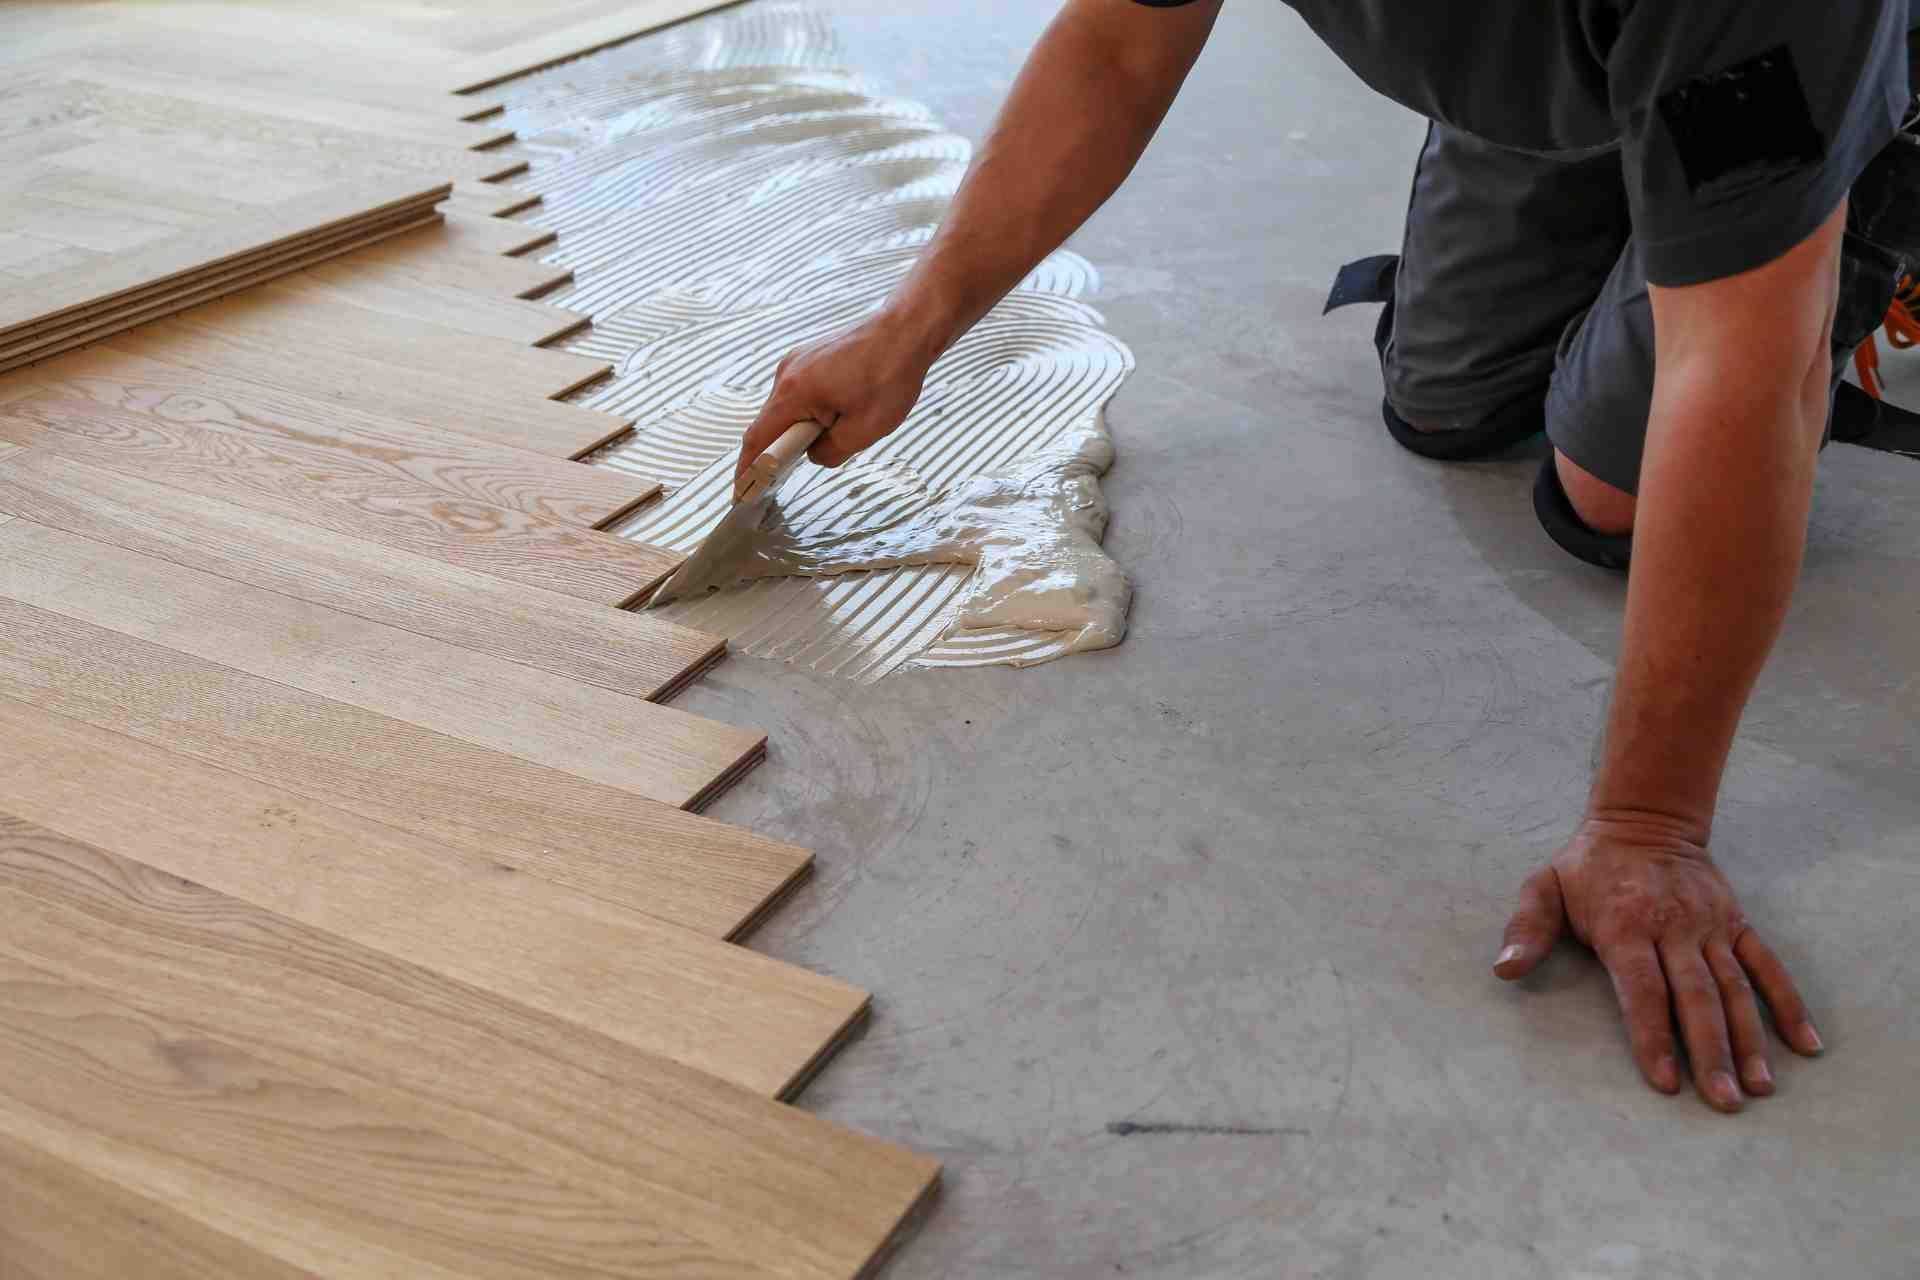
Next, start placing the hardwood planks, ensuring they fit together snugly. Use a nail gun or adhesive based on the type of installation you choose.
As you progress, stagger the seams for stability. Finish off with baseboards to complete the look, and step back to admire your hard work.
Understanding Different Flooring Types: Pros and Cons
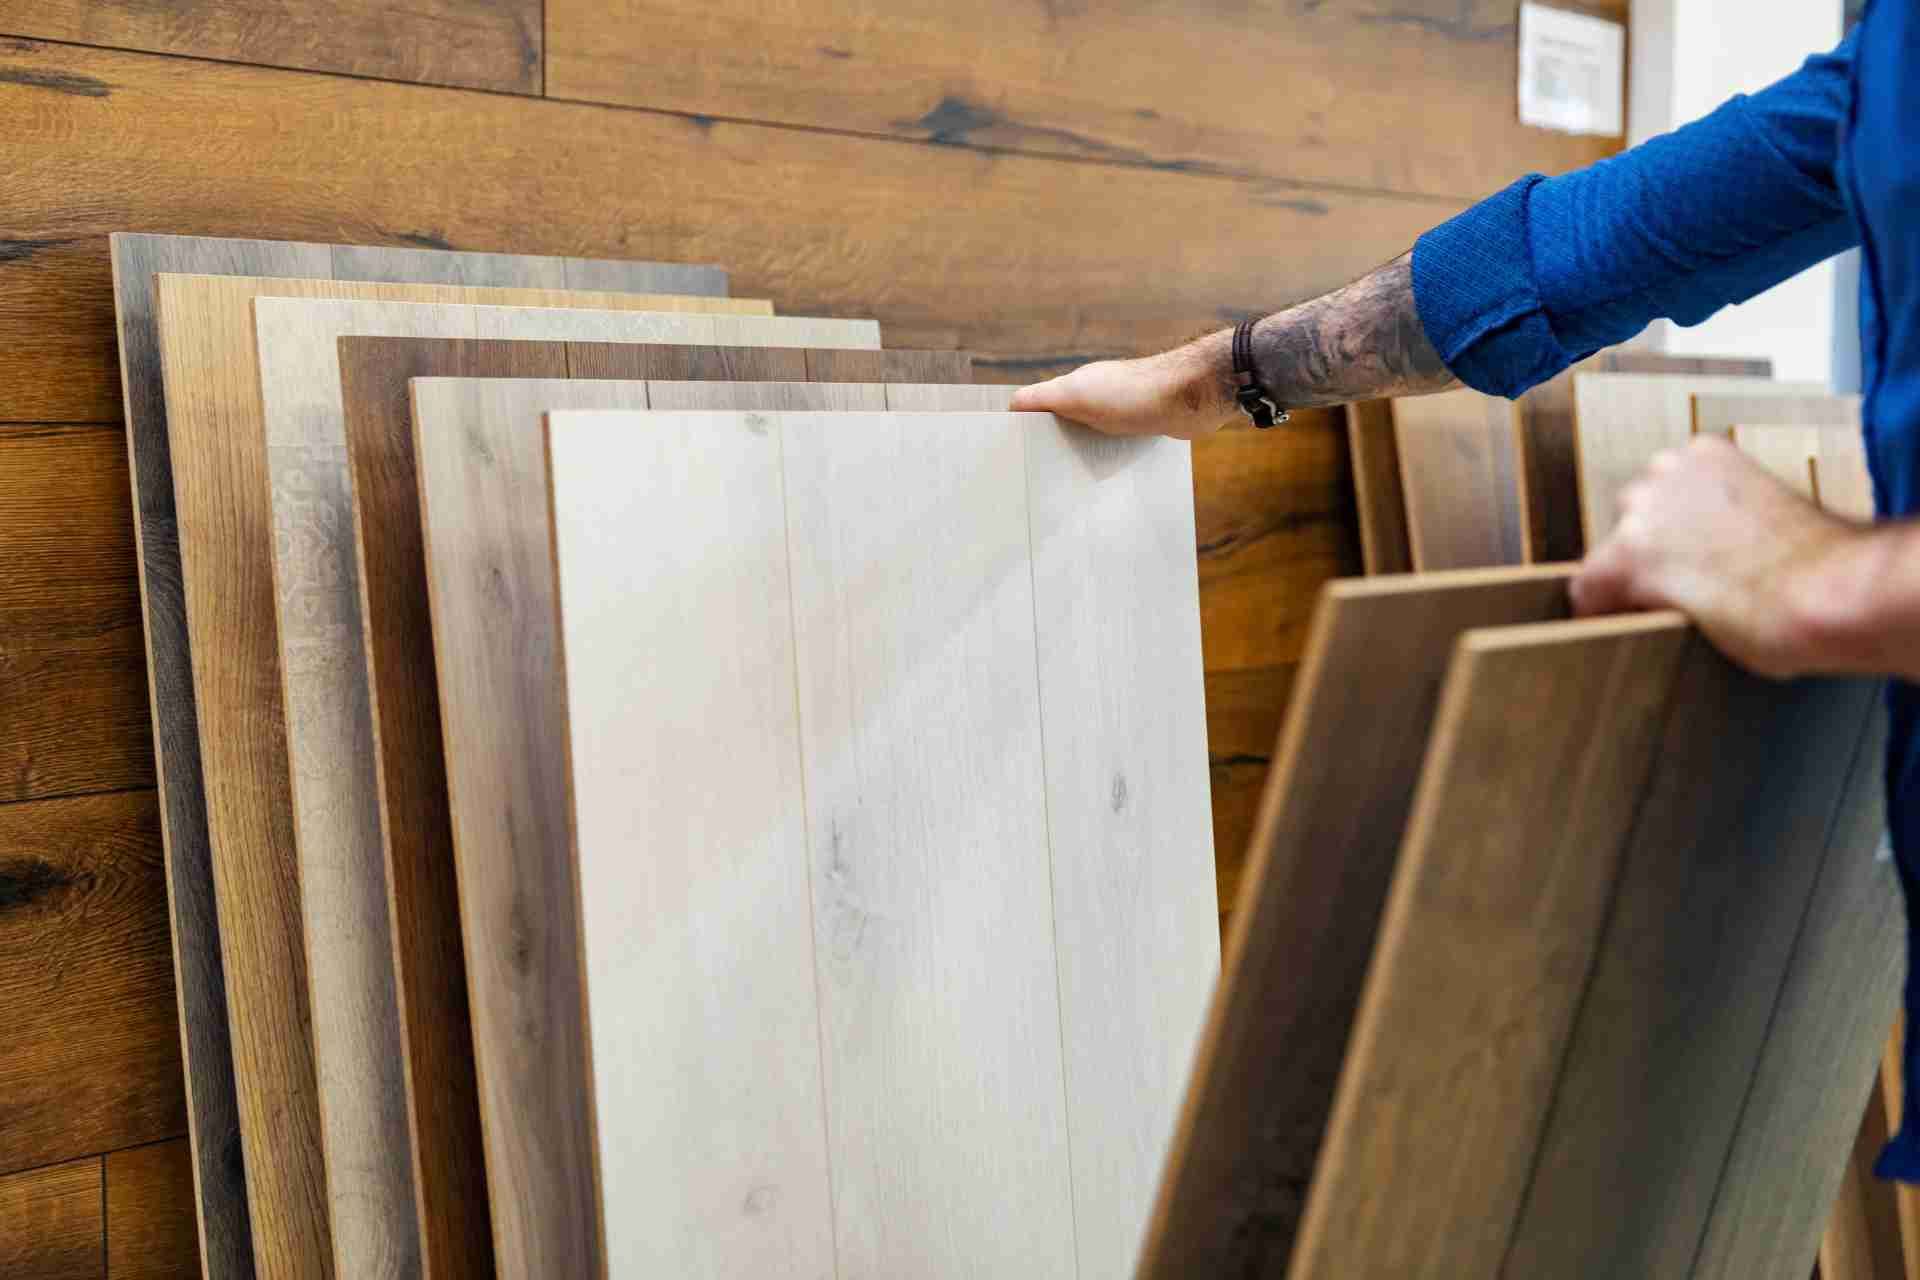
When choosing the right flooring for your home, it’s essential to weigh the pros and cons of each type.
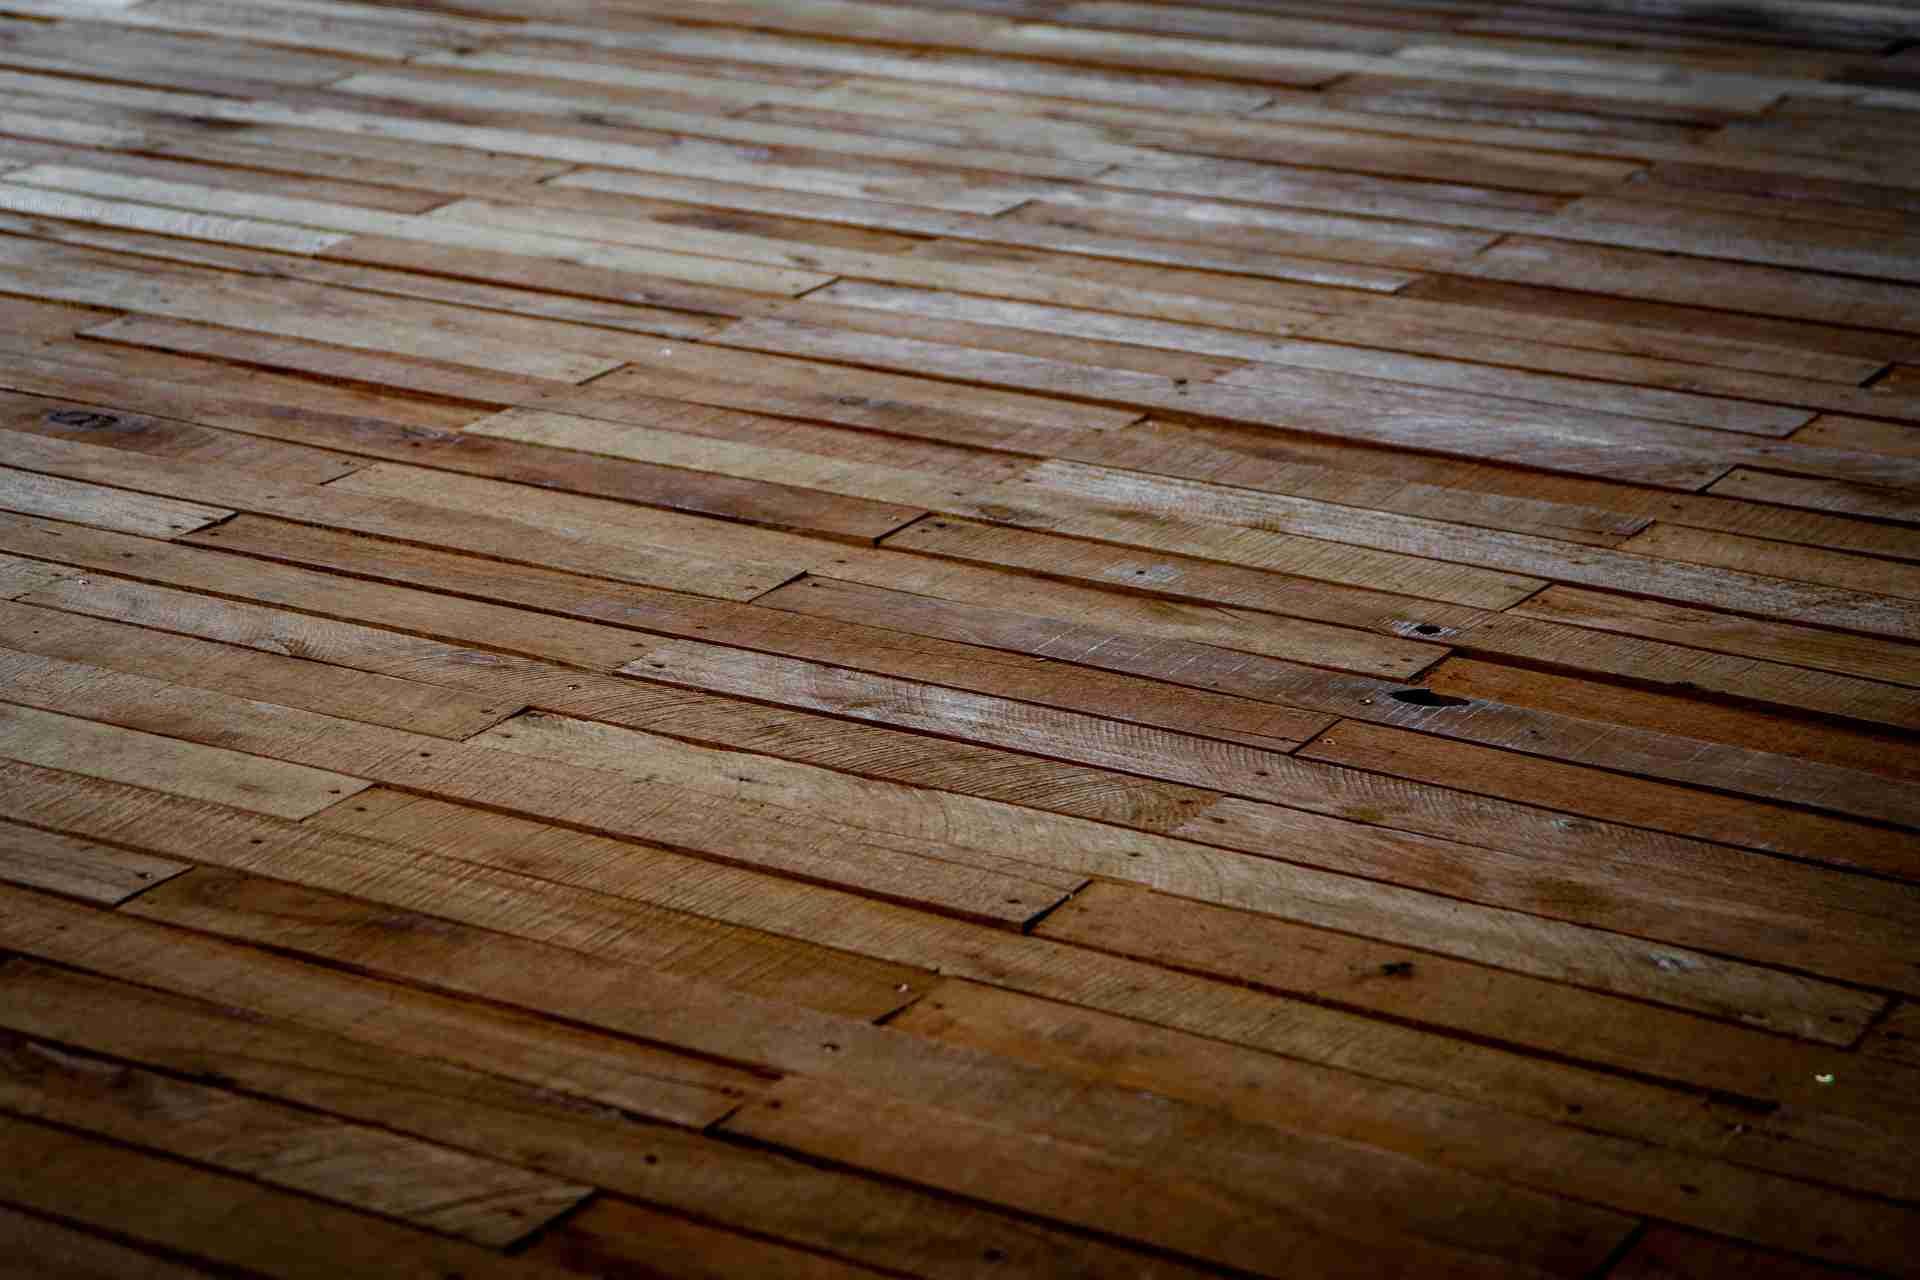
Hardwood offers timeless beauty and durability but can be expensive and sensitive to moisture.
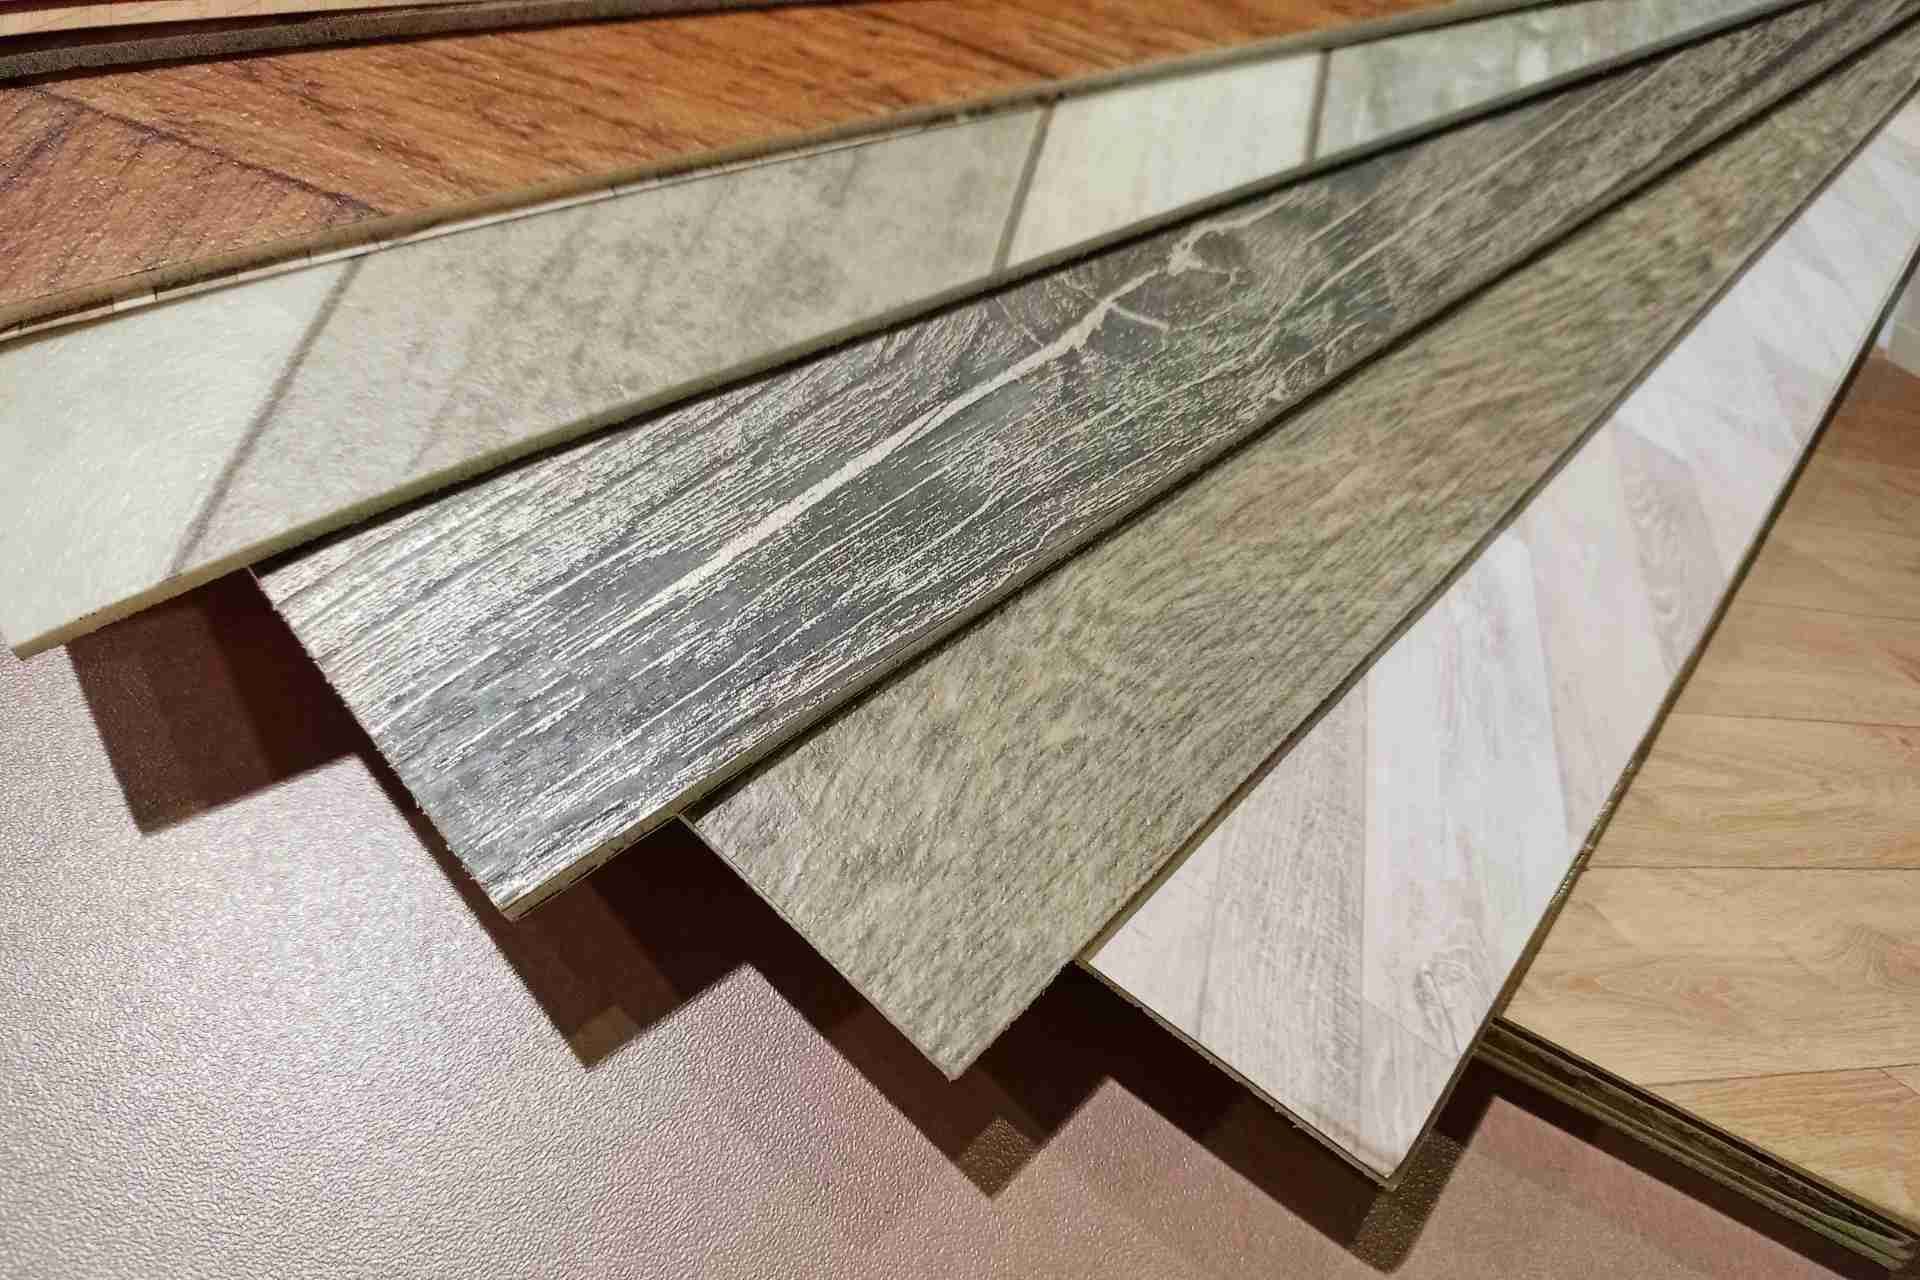
Laminate is budget-friendly and easy to install, yet it may lack the same longevity and authentic look.
Vinyl is water-resistant and perfect for high-traffic areas, though it can be less eco-friendly.
Tile is durable and versatile but may feel cold underfoot and require professional installation.
Carpet provides warmth and comfort, but it’s harder to clean and isn’t ideal for allergy sufferers.
Essential Tools for Your Flooring Installation Project
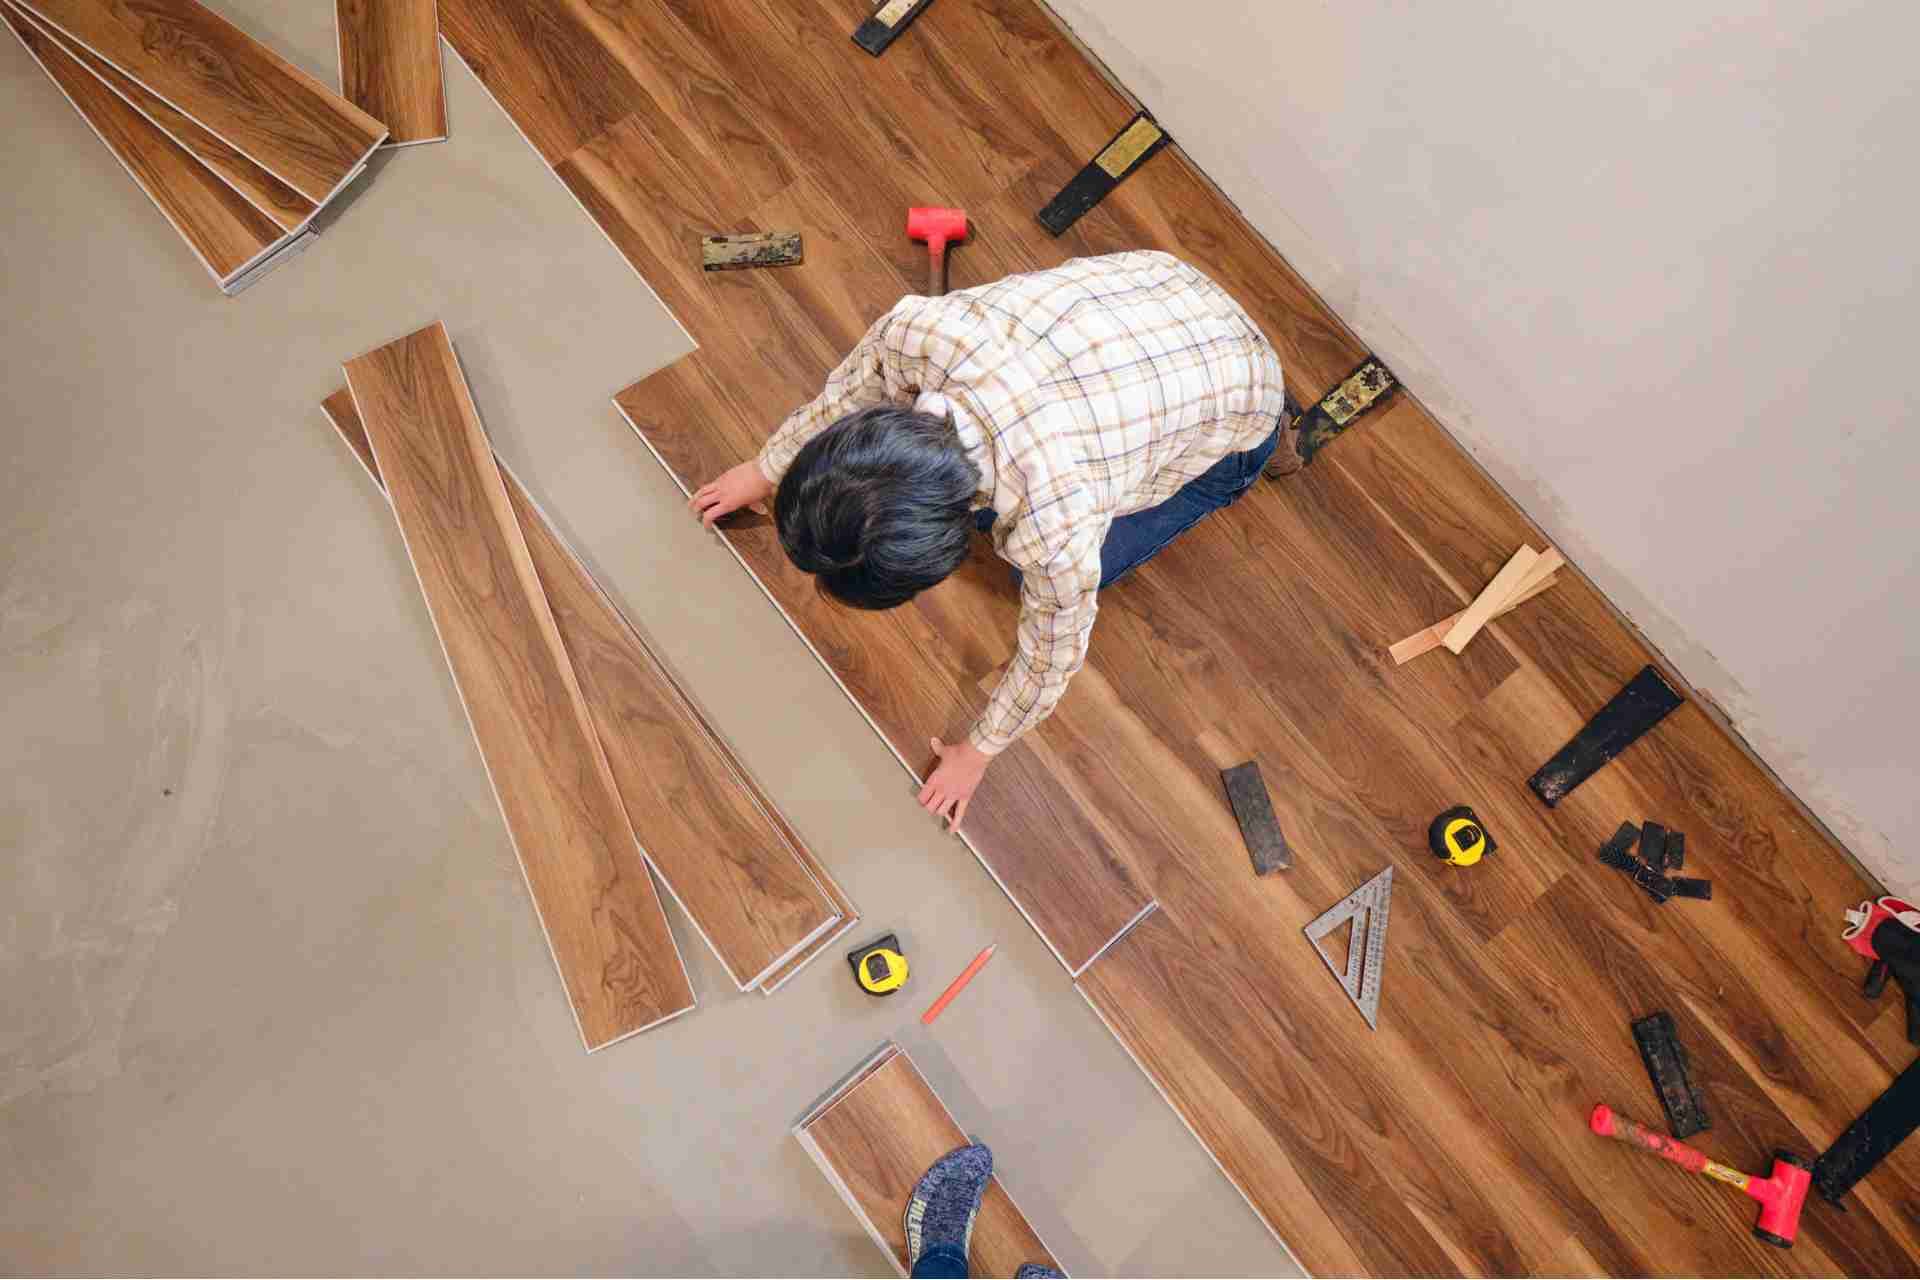
A successful flooring installation project hinges on having the right tools at your disposal. Start with a tape measure to ensure accurate measurements, and don’t forget a utility knife for cutting flooring materials.
A square helps maintain straight lines, while a chalk line can mark your layout. You’ll need a pry bar for removing old flooring and a hammer or mallet for tapping planks into place.
Additionally, a flooring roller ensures even adhesion, and knee pads will keep you comfortable during installation. If you're working with laminate, a pull bar and tapping block will make your job easier.
Pro Tips for Flooring Installation: Installing Laminate
Having the right tools makes a big difference, especially when it comes to installing laminate flooring.
Start by measuring your space carefully to determine how much flooring you'll need. Always acclimate the laminate planks in the room for at least 48 hours before installation to prevent expansion or contraction later.
When laying the planks, stagger the seams for a more natural look and better stability. Use spacers to maintain the necessary gap around the edges for expansion.
Don’t forget to cut planks with a fine-toothed saw to avoid chipping. Lastly, secure the planks according to the manufacturer's instructions, ensuring a tight fit.
With these pro tips, you’ll achieve a professional-looking laminate floor that you’ll love for years!
Easy Steps for Laying Down Carpet
Laying down carpet can transform a room in just a few easy steps.
First, measure your space accurately to determine how much carpet you'll need.
Next, prepare the subfloor by cleaning it and ensuring it’s dry and smooth.
Once you’ve got everything ready, roll out the carpet, leaving it a few inches over the edges.
Cut the carpet to size, using a carpet knife for a clean edge.
Then, secure it in place with carpet adhesive or tack strips, depending on your preference.
Finally, trim any excess carpet along the edges for a neat finish.
Remember to take your time and check for wrinkles as you go.
With a bit of patience, you’ll have a beautiful new carpet in no time!
Solutions to Common Flooring Installation Problems
When you encounter common flooring installation problems, addressing them promptly can save you time and frustration.
For creaking or squeaky floors, check for loose boards and secure them with screws. If you notice gaps between planks, consider using wood filler or adjusting the planks to fit snugly.
Uneven flooring can often be fixed with shims or by sanding down high spots. In cases of warping, ensure the subfloor is dry and properly acclimated to the environment.
For tricky corners, use a coping saw for precise cuts. Lastly, if adhesive problems arise, reapply the adhesive in small sections to ensure a stronger bond.
Tackling these issues early can lead to a smoother and more successful installation.
Best Practices for Maintaining Your New Flooring
To keep your new flooring looking its best, regular maintenance is essential. Start by sweeping or vacuuming frequently to remove dirt and debris that can scratch the surface.
Use a damp mop with a gentle cleaner specifically designed for your flooring type; avoid harsh chemicals that can damage it. Place mats at entryways to catch dirt and reduce wear.
For hardwood, consider using felt pads under furniture to prevent scratches. If spills occur, wipe them up immediately to prevent staining.
Regularly check for signs of wear or damage, and address issues promptly. By following these best practices, you’ll extend the life of your flooring and maintain its beauty for years to come.
DIY vs. Professional Installation: What to Consider?
Choosing between DIY and professional installation can feel overwhelming, especially if you want the best results for your flooring project.
First, consider your skill level and experience. If you’re handy and have tackled similar projects, DIY might be a viable option. However, if you’re unsure about your abilities or lack the right tools, hiring a professional could save you time and frustration.
Next, think about your budget. DIY can save money on labor costs, but mistakes can lead to expensive fixes.
Also, consider the complexity of the flooring type. Certain materials, like hardwood or tile, often require expertise for proper installation.
Ultimately, weigh your comfort level, time availability, and budget constraints to make the best decision for your flooring needs.
Preparing Your Space for Flooring Installation
Before you dive into your flooring installation, it’s crucial to prepare your space properly. Start by removing all furniture and items from the area. This helps create a clear workspace and prevents damage to your belongings.
Next, check for any existing flooring that needs to be removed; this may include carpet, tile, or laminate. Ensure the subfloor is clean, dry, and level, as this will affect your new flooring’s performance.
If you notice any repairs needed, take care of those before proceeding. Lastly, consider the climate in your space. Acclimating your new flooring materials to the room’s temperature and humidity can prevent future issues.
With these steps, you’ll set the stage for a successful flooring installation.
Conclusion
In conclusion, installing flooring can be a rewarding DIY project if you take the time to prepare and understand the process. Whether you choose hardwood, laminate, or carpet, following the right steps and using the essential tools will help you achieve a professional-looking finish. Don’t forget to address any common issues as they arise, and enjoy your beautiful new floors. With a bit of effort, you’ll create a space you love for years to come!