A Comprehensive Guide: Leveling a Floor for Laminate Flooring Installation

June 23, 2023
Leveling a Floor for Laminate Flooring Installation

Introduction

When it comes to laminate flooring installation, achieving a level and even surface is paramount. A properly leveled floor not only ensures a smooth and aesthetically pleasing result but also prevents premature wear and damage to the laminate flooring. This blog post serves as a comprehensive guide to help you understand the process of leveling a floor for laminate flooring installation. From assessing the floor's condition to executing the necessary leveling techniques, we will provide you with step-by-step instructions to ensure a successful flooring project.

Assessing the Floor 

Before diving into the leveling process, it's crucial to assess the condition of the existing floor. Here are some key considerations:

  1. Identify High and Low Spots: Use a long, straightedge, such as a level or a straight board, to identify any high or low spots on the floor. This step will help you determine the extent of leveling required.
  2. Determine the Floor's Stability: Check for any structural issues or movement in the floor. Ensure that the subfloor is stable and free from any signs of rot, water damage, or structural weaknesses. Address any underlying issues before proceeding with the leveling process.
  3. Measure Deviations: Measure the deviations in the floor using a leveling tool or a measuring tape. This will give you a clear understanding of the variations in the floor's height.

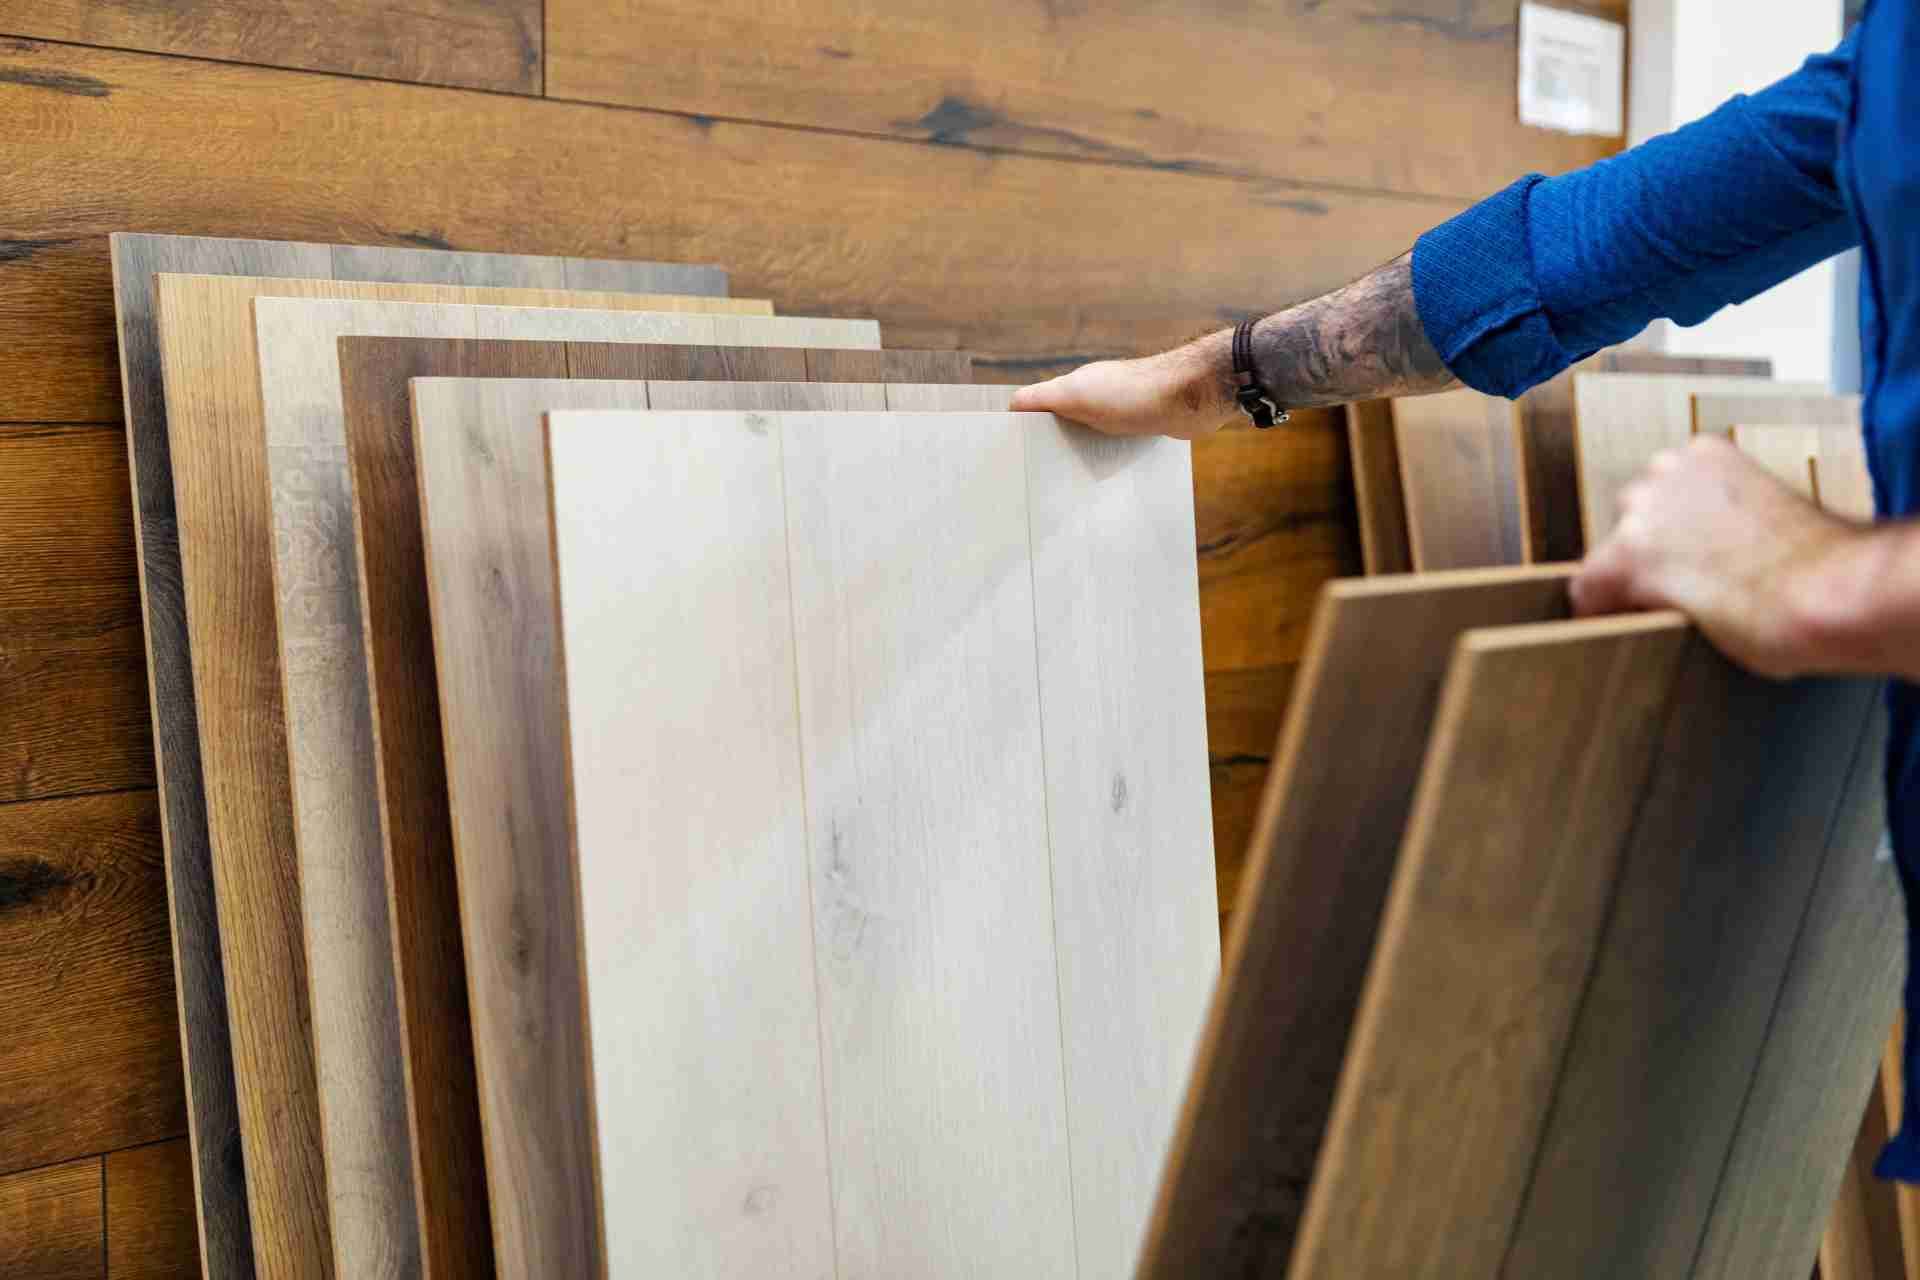
Choosing the Leveling Method 

Once you have assessed the floor, you can select the appropriate leveling method based on the severity of the unevenness. Here are some commonly used techniques:

  1. Self-Leveling Compound: Self-leveling compound is an excellent choice for moderate to severe unevenness. This cement-based product is poured onto the floor and spreads out to create a level surface. Follow the manufacturer's instructions for mixing and application.
  2. Floor Patching Compound: Floor patching compound is suitable for smaller areas or minor imperfections. It is applied with a trowel to fill in low spots and level the surface. Ensure proper drying and sanding before installing laminate flooring.
  3. Plywood Subfloor Installation: In cases of significant height variations or an uneven subfloor, adding a layer of plywood can provide a stable and level surface. Measure and cut the plywood sheets to fit the floor, and secure them to the subfloor using screws or nails.
  4. Floor Grinding: Floor grinding is a more labor-intensive method used to level concrete floors. It involves using a specialized grinding machine to remove high spots and create a level surface. This method is suitable for concrete subfloors.

Preparing for Leveling 

Before beginning the leveling process, proper preparation is essential for a successful outcome. Follow these steps:

  1. Clear the Area: Remove all furniture, appliances, and any other obstacles from the room to create an unobstructed work area.
  2. Clean the Floor: Thoroughly clean the floor, removing any debris, dust, or loose material. A clean surface ensures better adhesion and a more effective leveling process.
  3. Address Structural Issues: If you identified any structural issues during the assessment, consult a professional to address and rectify them before proceeding.
  4. Acclimate the Laminate Flooring: If you have already purchased the laminate flooring, allow it to acclimate to the room's temperature and humidity as per the manufacturer's recommendations. This prevents potential expansion or contraction issues after installation.

Executing the Leveling Process 

Once you have prepared the floor, it's time to execute the leveling process. Follow these steps for a successful outcome:

  1. Mix and Apply Self-Leveling Compound: If you opt for self-leveling compound, carefully follow the manufacturer's instructions for mixing and application. Pour the compound onto the floor and use a trowel or smoothing tool to spread it evenly. Work in small sections, and use a long, straightedge to ensure a level surface.
  2. Apply Floor Patching Compound: For smaller areas or minor imperfections, mix the floor patching compound according to the manufacturer's instructions. Use a trowel to apply the compound, filling in low spots and smoothing the surface. Allow ample drying time and sand any rough areas.
  3. Install Plywood Subfloor: If you choose to add a plywood subfloor, measure and cut the plywood sheets to fit the floor. Secure them to the subfloor using screws or nails, ensuring they are level and securely fastened.
  4. Floor Grinding: If floor grinding is necessary, use a specialized grinding machine following the manufacturer's instructions. Start with the high spots and gradually work your way across the floor, creating a level surface. Vacuum or sweep the floor afterward to remove any dust or debris.

Final Steps and Laminate Flooring Installation 

After completing the leveling process, a few final steps are required before installing laminate flooring:

  1. Inspect the Leveled Surface: Once the leveling material has dried or the plywood subfloor is securely in place, inspect the surface for any remaining unevenness or imperfections. Address any issues by sanding, filling, or applying additional leveling compound as needed.
  2. Install Underlayment: Install an underlayment material, such as foam or cork, over the leveled surface. The underlayment provides additional cushioning, moisture protection, and sound insulation.
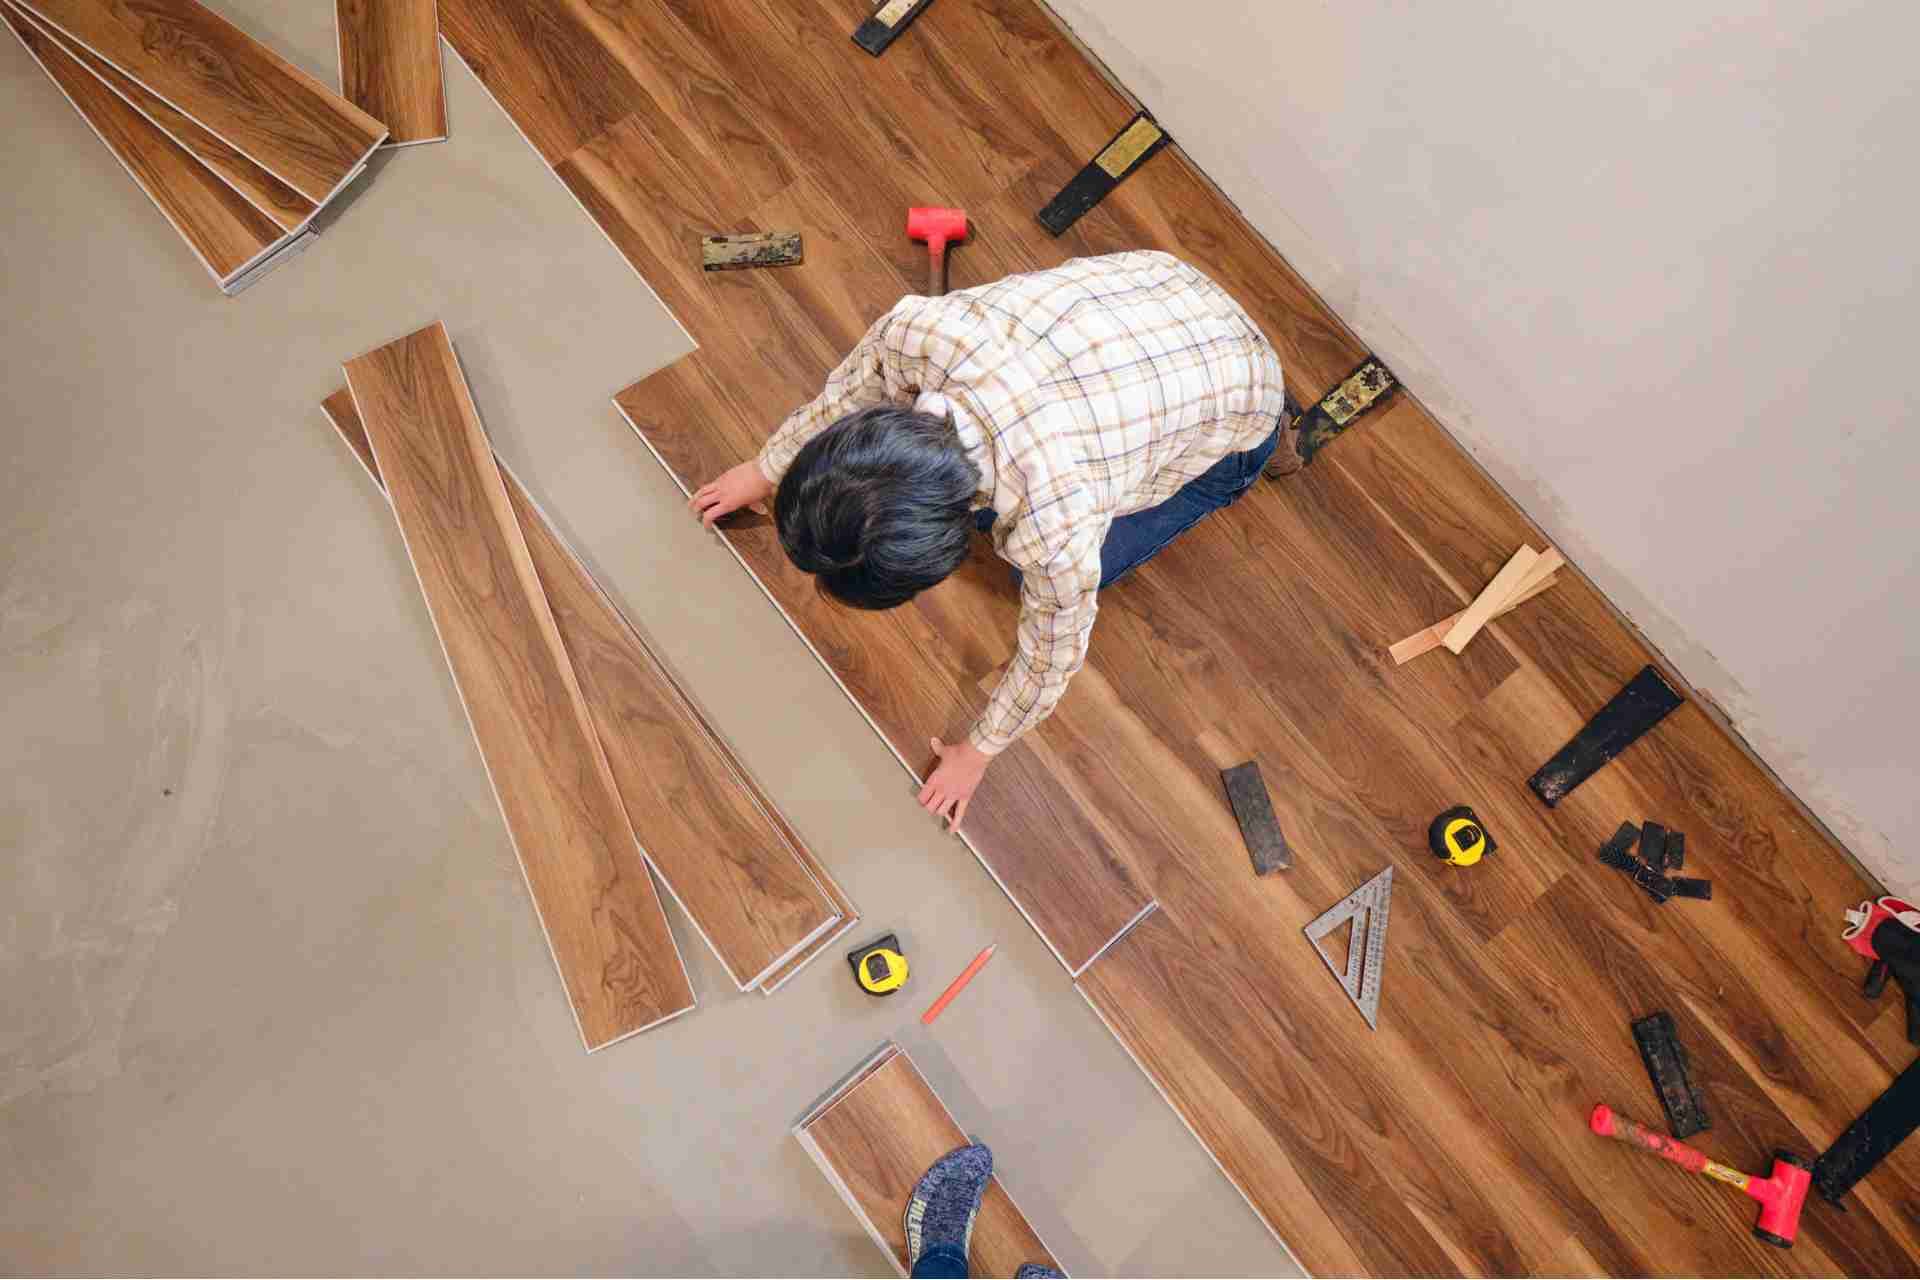
  3. Follow Manufacturer's Guidelines: Carefully follow the manufacturer's guidelines for installing the laminate flooring, including acclimation, interlocking, and expansion gaps.
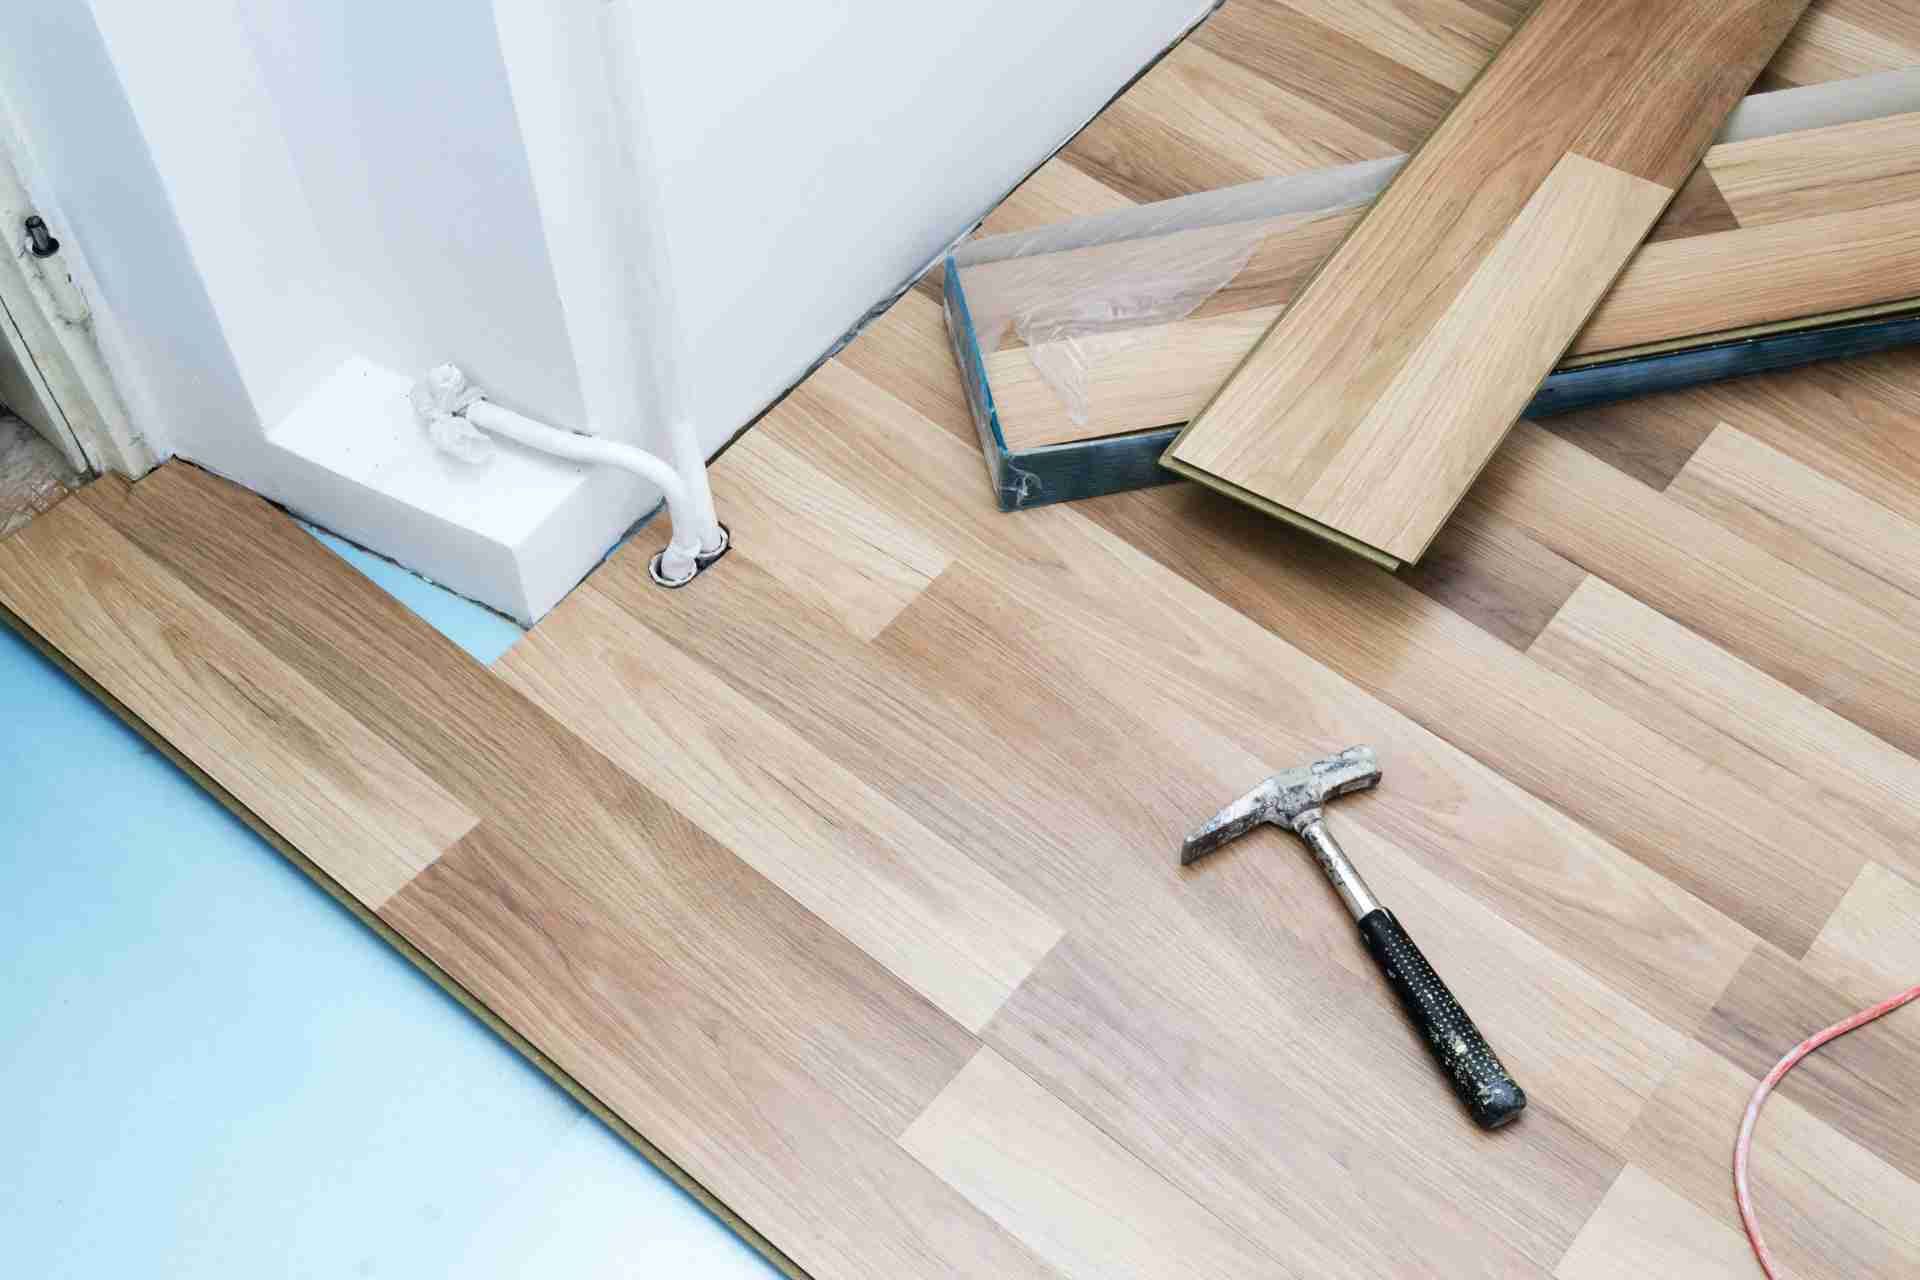
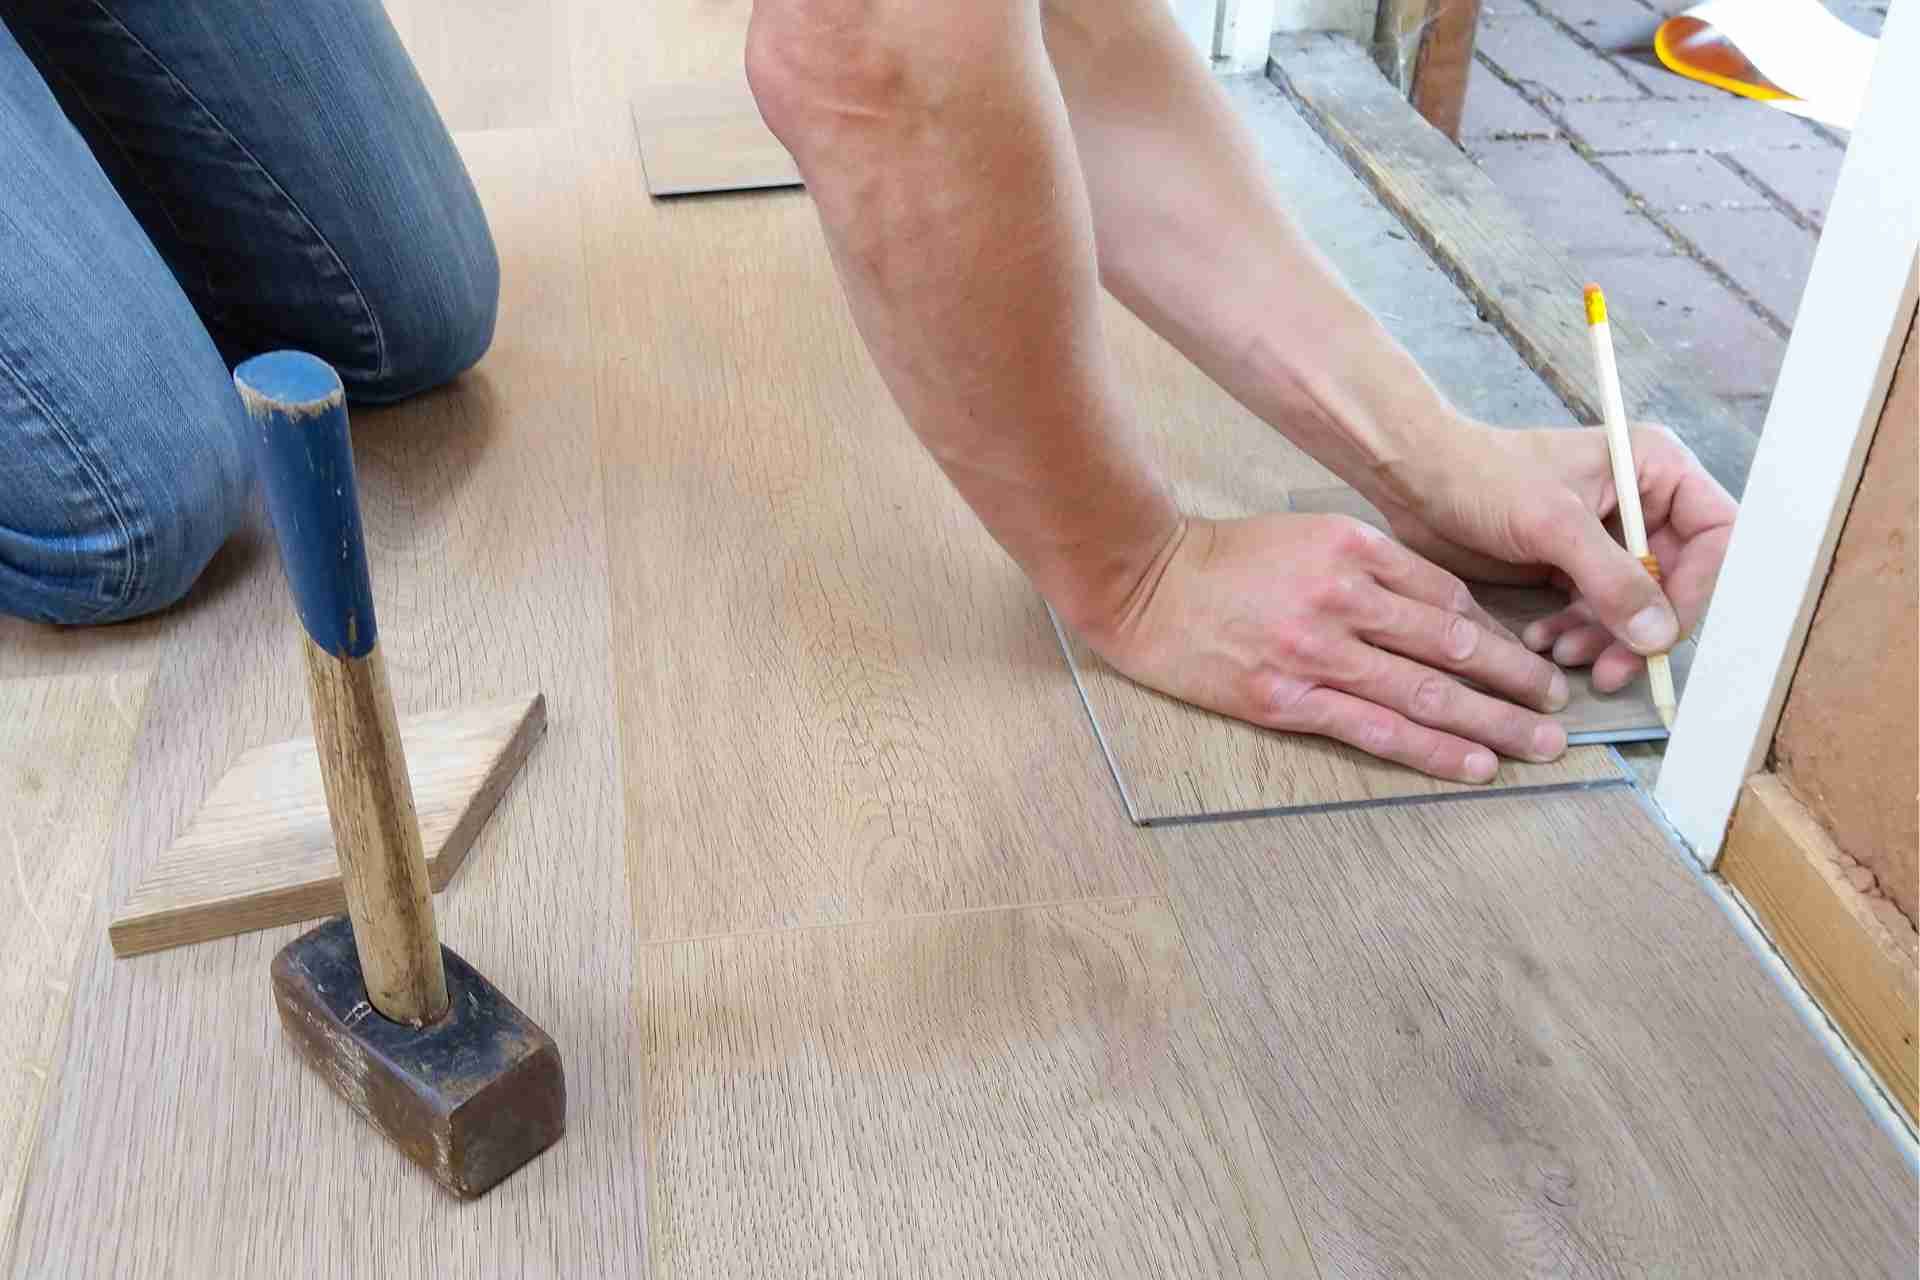
  4. Laminate Flooring Installation: Install the laminate flooring according to the manufacturer's instructions, starting in one corner of the room and working your way across. Ensure each piece is securely interlocked and aligned.

Conclusion 

Achieving a level floor is a critical step in ensuring a successful laminate flooring installation. By carefully assessing the floor, choosing the appropriate leveling method, and executing the leveling process with precision, you can create a solid foundation for your laminate flooring. Remember to follow the manufacturer's instructions and take your time to achieve a smooth and level surface. Proper leveling not only enhances the aesthetic appeal of your flooring but also prolongs its lifespan and prevents potential issues. With the knowledge gained from this comprehensive guide, you can confidently level your floor and embark on a rewarding laminate flooring project.

How to Properly Maintain & Protect Your Floors After Installation
November 7, 2025
After installing new floors, it's crucial to understand how to keep them looking their best. Regular maintenance can prevent damage and extend their lifespan. You'll want to establish a cleaning routine and take simple steps to protect your investment. But what should you do when spills happen, or how can you effectively prevent scratches? Let's explore the essential practices that will keep your floors beautiful and durable for years to come. Understanding Your Flooring Type Your flooring type plays a crucial role in how you maintain it. Each material—be it hardwood, laminate, tile, or carpet—has its own unique needs. For instance, hardwood requires regular polishing and humidity control to prevent warping, while carpet needs frequent vacuuming to keep dirt and allergens at bay. Tile flooring, on the other hand, often demands grout cleaning to maintain its appearance. Understanding these differences helps you choose the right cleaning products and techniques. For example, avoid using water on unsealed wood floors, as it can cause damage. Knowing your flooring type enables you to create a tailored maintenance plan, ensuring your floors remain beautiful and last for years. So, take the time to learn about your flooring! Regular Cleaning Routines While it may seem tempting to let cleaning slide, establishing a regular cleaning routine is essential for maintaining your floors' beauty and longevity. Start by sweeping or vacuuming at least once a week to remove dirt and debris that can scratch the surface. Depending on your flooring type, mop with a suitable cleaner every month to keep it looking fresh. Don't forget to spot clean spills immediately to prevent stains and damage. Use rugs at entryways to catch dirt from shoes, and consider using felt pads under furniture to avoid scratches. Preventative Measures for Longevity To ensure your floors last as long as possible, taking preventative measures is crucial. First, place mats at entry points to trap dirt and moisture before it reaches your floors. This simple step can significantly reduce wear and tear. Next, consider using furniture pads under heavy items to prevent scratches and dents. Regularly inspect high-traffic areas and rotate furniture to distribute weight evenly, minimizing indentations. If your floors are exposed to sunlight, use curtains or UV films to protect them from fading. Finally, maintain a consistent indoor humidity level to prevent warping or cracking. Dealing With Spills and Stains Even with preventative measures in place, spills and stains can still happen. When they do, act quickly. Grab a clean, dry cloth or paper towel and blot the spill immediately—don't rub, as that can spread the mess. For tougher stains, mix a few drops of mild dish soap with warm water. Dampen a cloth in the solution and gently wipe the area, then rinse with clean water. Always test any cleaning solution in an inconspicuous spot first. For hardwood floors, avoid excessive moisture; too much water can warp the wood. If you're dealing with specific substances like wine or ink, look for specialized cleaners suited for your floor type. Protecting Floors From Furniture and Foot Traffic Protecting your floors from furniture and foot traffic is essential for maintaining their beauty and longevity. Start by using felt pads under furniture legs to prevent scratches and dents. Make sure to check these pads regularly, replacing them as needed. When moving furniture, lift it instead of dragging, as this can cause significant damage. For high-traffic areas, consider area rugs to absorb some of the wear. Choose non-slip mats to keep them in place and prevent slips. Encourage family members and guests to remove shoes at the door to minimize dirt and debris. Finally, keep your floors clean by sweeping or vacuuming regularly to remove grit that can scratch surfaces. Taking these steps will help keep your floors looking pristine for years to come. Seasonal Maintenance Tips As seasons change, the maintenance of your floors requires attention to different challenges they may face. In the spring, be sure to deep clean and remove any dirt or allergens that have accumulated during the winter months. Summer brings humidity, so use dehumidifiers to prevent moisture damage, especially for wood floors. In the fall, clean up leaves and debris that could scratch surfaces. Winter requires extra care; use mats at entrances to minimize salt and snow exposure, and consider using furniture coasters to prevent dents from heavy items. Regularly check for signs of wear and apply appropriate products to protect your floors. Conclusion By following these maintenance tips, you can keep your floors looking beautiful and lasting longer. Regular cleaning, preventative measures, and prompt spill management are key to protecting your investment. Don't forget to use mats and furniture pads to minimize wear and tear. Stay vigilant about humidity levels and seasonal changes to ensure your floors remain in top shape. With a little effort, your floors will continue to shine and withstand daily life's challenges for years to come.
Budgeting for a Flooring Renovation: Hidden Costs Homeowners Often Overlook
November 5, 2025
When you're planning a flooring renovation, it's easy to focus solely on the materials and installation. However, you might not realize that hidden costs can quickly add up, impacting your overall budget. From disposal fees to unexpected repairs, these expenses often catch homeowners off guard. Before you commit to anything, it's crucial to consider all potential costs. Let's explore the key areas that could surprise you and how to prepare for them. Preparation Costs: What You Need to Consider Before diving into your flooring renovation, it's crucial to understand the preparation costs involved. First, you'll need to factor in the expense of purchasing tools and materials, like underlayment, adhesives, or leveling compounds. If you're not a DIY expert, hiring a contractor can add significantly to your budget, so get quotes from a few professionals to compare. Don't forget about potential costs for moving furniture—clearing the space is essential for a smooth installation. Additionally, you may need to consider minor repairs or adjustments to your subfloor, which can also impact your budget. Planning for these expenses ahead of time will help you avoid surprises and keep your renovation on track. Disposal Fees for Old Flooring Once you've tackled the preparation costs, you need to consider disposal fees for your old flooring. Many homeowners underestimate these costs, thinking they can simply toss the old materials in the trash. However, most municipalities have strict regulations about flooring disposal, especially for materials like carpet or laminate. You might need to hire a junk removal service or rent a dumpster, which can quickly add to your budget. Additionally, some flooring types may require special handling due to environmental concerns. Before you start your renovation, research your local disposal options and fees to avoid unexpected expenses. Planning for these costs ensures a smoother renovation and helps you stay within your budget. Subfloor Repairs and Upgrades As you prepare for your flooring renovation, addressing any necessary subfloor repairs and upgrades is crucial for a successful installation. You mightn't realize that a compromised subfloor can lead to uneven flooring and premature wear. Inspect for signs of damage like water stains or squeaks, which could indicate issues needing attention. Depending on the condition, you may need to replace sections of plywood or reinforce the structure. This could involve additional materials and labor costs, so budget accordingly. Upgrading your subfloor with moisture-resistant options can also improve durability, especially in areas prone to humidity. Unexpected Structural Issues While you might've a clear plan for your flooring renovation, unexpected structural issues can arise that derail your budget and timeline. Hidden water damage, rotting beams, or uneven foundations can turn your project upside down. Before you start, it's wise to have a thorough inspection of the area. If you discover problems during the renovation, you'll need to address them immediately, which could lead to increased costs and delays. Even minor repairs can add up quickly, so be prepared for the possibility of needing extra funds. Setting aside a contingency budget of 10-15% can help you manage these surprises without too much stress. Anticipating structural issues will give you peace of mind as you embark on your flooring journey. Design and Aesthetic Enhancements When considering a flooring renovation, many homeowners overlook the impact of design and aesthetic enhancements. Choosing the right flooring isn't just about durability; it's also about how it complements your home's overall style. You might want to consider different colors, textures, and patterns that can elevate the look of your space. For instance, opting for wide planks can create a more spacious feel, while intricate designs can add character. Don't forget about transitions between rooms; they can enhance flow and unity. Additionally, underlayment options can affect acoustics, making your space feel warmer and more inviting. Budgeting for these enhancements can transform your renovation from merely functional to visually stunning, increasing both your enjoyment and your home's value. Labor Costs Beyond Installation Selecting the right flooring can enhance your home's aesthetic, but the costs don't stop at the materials. Labor costs can add up quickly, especially beyond just installation. You might need to factor in expenses for removing old flooring, which often requires specialized skills and tools. Additionally, if your subfloor needs repairs or leveling, you'll incur more labor charges. Don't forget about potential permits or inspections that might be necessary, depending on your project's scope. If you're bringing in an electrician for any lighting adjustments or outlets, that's another layer of costs. Long-Term Maintenance and Care Expenses Even after your flooring renovation is complete, ongoing maintenance and care expenses can influence your budget significantly. You'll need to factor in regular cleaning supplies, like specialized cleaners or equipment for different flooring types. Depending on your choice, some materials require periodic refinishing or sealing, adding to your costs. Consider also the potential for repairs; accidents happen, and damage can occur, especially in high-traffic areas or homes with pets. Setting aside a maintenance fund can help you manage unexpected expenses more easily. Don't forget about the long-term benefits of proper care; it can extend the life of your flooring and enhance its appearance. Staying proactive with maintenance can save you money in the long run. Conclusion When budgeting for your flooring renovation, don't forget to factor in those hidden costs. From disposal fees and potential subfloor repairs to extra labor and long-term maintenance, it all adds up quickly. To avoid surprises, research thoroughly, get multiple quotes, and set aside a contingency fund of 10-15%. By planning ahead, you can ensure your renovation stays within budget and turns out just the way you envisioned it, without any financial strain.
Carpet Stain Removal Tips for Common Spills Wine, Coffee, Pet Accidents
November 3, 2025
When it comes to carpet stains, swift action is crucial. Whether it's a spill from a glass of red wine, a morning cup of coffee, or an unfortunate pet accident, knowing the right techniques can make all the difference. Each type of stain requires a specific approach for effective removal. Curious about the best methods to tackle these common issues? Let's explore the solutions that can save your carpet from permanent damage. Understanding Carpet Stains: Types and Causes Carpet stains can be a homeowner's nightmare, but understanding their types and causes makes tackling them easier. Stains generally fall into three categories: water-soluble, oil-based, and protein-based. Water-soluble stains, like coffee or juice, can often be cleaned with simple soap and water. Oil-based stains, such as grease or makeup, require solvent-based cleaners for effective removal. Protein-based stains, including blood or pet accidents, need enzymatic cleaners to break down the proteins. Knowing the source of a stain helps you choose the right cleaning method. Additionally, factors like carpet material and age can influence stain behavior. How to Remove Red Wine Stains One effective method for tackling red wine stains involves acting quickly to prevent permanent damage. As soon as you spill, grab a clean cloth and gently blot the stain to soak up as much wine as possible. Avoid rubbing, as this can spread the stain. Once you've blotted, sprinkle a generous amount of salt over the stain. The salt will absorb the wine, making it easier to clean. After about five minutes, vacuum up the salt. Next, mix a solution of equal parts white vinegar and dish soap with water. Using a clean cloth, dab this solution onto the stain, continuing to blot until the stain lifts. Rinse with cold water and blot dry. Your carpet will look good as new! Effective Solutions for Coffee Stains After tackling red wine stains, you might find yourself facing another common challenge: coffee spills. Don't panic; quick action can make all the difference. Start by blotting the stain with a clean cloth to absorb excess coffee—avoid rubbing, as this can spread the stain. Next, mix one tablespoon of dish soap, one tablespoon of white vinegar, and two cups of warm water. Dampen a cloth with this solution and gently blot the stain, working from the outside in. Rinse the area with cold water using a different cloth to remove any soap residue. Finally, blot the area dry with a towel. If the stain persists, repeat the process until it's gone. Your carpet will thank you! Tackling Pet Accidents on Carpets When your pet has an accident on the carpet, quick action is crucial to prevent lasting damage and odors. Start by blotting the area with paper towels to absorb as much moisture as possible. Avoid rubbing, as it can spread the stain. Next, mix a solution of white vinegar, water, and a few drops of dish soap. Apply this mixture to the stain, letting it sit for about 10 minutes. Blot again with clean towels, repeating until the stain lifts. Once it's clean, rinse the area with water and blot dry. Finally, sprinkle baking soda over the spot to neutralize odors. Vacuum after a few hours to remove any residue, leaving your carpet fresh and clean. Preventative Measures to Avoid Future Stains To keep your carpets looking fresh and stain-free, it's essential to take proactive steps that minimize the risk of spills and accidents. First, consider using area rugs in high-traffic zones or under furniture to protect your carpet. When hosting, encourage guests to use coasters for drinks and designate snack areas to reduce crumbs and spills. If you have pets, train them to stay off the carpeted areas or use pet-friendly mats. Regularly vacuuming helps prevent dirt buildup and potential stains. Lastly, consider applying a carpet protector, which can create a barrier against spills and make cleanup easier. Professional Cleaning Options for Stubborn Stains Although you may try various DIY methods, some stains require the expertise of professional cleaners. When you face stubborn stains like red wine, coffee, or pet accidents, it's often best to call in the pros. They use advanced techniques and specialized equipment that can effectively lift tough stains without damaging your carpet. Professionals typically assess the stain and the carpet type before applying the right cleaning solution. Their high-powered steam cleaners and eco-friendly products penetrate deep fibers, ensuring a thorough clean. Plus, they can help eliminate odors and prevent future stains. Investing in professional cleaning not only restores your carpet's appearance but also extends its lifespan. Don't hesitate to seek help when you need it; your carpets deserve the best care! Conclusion In conclusion, tackling carpet stains quickly and effectively can save your carpets from permanent damage. Whether it's red wine, coffee, or pet accidents, using the right cleaning solutions can make all the difference. Remember to blot first, apply the appropriate mixture, and don't forget those preventative measures to keep your carpets looking fresh. If you face stubborn stains, don't hesitate to consider professional cleaning for the best results. Your carpets deserve the care!
Top Signs Your Tile & Grout Needs Deep Cleaning (and What Happens If You Don’t)
October 8, 2025
Signs of dull tile and stained grout could mean trouble—discover the risks of neglecting these critical areas in your home.
What to Do Immediately After Water Damage: First Steps & Mistakes to Avoid
October 6, 2025
In the aftermath of water damage, immediate actions can save your home—discover the crucial steps and mistakes to avoid that could exacerbate the problem.
How Often Should You Professionally Clean Your Carpets? A Homeowner’s Guide
October 3, 2025
When it comes to carpet care, knowing how often to schedule professional cleanings can make a significant difference in your home's health and appearance. Factors like foot traffic, pets, and allergies play a crucial role in determining the right frequency for your carpets. So, how do you figure out what works best for
Why Keep Cleaning and Disinfecting High-touch Surfaces?
September 10, 2025
Not cleaning high-touch surfaces may expose you to hidden germs and illnesses—discover the surprising importance of effective cleaning and disinfecting today.
The Best Flooring Options for Allergy Sufferers
September 8, 2025
You might be surprised to learn which flooring options can drastically improve air quality for allergy sufferers—discover the best choices for your home today!
Choosing the Right Flooring for High Traffic Areas
August 8, 2025
Start selecting durable, attractive flooring for high traffic areas. Learn which materials work best and how to keep high-traffic floors looking great!
cleaning of different types of floor surfaces​
August 4, 2025
Discover how to clean every floor type! Learn effective methods for spotless results on wood, tile, carpet, and more. Start cleaning smarter today.
More Posts